Ever wondered what that heavy, often colorful, pot sitting in your kitchen cabinet is truly capable of? We’re talking about the venerable Dutch oven, a workhorse of a cooking vessel that has graced kitchens for centuries. Far from being just another pot, a Dutch oven is a culinary superpower, capable of transforming simple ingredients into extraordinary meals. If you’ve got one gathering dust, or you’re thinking of investing, you’re in for a treat. This article will dive deep into the best way to use a Dutch oven, unlocking its full potential and turning you into a kitchen maestro.
Understanding Your Dutch Oven: More Than Just a Pot
Before we get into the nitty-gritty of cooking, let’s understand what makes a Dutch oven so special. At its core, it’s a thick-walled cooking pot with a tight-fitting lid, traditionally made from cast iron. You’ll primarily find two types:
- Bare Cast Iron: These are the traditional workhorses. They require seasoning (a baked-on layer of oil) to create a non-stick surface and prevent rust. They’re incredibly durable and retain heat exceptionally well.
- Enameled Cast Iron: These are cast iron pots coated with a layer of porcelain enamel. They don’t require seasoning, are easier to clean, and come in a dazzling array of colors. Brands like Le Creuset and Staub are famous for their enameled versions.
What gives them their magic? It’s all about heat distribution and heat retention. The thick walls and heavy lid create an incredibly even and consistent cooking environment, whether you’re on the stovetop or in the oven. This means no more hot spots, just beautifully cooked food. Their versatility makes them an absolute kitchen essential.
The Best Way to Use a Dutch Oven: A Culinary Powerhouse
When it comes to versatility, few pieces of cookware can hold a candle to the Dutch oven. It truly excels in a multitude of cooking techniques, making it the go-to pot for countless dishes. Let’s explore some of the most popular and effective ways to put yours to work.
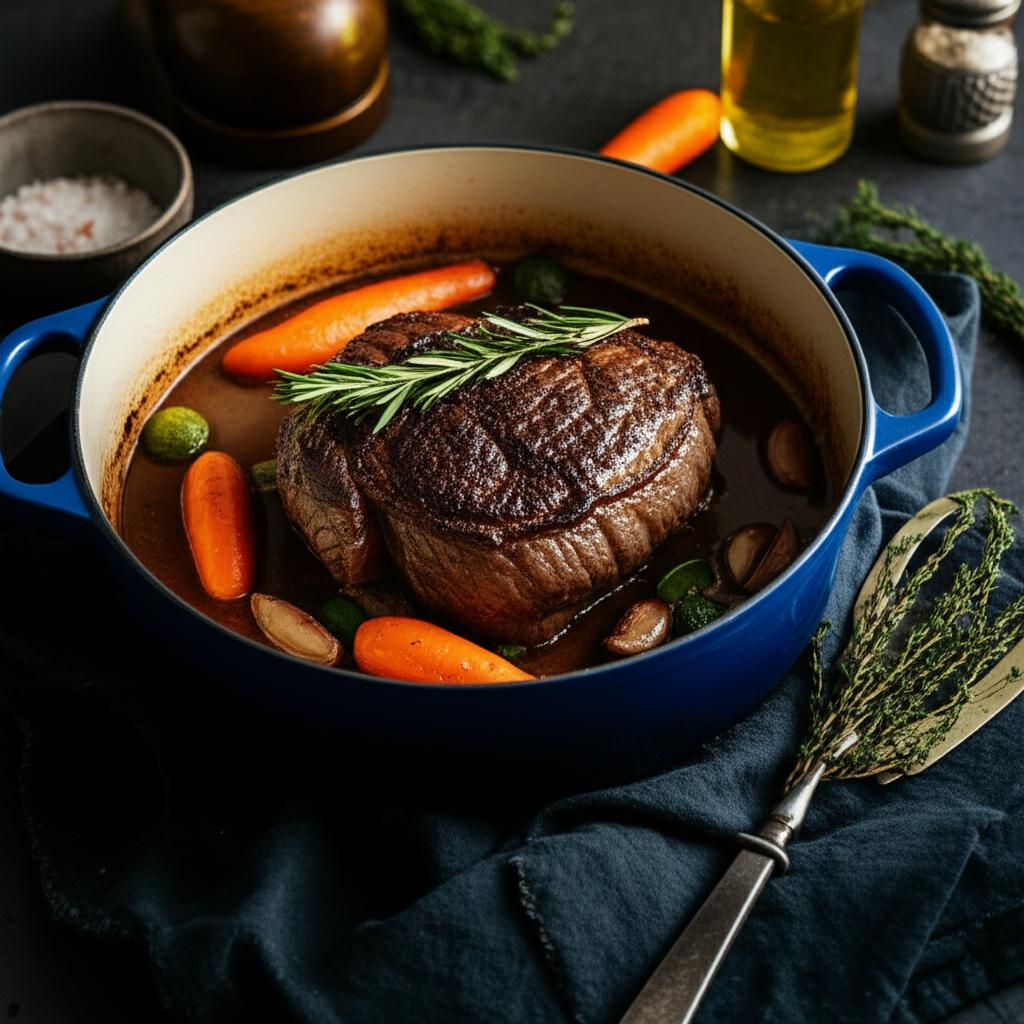
1. Braising and Slow Cooking: Unlocking Tender Perfection
This is arguably where the Dutch oven shines brightest. Braising involves searing meat at a high temperature, then cooking it slowly in a small amount of liquid (like broth, wine, or water) at a lower temperature, usually in the oven, with the lid on. The low, steady heat breaks down tough cuts of meat, transforming them into incredibly tender, fall-off-the-bone delights.
- Why it works: The heavy lid traps steam, creating a moist environment that tenderizes the meat without drying it out. The excellent heat retention keeps the liquid at a gentle simmer for hours.
- What to make: Pot roasts, short ribs, osso buco, coq au vin, pulled pork, lamb shanks.
- The process:
- Sear: Heat a little oil in your Dutch oven over medium-high heat. Sear your meat on all sides until deeply browned. This develops incredible flavor (the Maillard reaction).
- Deglaze: Remove the meat, add a splash of liquid (like wine or broth), and scrape up all those flavorful browned bits from the bottom of the pot.
- Aromatics: Sauté onions, garlic, carrots, and celery until softened.
- Simmer: Return the meat to the pot, add your braising liquid until it comes about halfway up the meat, and add herbs and spices.
- Slow Cook: Bring to a gentle simmer on the stovetop, then cover tightly with the lid and transfer to a preheated oven (typically 300-350°F / 150-175°C) for several hours until the meat is fork-tender.
2. Baking Bread: Achieving Bakery-Quality Loaves at Home
For many home bakers, the Dutch oven is the secret to achieving that coveted crispy crust and airy, open crumb in no-knead bread recipes. It mimics the environment of a professional bread oven.
- Why it works: When preheated to a high temperature, the Dutch oven acts like a steamy, super-hot environment. The trapped steam in the initial baking phase keeps the crust soft and pliable, allowing the loaf to expand fully. Once the lid is removed, the direct heat crisps up the crust beautifully.
- What to make: No-knead artisan bread, sourdough, even simple white loaves.
- The process:
- Preheat: Place the empty Dutch oven with its lid in your cold oven, then preheat the oven to a very high temperature (usually 450-500°F / 230-260°C). This can take 30-60 minutes to ensure the pot is scorching hot.
- Transfer Dough: Carefully remove the hot Dutch oven from the oven. Gently transfer your prepared bread dough (which often has a high hydration) into the screaming hot pot. Be quick!
- Lid On: Place the lid back on tightly.
- Bake (Lid On): Bake for 20-30 minutes with the lid on.
- Lid Off: Remove the lid and continue baking for another 15-25 minutes, or until the crust is golden brown and crispy.
3. Soups and Stews: The Ultimate One-Pot Comfort
From hearty beef stews to delicate chicken noodle soups, the Dutch oven is ideal for simmering large batches of liquid-based meals. Its ability to maintain a consistent low heat is perfect for slowly melding flavors.
- Why it works: The even heat prevents scorching on the bottom, and the heavy lid keeps moisture in, allowing ingredients to tenderize slowly and flavors to deepen. You can also start by sautéing aromatics directly in the pot, making it a true one-pot wonder.
- What to make: Chili, beef stew, chicken and dumplings, lentil soup, minestrone, gumbo.
- The process:
- Sauté: Start by browning meats or sautéing vegetables directly in the Dutch oven on the stovetop.
- Add Liquids & Ingredients: Add your broth, water, diced vegetables, beans, pasta, or whatever your recipe calls for.
- Simmer: Bring to a boil, then reduce heat to a gentle simmer, cover, and let it cook until all ingredients are tender and flavors have melded.
4. Deep Frying: Consistent Crispy Goodness
While not its most obvious use, the Dutch oven is surprisingly excellent for deep frying.
- Why it works: Its thick walls and heavy mass mean it retains heat exceptionally well, minimizing temperature fluctuations when you add food. This is crucial for consistent frying, ensuring your food gets crispy without becoming greasy. The deep sides also help contain oil splatters.
- What to make: Fried chicken, donuts, tempura, french fries, onion rings.
- The process:
- Add Oil: Fill the Dutch oven about halfway with your preferred frying oil.
- Heat Slowly: Heat the oil slowly over medium heat to the desired temperature (use a kitchen thermometer!).
- Fry in Batches: Fry small batches to avoid overcrowding the pot and dropping the oil temperature too much.
5. Roasting (Oven): From Stovetop to Oven Seamlessly
Whether it’s a whole chicken, a leg of lamb, or root vegetables, the Dutch oven transitions beautifully from stovetop searing to oven roasting.
- Why it works: You can develop deep flavors by searing on the stovetop, then finish cooking in the oven, keeping all those delicious juices contained. The even heat from all sides cooks food uniformly.
- What to make: Whole roasted chicken, roasted pork loin, leg of lamb, roasted root vegetables.
- The process:
- Sear: Sear your protein on the stovetop for a golden-brown crust.
- Add Veggies/Liquid: Add your chosen vegetables or a bit of liquid if desired.
- Roast: Cover and transfer to a preheated oven to finish cooking. You can remove the lid for the last 15-20 minutes to crisp up the skin if roasting poultry.
6. One-Pot Meals: The Ultimate Weeknight Solution
Beyond just soups and stews, Dutch ovens are fantastic for complete one-pot meals, minimizing cleanup and maximizing flavor.
- Why it works: All the ingredients cook together, allowing flavors to meld beautifully. From pasta dishes that cook directly in the sauce to hearty rice dishes, it’s a time-saver.
- What to make: Dutch oven pasta (where the pasta cooks in the sauce), paella, risotto, chicken and rice, casseroles.
- The process: Varies greatly by recipe, but generally involves building layers of flavor (sautéing aromatics, adding protein, then grains/pasta and liquid) and letting everything simmer together.
7. Boiling and Simmering: Everyday Essentials
While less glamorous, the Dutch oven is excellent for basic tasks like boiling pasta, making large batches of stock, or simmering tomato sauce for hours. Its even heat and capacity are perfect for these daily kitchen needs.
Tips and Best Practices for Optimal Dutch Oven Use
To truly master the Dutch oven, a few tips and tricks can make all the difference. Knowing the best way to use a Dutch oven isn’t just about what you cook, but how you handle this magnificent piece of cookware.
- Preheat Properly: For searing, roasting, or baking bread, always preheat your Dutch oven on the stovetop or in the oven before adding food. This ensures even cooking and prevents sticking. For most stovetop uses, start on medium-low and slowly bring it up to the desired temperature.
- Heat Management: Dutch ovens retain heat incredibly well. This means you often need less heat than you think. For simmering, once it reaches a boil, reduce the heat to low. For oven cooking, stick to moderate temperatures (300-375°F / 150-190°C) for most dishes.
- Lid Usage is Key:
- Lid On: Traps moisture for braising, slow cooking, and bread baking (initial phase).
- Lid Off: Allows steam to escape, thickening sauces, crisping crusts, or reducing liquids.
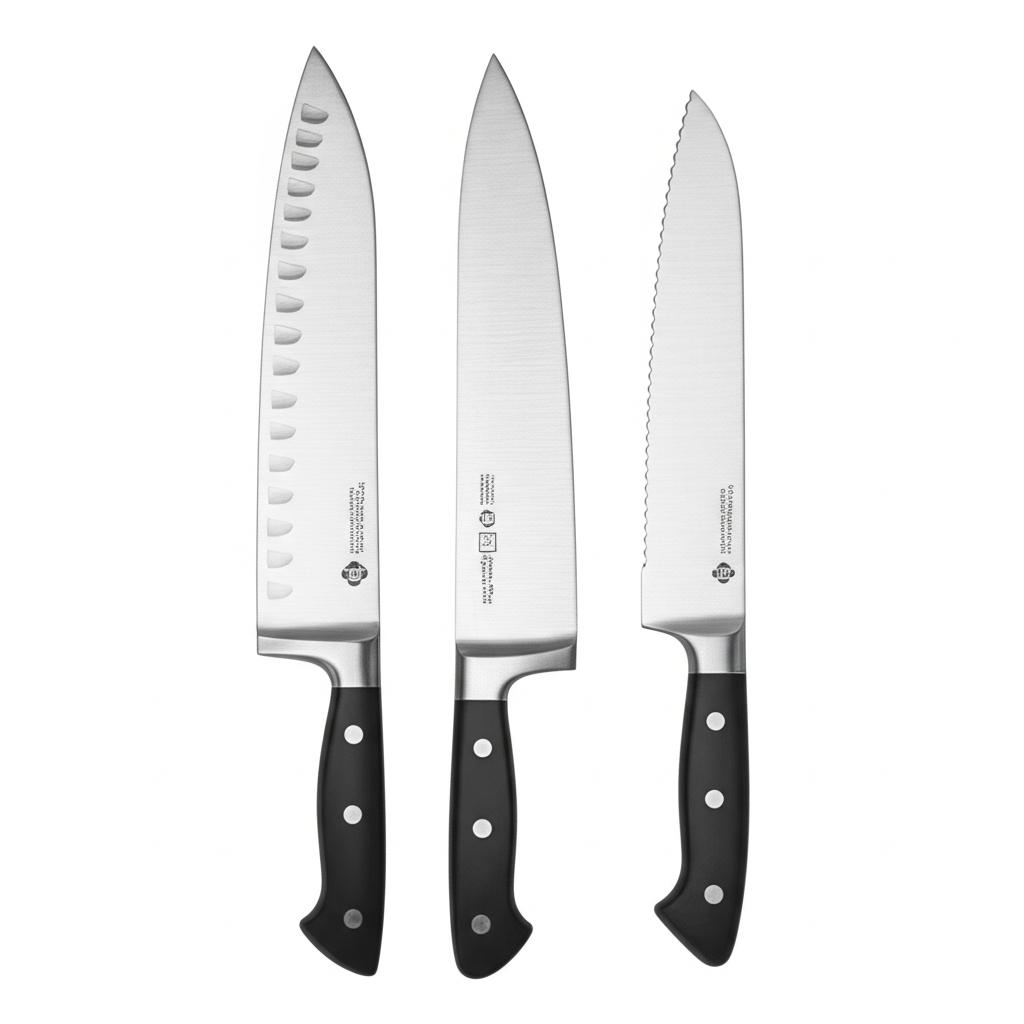
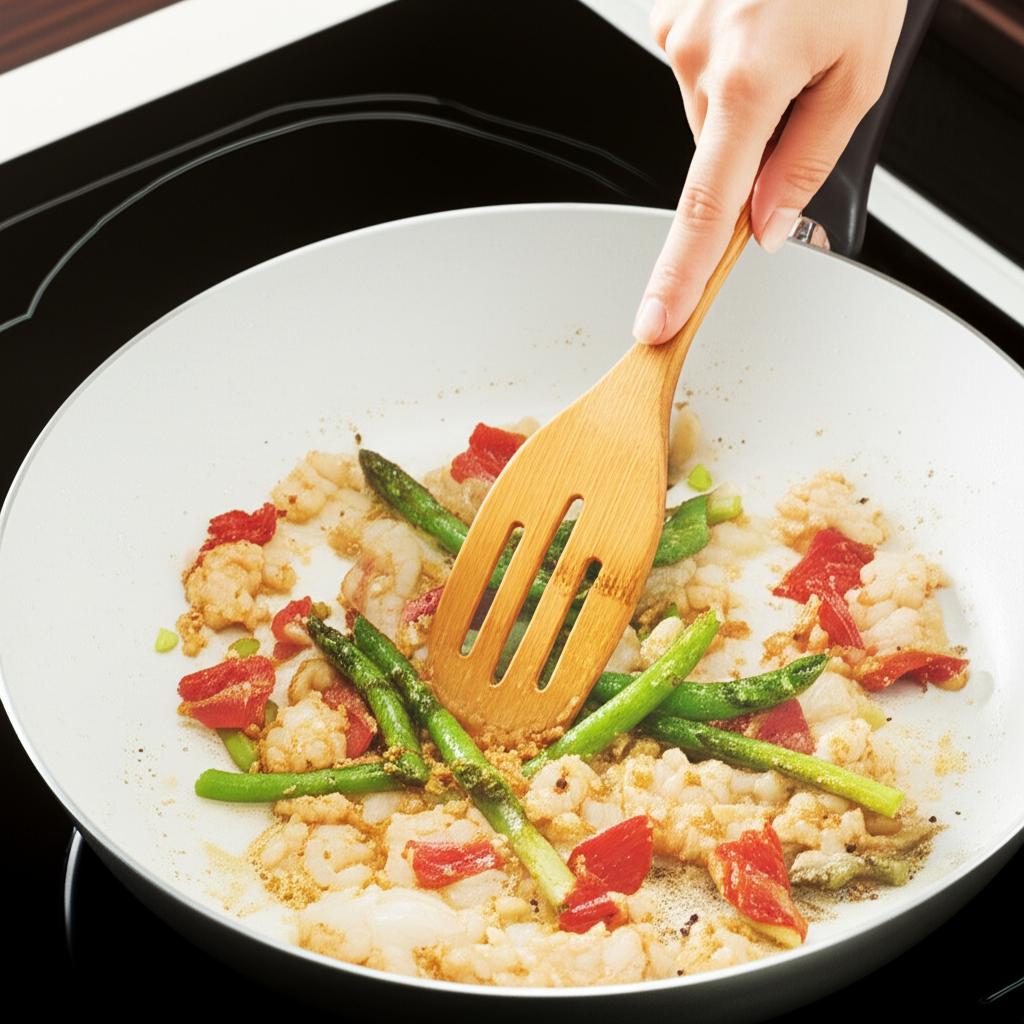
- Choose the Right Utensils: For enameled Dutch ovens, always use wooden, silicone, or nylon utensils to avoid scratching the delicate enamel surface. Metal utensils are fine for bare cast iron, but wood or silicone are still gentler.
- Don’t Overfill: Leave at least an inch or two of space at the top, especially if simmering liquids, to prevent boil-overs.
- Cleaning and Maintenance: This is crucial for longevity.
- Enameled: Let it cool completely. Soak with warm soapy water to loosen stuck-on bits. Use a non-abrasive sponge or brush. For stubborn stains, you can gently scrub with a baking soda paste. Avoid harsh chemicals, abrasive pads, and sudden temperature changes. Always dry thoroughly to prevent water spots.
- Bare Cast Iron: Let it cool. Scrape out food with a non-metal spatula. Wash with hot water and a stiff brush (minimal soap, if any, as it can strip seasoning). Immediately dry thoroughly on the stovetop over low heat. Once dry, rub a very thin layer of cooking oil (like vegetable or grapeseed oil) over all surfaces, inside and out, to maintain the seasoning.
- Protect Surfaces: These pots are heavy! Be mindful when placing a hot Dutch oven on countertops or tables. Always use a trivet or heat-resistant mat.
Common Mistakes to Avoid When Using Your Dutch Oven
Even with such a versatile tool, there are a few common pitfalls that can diminish your cooking experience or even damage your beloved pot.
- Overheating an Empty Enameled Pot: Placing an empty enameled Dutch oven on high heat for an extended period can cause the enamel to crack or craze (fine cracks in the surface). Always add some oil or liquid before heating, or preheat gradually in the oven with the lid on.
- Using Metal Utensils on Enamel: As mentioned, this is a sure-fire way to scratch and damage the beautiful enamel. Stick to wood or silicone.
- Sudden Temperature Changes: Avoid transferring a hot Dutch oven directly to cold water, or vice-versa. This thermal shock can crack the enamel (called crazing) or even the cast iron itself. Always allow the pot to cool down before washing.
- Not Drying Bare Cast Iron Thoroughly: Leaving bare cast iron wet, even for a short time, is an open invitation for rust. Always dry it immediately and completely after washing, ideally by placing it on a low burner for a few minutes.
- Too Much Soap on Bare Cast Iron: While modern cast iron seasoning is more durable, excessive soap can still strip away some of that hard-earned non-stick layer. Hot water and a brush are usually sufficient.
- Dropping It: Dutch ovens are incredibly durable, but they are also brittle. A hard drop can chip the enamel or even crack the cast iron. Handle with care, especially when full.
- Using Too High Heat for Simmering: If you’re simmering a stew for hours, too high a heat will cause the bottom to scorch and the liquid to evaporate too quickly. Keep it on a very gentle simmer.
Unlocking Flavor: Recipes and Ideas to Get You Started
The true joy of a Dutch oven lies in its ability to develop deep, nuanced flavors. Here are some classic and popular dishes that truly highlight its capabilities:
- Classic Pot Roast: The quintessential Dutch oven meal. Tender beef, root vegetables, and a rich gravy.
- No-Knead Artisan Bread: Experience the magic of a perfect crust and chewy interior with minimal effort.
- Hearty Beef Stew: Comfort food at its best, simmered slowly until the meat is meltingly tender and the broth is robust.
- Dutch Oven Chili: Layers of spice and flavor, perfect for a crowd or meal prep.
- Braised Short Ribs: Luxuriously tender, flavorful ribs that fall off the bone.
- Coq au Vin: A French classic that tastes even better when slow-cooked in a Dutch oven.
- Creamy One-Pot Pasta: Pasta cooked directly in its sauce, absorbing all the flavors.
- Oven-Roasted Whole Chicken: Juicy chicken with crispy skin, effortlessly cooked.
Conclusion
The Dutch oven isn’t just a piece of cookware; it’s an investment in your culinary journey. Its unparalleled ability to distribute and retain heat, coupled with its robust construction, makes it indispensable for everything from delicate bread to hearty braises. Mastering the best way to use a Dutch oven means unlocking a world of delicious possibilities in your kitchen. From its stovetop searing prowess to its oven-roasting excellence, this versatile pot simplifies cooking, enhances flavors, and makes cleanup a breeze. If you don’t have one, consider adding this timeless kitchen essential to your collection. Your taste buds, and your family, will thank you!
FAQ Section: Your Dutch Oven Questions Answered
Q1: What size Dutch oven is best for a family of four?
A1: For a family of four, a 5.5-quart (5.2-liter) to 7.5-quart (7.1-liter) Dutch oven is generally ideal. This size is versatile enough for roasting a whole chicken, making large batches of soup, or baking a standard loaf of bread.
Q2: Can I use my Dutch oven on an induction cooktop?
A2: Yes, absolutely! Since Dutch ovens are made of cast iron (a ferrous metal), they are perfectly compatible with induction cooktops. They will heat up efficiently and maintain even heat.
Q3: How do I clean a burnt Dutch oven?
A3: First, let it cool completely. Fill the pot with hot water and a few tablespoons of baking soda. Bring it to a simmer on the stovetop for 10-15 minutes. Let it cool again, then use a wooden or silicone spatula to gently scrape away the loosened burnt bits. For stubborn stains, you can also make a paste of baking soda and a little water, apply it to the burnt areas, let it sit for a few hours, then scrub with a non-abrasive sponge. Avoid metal scrubbers or harsh chemicals.
Q4: Is a bare cast iron Dutch oven better than an enameled one?
A4: Neither is inherently “better”; they simply have different strengths. Bare cast iron is often more affordable, can withstand extremely high temperatures, and develops a natural non-stick seasoning over time. However, it requires more maintenance (seasoning, thorough drying) and can react with acidic foods. Enameled cast iron is easier to clean, doesn’t require seasoning, comes in many colors, and is non-reactive with acidic ingredients. However, it’s more expensive and can chip or craze if not cared for properly. Your choice depends on your budget, cooking habits, and maintenance preference.
Q5: Can I put my Dutch oven in the dishwasher?
A5: It is highly recommended NOT to put any type of Dutch oven in the dishwasher.
* Enameled: Dishwasher detergents can be harsh and abrasive, potentially dulling or damaging the enamel finish over time.
* Bare Cast Iron: The dishwasher will strip the seasoning, leading to rust.
Always hand wash your Dutch oven.
Q6: What’s the maximum temperature a Dutch oven can withstand?
A6: The maximum temperature for a Dutch oven depends on its construction, specifically the knob on the lid.
* Enameled Dutch ovens: Most modern enameled Dutch ovens are oven-safe up to 450°F (230°C) or 500°F (260°C), primarily limited by the phenolic (plastic) knob on the lid. If you have a metal knob, it can typically go higher, often up to 500°F (260°C) or more. Always check the manufacturer’s specific guidelines.
* Bare Cast Iron: Bare cast iron Dutch ovens with no plastic parts can typically withstand much higher temperatures, often 600°F (315°C) or even more, making them ideal for campfire cooking.
Q7: Do I need to season an enameled Dutch oven?
A7: No, enameled Dutch ovens do not need to be seasoned. The porcelain enamel coating provides a natural, easy-to-clean, and non-reactive surface. Attempting to season it would be ineffective and could potentially damage the enamel.
Q8: Why does my bread stick to my Dutch oven?
A8: If your bread is sticking, it’s usually due to one of a few reasons:
* Not hot enough: The Dutch oven wasn’t preheated sufficiently. It needs to be scorching hot.
* Insufficient flour/parchment: Ensure you’ve floured the bottom of the hot pot well, or use parchment paper to line it (this is often the easiest solution).
* Too much sugar/fat in dough: Some sweeter, richer doughs are more prone to sticking.
* Damaged enamel: If your enamel is chipped or severely scratched, food can stick to those areas.
Q9: Can I use a Dutch oven for deep frying?
A9: Yes, a Dutch oven is excellent for deep frying. Its heavy construction and thick walls allow it to maintain a consistent oil temperature, which is crucial for achieving crispy, non-greasy fried foods. The high sides also help contain splatters.
Q10: What’s the best way to store a Dutch oven?
A10: Store your Dutch oven in a dry place. For enameled Dutch ovens, you can place a paper towel or a soft cloth between the pot and the lid to protect the enamel from chips or scratches. For bare cast iron, ensure it’s completely dry and lightly oiled before storing to prevent rust. Avoid stacking other heavy items directly on top of the lid, especially if it’s enameled, to prevent chipping.