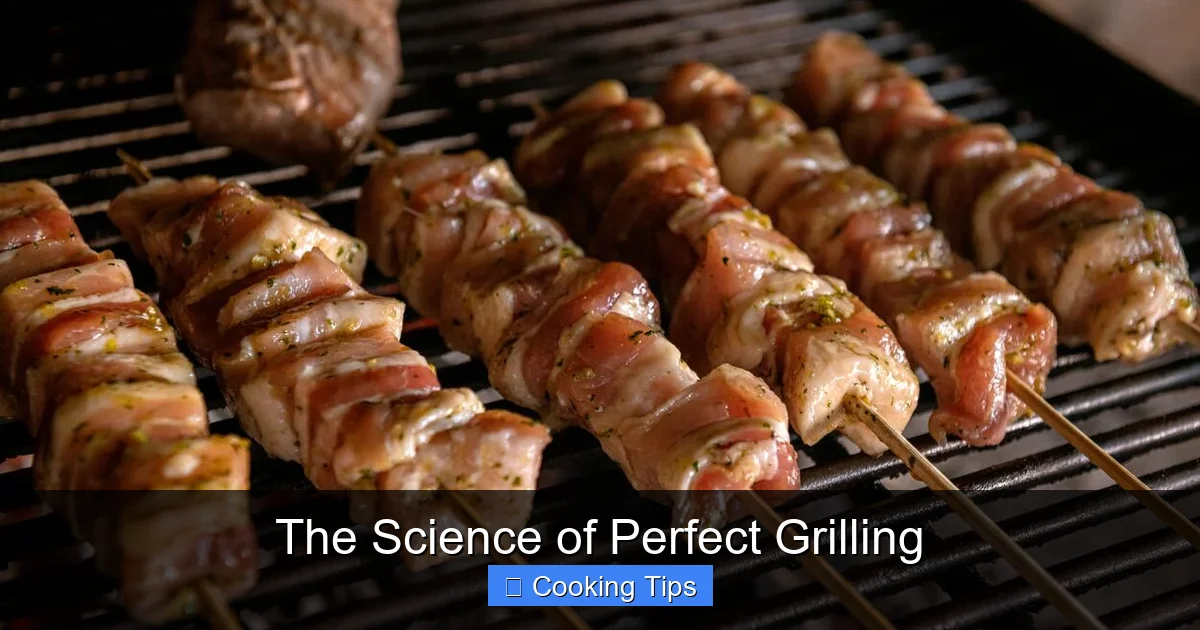
Featured image for this comprehensive guide about perfect grilling cooking tips
Image source: pork.org
The Science of Perfect Grilling
Ah, the scent of charcoal smoke mingling with sizzling meat, the joyful chatter of friends and family, and the satisfying hiss as a perfectly seared steak hits the grill. Grilling isn't just a cooking method; it's a cherished ritual, a culinary art form that brings people together. But while anyone can light a fire and throw some food on the grates, achieving truly spectacular results requires more than just enthusiasm. It demands an understanding of the underlying principles – the science of perfect grilling.
Many home cooks dream of becoming a true grill master, consistently producing juicy steaks, tender chicken, and vibrant vegetables that burst with flavor. The good news? It’s entirely achievable! With the right knowledge and a few key perfect grilling cooking tips, you can elevate your outdoor cooking from good to gourmet. Forget dry, overcooked meat or burnt exteriors; we’re about to embark on a journey that will transform your grilling game forever.
This comprehensive guide will demystify the art of grilling, breaking down complex techniques into actionable steps. We’ll explore everything from heat management and ingredient preparation to the crucial post-grill steps that often get overlooked. So, fire up your imagination (and soon, your grill!), because these perfect grilling cooking tips are designed to equip you with the expertise to confidently create mouth-watering masterpieces every single time.
Quick Answers to Common Questions
Do I really need to preheat my grill for perfect grilling?
Absolutely! Preheating ensures even cooking, helps prevent food from sticking, and gives you those beautiful sear marks. Aim for at least 10-15 minutes with the lid closed before you even think about putting food on.
What's the secret to prevent food from sticking and ruining my perfect grilling experience?
The trick is to clean your grates thoroughly, then oil them before each use. A paper towel dipped in high-smoke-point oil (like canola or grapeseed) applied to hot grates works wonders for perfect grilling.
My food always burns on the outside but stays raw inside. How can I achieve perfect grilling without flare-ups?
Manage your heat! Use a two-zone setup (hot and cooler side) and move food to the cooler zone if flare-ups occur. This helps cook food through evenly without charring the exterior for truly perfect grilling.
How do I know when my meat is truly done for that perfect grilling tenderness?
Invest in a good instant-read thermometer – it's your best friend for perfect grilling! Cook to target internal temperatures, not just by sight, for safe and delicious results every time.
Is resting meat really that important after perfect grilling?
Yes, it's crucial! Letting your meat rest for 5-10 minutes after grilling allows the juices to redistribute, ensuring every bite is moist and flavorful. Don't skip this step for truly perfect grilling.
📋 Table of Contents
- Mastering Your Heat: The Foundation of Perfect Grilling
- Preparation Prowess: Setting Your Ingredients Up for Success
- The Art of the Flip & The Science of Doneness
- Beyond the Meat: Grilling Vegetables, Fruit, and More
- The Crucial Post-Grill Steps: Resting and Finishing
- Grill Maintenance & Safety: Keeping Your Cookout Flawless
- Conclusion: Become the Ultimate Grill Master
Mastering Your Heat: The Foundation of Perfect Grilling
Understanding and controlling your heat source is arguably the single most important factor in achieving perfect grilling cooking tips success. It’s not just about "hot" or "cold"; it’s about strategic temperature zones and consistent application. Think of your grill as a multi-zone oven, capable of both high-heat searing and gentle, slow cooking.

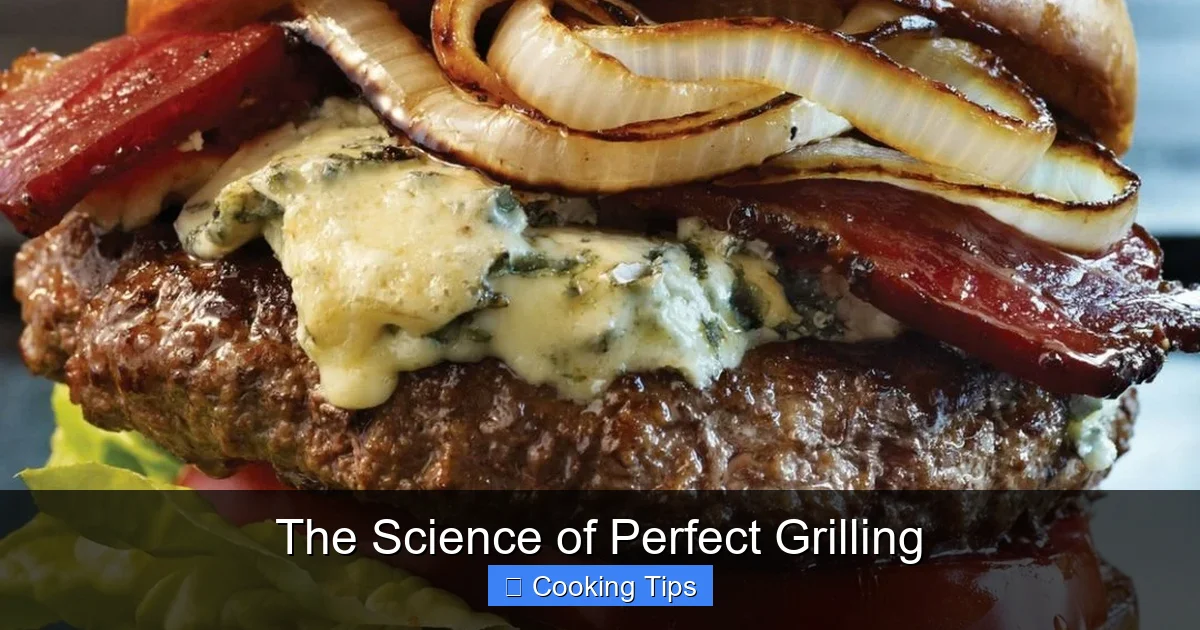
Learn more about perfect grilling cooking tips - The Science of Perfect Grilling
Image source: blog-content.omahasteaks.com
The Power of Two-Zone Grilling
One of the most valuable techniques you can learn is setting up a two-zone fire. This involves creating distinct hot and cool areas on your grill, allowing you to move food as needed.
| Grilling Tip | Why It's Crucial | Key Action / Metric |
|---|---|---|
| 1. Preheat Thoroughly | Ensures even cooking, develops a great sear, and prevents sticking. | Preheat for 10-15 min until grates reach 450-550°F (230-290°C). |
| 2. Clean Grill Grates | Prevents food from sticking, creates defined grill marks, and removes old residue. | Brush grates with a wire brush *after* preheating and *before* adding food. |
| 3. Use Temperature Zones | Allows for searing over high heat and finishing over lower, indirect heat to prevent burning. | Set up direct (hot) and indirect (cooler) cooking zones on your grill. |
| 4. Monitor Internal Temp | Guarantees food safety, desired doneness, and prevents overcooking and dryness. | Use an instant-read meat thermometer (e.g., chicken 165°F, steak medium-rare 130-135°F). |
| 5. Rest Cooked Meats | Allows juices to redistribute throughout the meat, resulting in a more tender and moist product. | Rest for 5-10 minutes for smaller cuts, 10-20 minutes for larger cuts, covered loosely. |
- Direct Heat Zone: This is where your charcoal briquettes or gas burners are directly underneath the food. It’s ideal for searing, charring, and quickly cooking thinner items like burgers, hot dogs, and thin-cut steaks. The intense heat promotes the Maillard reaction, creating that delicious crust.
- Indirect Heat Zone: Here, the heat source is off to the side, or only one burner is on in a gas grill. This zone is perfect for slower cooking, roasting, and finishing thicker cuts of meat like whole chickens, roasts, or thick steaks that have been seared. It prevents burning while ensuring the interior cooks thoroughly.
To set up a two-zone fire on a charcoal grill, simply pile your coals on one side. For gas grills, turn on burners on one side to high, and leave the others off or on low.
Temperature Control: Charcoal vs. Gas
While gas grills offer precise temperature dials, charcoal grills demand a bit more finesse. However, both require understanding how to read and maintain temperature.
- Gas Grills: Preheat your grill with the lid closed for 10-15 minutes until it reaches your desired temperature (typically 400-500°F for high heat). Adjust burners as needed. A lid thermometer is a good guide, but an internal grill thermometer for accurate grate temperature is even better.
- Charcoal Grills: Invest in a chimney starter for quick, even lighting. Once the coals are ash-gray, spread them for direct or indirect heat. Control temperature by adjusting vents – more open vents mean more oxygen and hotter temperatures; closing them slightly reduces heat.
Did you know? The average American grills 10 times during the summer months. Mastering temperature control is key to making each of those sessions a success!
Preparation Prowess: Setting Your Ingredients Up for Success
Even with perfect heat management, your final product will only be as good as your starting ingredients and preparation. This section focuses on essential perfect grilling cooking tips that occur before your food even touches the grates.

Learn more about perfect grilling cooking tips - The Science of Perfect Grilling
Image source: i.ytimg.com
Ingredient Selection and Pre-Grill Care
- Quality Meats & Produce: Start with fresh, high-quality ingredients. For meats, look for good marbling. For vegetables, choose firm, vibrant produce.
- Pat Dry: For meats especially, excess surface moisture is the enemy of a good sear. Pat your protein thoroughly dry with paper towels before seasoning. This ensures crispier skin and a better crust because the energy goes into searing, not evaporating water.
- Room Temperature Meats: Allow thicker cuts of meat (steaks, roasts, whole chickens) to come to room temperature for 30-60 minutes before grilling. This ensures more even cooking from edge to center, preventing a cold, undercooked interior while the outside burns.
The Art of Seasoning and Marinating
Flavor infusion is crucial. A simple salt and pepper seasoning can be profound, but marinades and rubs offer endless possibilities.
- Dry Rubs: Apply generously to meat, pressing it gently to adhere. For best results, apply a few hours or even overnight before grilling, allowing the flavors to penetrate.
- Marinades: These add flavor and moisture, and sometimes tenderize. Acidic components (vinegar, citrus) can tenderize, but don't over-marinate as they can make meat mushy. Marinate thinner cuts for 30 minutes to a few hours, thicker cuts for 4-12 hours. Always marinate in the refrigerator.
- Salt Smart: Salt draws moisture to the surface, then dissolves and gets reabsorbed, seasoning the meat deeply. For steaks, season generously with coarse salt 40 minutes before grilling (to allow reabsorption) or right before cooking. Avoid salting 5-30 minutes beforehand, as this is when moisture is actively being drawn out.
A great marinade can transform a simple cut into an extraordinary dish, a prime example of applying perfect grilling cooking tips for maximum flavor.
Oil the Grates, Not the Food (Usually)
To prevent sticking, oil your grates, not your food (unless it's very lean). Use a paper towel dipped in high-smoke-point oil (like canola or grapeseed) and, using tongs, wipe it over hot, clean grates just before adding food. This creates a non-stick surface without burning oil on your food or causing flare-ups from dripping oil.
The Art of the Flip & The Science of Doneness
Knowing when to flip and, more importantly, when your food is perfectly cooked, separates the novice from the grill master. These perfect grilling cooking tips focus on technique and precision.
When to Flip: The "Release" Test
Patience is a virtue on the grill. Resist the urge to constantly poke and prod your food. For items like steaks, burgers, and chicken, there’s a simple rule: don’t flip until the food naturally releases from the grates. If it sticks, it’s not ready. Give it another minute or two, then try again. This ensures a beautiful, even sear without tearing the surface.
A general guideline for most proteins is to flip once, maybe twice. Too many flips prevent a good crust from forming.
The Indispensable Instant-Read Thermometer
This is arguably the most crucial tool for anyone aspiring to perfect grilling cooking tips. Eyeballing doneness, pressing with your finger, or relying solely on cook times is a recipe for inconsistency. A digital instant-read thermometer takes all the guesswork out of grilling, ensuring your food is both safe and perfectly cooked to your desired doneness.
- Insert the thermometer into the thickest part of the meat, avoiding bones.
- Aim for the center for accurate readings.
- Always check multiple spots on larger cuts.
Studies show that using a food thermometer dramatically reduces the risk of foodborne illness, making it a critical aspect of food safety during grilling.
Doneness Guide: Internal Temperatures for Success
Here’s a quick reference for common proteins. Remember, carryover cooking means the temperature will rise by 5-10°F after removing from the heat, so pull your food off the grill slightly before it reaches the target temperature.
Internal Temperature Guide for Perfect Grilling
| Food Item | Doneness | Target Internal Temperature (Pull from Grill) | Resting Temperature (Final) |
|---|---|---|---|
| Beef Steaks/Roasts | Rare | 120-125°F (49-52°C) | 125-130°F (52-54°C) |
| Beef Steaks/Roasts | Medium-Rare | 125-130°F (52-54°C) | 130-135°F (54-57°C) |
| Beef Steaks/Roasts | Medium | 135-140°F (57-60°C) | 140-145°F (60-63°C) |
| Pork Chops/Roasts | Medium | 135-140°F (57-60°C) | 140-145°F (60-63°C) |
| Pork Chops/Roasts | Well-Done (Safe) | 145°F (63°C) | 150°F+ (66°C+) |
| Chicken (Breast/Thighs) | Safe (Juicy) | 160-162°F (71-72°C) | 165°F (74°C) |
| Ground Meats (Beef, Pork, etc.) | Safe | 155-158°F (68-70°C) | 160°F (71°C) |
| Fish | Flaky | 135-140°F (57-60°C) | 140-145°F (60-63°C) |
Beyond the Meat: Grilling Vegetables, Fruit, and More
The grill isn't just for steaks and burgers! Expanding your repertoire to include vegetables, fruit, and even pizza can unlock a world of flavor and make you a true master of perfect grilling cooking tips.
Grilling Vegetables: Tips for Tender & Flavorful Results
Most vegetables benefit from medium-high direct heat and a little oil to prevent sticking. Cut them into similar sizes for even cooking.
- Hardy Vegetables (Asparagus, Bell Peppers, Zucchini, Onions, Corn on the Cob): Toss with olive oil, salt, and pepper. Grill directly over medium-high heat, turning occasionally, until tender-crisp and nicely charred. Corn can be grilled in the husk (for steaming) or husked and charred directly.
- Softer Vegetables (Tomatoes, Mushrooms): These cook faster. Use skewers for smaller items or grill whole.
- Potatoes/Sweet Potatoes: Pre-boil or microwave until slightly tender, then slice and grill for a crispy exterior.
- Plank Grilling: For delicate items like fish or thinly sliced vegetables, cedar planks add a wonderful smoky flavor and prevent sticking. Soak the plank for at least 30 minutes before use.
Fruit on the Grill: A Sweet Surprise
Grilling fruit brings out its natural sugars and adds a smoky depth. Think grilled pineapple, peaches, or watermelon for a delightful dessert or side dish. Brush with a little melted butter or a light syrup before grilling directly over medium heat for a few minutes per side until grill marks appear and it softens slightly.
Grilling Pizza and More
Yes, you can grill pizza! Roll out your dough, brush one side with oil, and grill that side over direct heat until bubbles form and it sets. Flip, then quickly add sauce, cheese, and toppings. Move to indirect heat, close the lid, and cook until the cheese melts and the crust is golden brown. It's a quick, delicious way to use your grill.
The Crucial Post-Grill Steps: Resting and Finishing
Many people make the mistake of cutting into their perfectly grilled meat the moment it comes off the heat. This is a critical error! These final perfect grilling cooking tips are essential for maximizing juiciness and flavor.
Why Resting is Non-Negotiable
When meat cooks, its muscle fibers contract, pushing the internal juices towards the center. If you cut into it immediately, those juices will gush out onto your cutting board, leaving you with a drier, less flavorful piece of meat. Resting allows those muscle fibers to relax and reabsorb the juices, distributing them evenly throughout the entire cut.
- How Long to Rest:
- Smaller cuts (steaks, chops, burgers): 5-10 minutes.
- Larger roasts or whole chickens: 10-20 minutes (or 10 minutes per pound).
- How to Rest: Transfer the grilled item to a cutting board or platter and tent it loosely with aluminum foil. Don't wrap it tightly, as this will steam the meat and soften the crust you worked so hard to achieve.
Slicing Techniques for Maximum Tenderness
Once rested, how you slice your meat can significantly impact its tenderness. Always slice meat against the grain. The "grain" refers to the direction in which the muscle fibers run. Cutting against them shortens these fibers, making each bite more tender and easier to chew.
This attention to detail ensures your guests experience the full benefit of your perfect grilling cooking tips.
When to Sauce: Glazing vs. Serving
- Glazes (Sugary Sauces): If using a sauce with a high sugar content (like most BBQ sauces), apply it during the last 10-15 minutes of grilling over indirect heat. This allows the sauce to caramelize and thicken without burning. Applying too early will result in burnt, bitter sauce.
- Finishing Sauces: Most sauces are best served on the side or brushed on just after the meat comes off the grill and during the resting period. This preserves their fresh flavor and prevents them from drying out or burning.
Grill Maintenance & Safety: Keeping Your Cookout Flawless
A successful grilling experience extends beyond the food itself. Proper grill maintenance and safety practices are vital for longevity, performance, and peace of mind. These perfect grilling cooking tips ensure every grilling session is enjoyable and safe.
Cleanliness is Key: The Post-Grill Scrub
The best time to clean your grill grates is immediately after you finish cooking, while they are still hot. The residual heat helps burn off any leftover food particles, making them easier to brush away.
- Heat 'em Up: Turn up the heat on your grill for 5-10 minutes after removing food.
- Brush: Use a sturdy wire brush (or a bristle-free brush for safety) to scrape off any charred food bits.
- Oil: Once clean, turn off the grill and, using tongs and a paper towel, lightly oil the grates to prevent rust.
A clean grill prevents food from sticking, extends the life of your grates, and ensures that the flavors from your last meal don't interfere with your next.
Food Safety First: Preventing Cross-Contamination
Food safety is paramount to truly enjoying your grilled creations. Keep these tips in mind:
- Separate Boards: Always use separate cutting boards for raw meats and cooked foods/produce. Designate one for raw protein and another for everything else.
- Clean Utensils: Use different tongs, spatulas, and plates for raw and cooked items. Never put cooked meat back on the same plate that held raw meat.
- Handwashing: Wash your hands thoroughly with soap and water after handling raw meat and before touching other ingredients.
Adhering to these safety measures is just as important as the cooking itself when striving for perfect grilling cooking tips.
Safe Fuel Storage & Grill Placement
Always store propane tanks and charcoal in a cool, dry, well-ventilated area away from direct sunlight or heat sources. Position your grill on a level, stable surface, at least 10 feet away from any combustible materials (house, fences, low-hanging branches).
Conclusion: Become the Ultimate Grill Master
From mastering heat zones and perfecting your prep to understanding the science of doneness and the critical art of resting, these perfect grilling cooking tips are your roadmap to culinary success. Grilling is more than just cooking; it’s an experience, a craft that, when honed, brings immense satisfaction to both the chef and their delighted guests.
The journey to becoming a grill master is an ongoing one, filled with experimentation and delicious discoveries. Don't be afraid to try new techniques, explore different marinades, or grill unexpected ingredients. Each successful cookout builds confidence and expands your repertoire.
So, arm yourself with these insights, grab your favorite cuts, and step out into the backyard with renewed confidence. The sizzle awaits, and with these expert perfect grilling cooking tips, you're now ready to unlock the true potential of your grill and create unforgettable meals that will have everyone asking for your secret recipes. Happy grilling!
🎥 Related Video: Grilling Basics – Gas vs. Charcoal Grills
📺 Omaha Steaks
The age-old grilling debate: gas vs. charcoal grills. In this video, we quickly compare the pros and cons of each grilling method.
Frequently Asked Questions
What’s the secret to achieving the right grill temperature for perfect grilling?
Proper heat management is crucial for consistent results. You’ll want to preheat your grill thoroughly, aiming for distinct temperature zones (direct and indirect heat) to accommodate various foods and cooking stages, which helps prevent burning while ensuring even cooking.
How do I ensure my food is cooked to the ideal doneness without drying it out?
An instant-read meat thermometer is your best friend for perfect grilling. Always cook to internal temperature guidelines, not just time, and remember that meat continues to cook a little after being removed from the heat (carry-over cooking).
My food often sticks to the grates. What are your top tips for preventing this and getting those beautiful grill marks?
Start with a clean, hot grill and ensure your grates are well-oiled before placing food down. Allow enough time for a good sear to develop; trying to move food too soon will usually cause it to stick rather than release easily.
How can I prevent annoying flare-ups that often char my food during perfect grilling?
Flare-ups are typically caused by fat dripping onto the heat source. Trim excess fat from meats, use a two-zone grilling setup to move food to indirect heat if a flare-up occurs, and avoid using too much oil or sugary marinades that can burn.
Is resting meat really that important after grilling, and for how long?
Absolutely! Resting allows the juices, which are pushed to the center during cooking, to redistribute throughout the meat, resulting in a more tender and flavorful bite. For most cuts, 5-10 minutes is sufficient, while larger roasts might need 15-20 minutes.
What’s the best approach to seasoning and marinating for maximum flavor when aiming for perfect grilling?
For seasoning, a good rub applied well in advance can penetrate deeper, enhancing flavor. Marinades add moisture and flavor; ensure they contain an acid to tenderize and avoid over-marinating delicate items which can become mushy.


