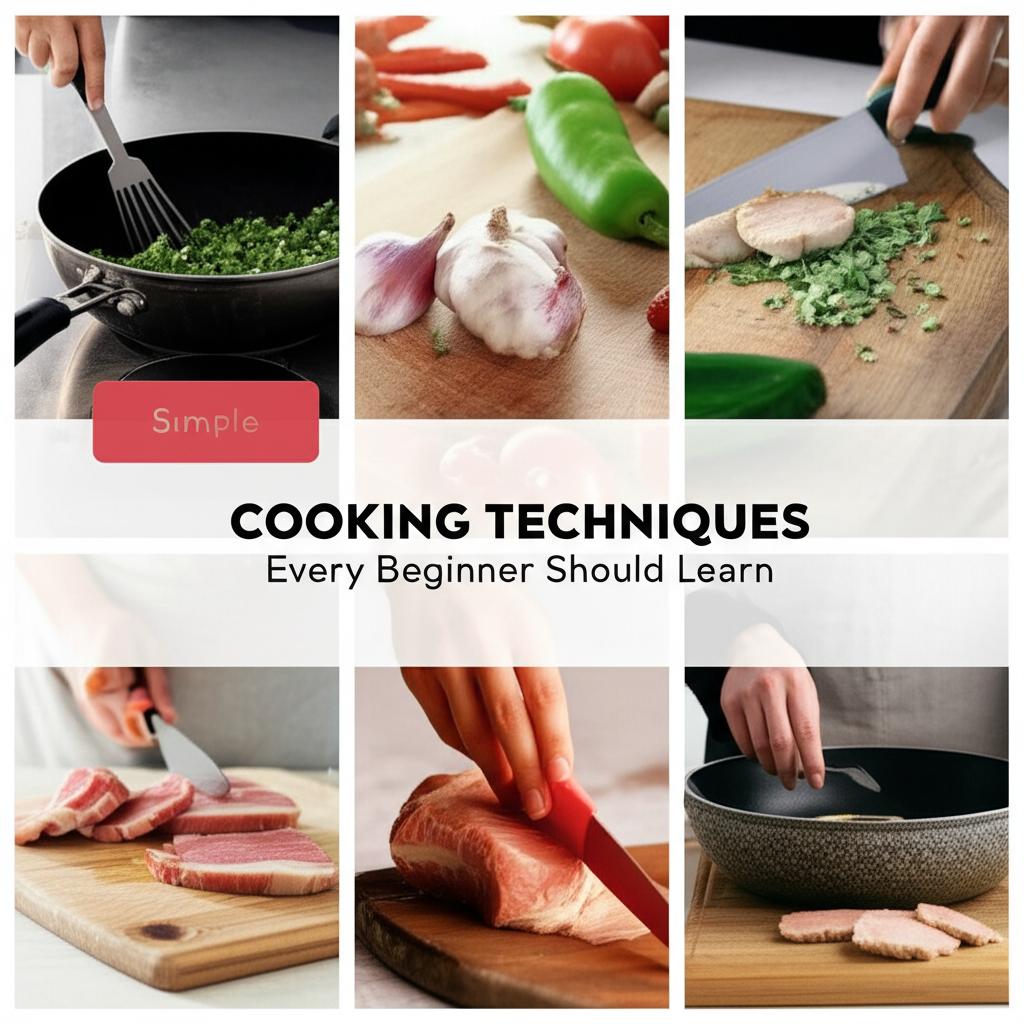
Mastering the Art of Pan-Frying: Your Guide to Perfectly Crispy, Flavorful Dishes
- SENSARTE Nonstick Frying Pan Skillet, Swiss Granite Coating Omelette Pan, Healthy Stone Cookware Chef’s Pan, PFOA Free (8/9.5/10/11/12.5 Inch) (9.5 Inch)
- Tramontina Professional 10-Inch Non Stick Frying Pan, Heavy-Gauge Aluminum Skillet with Reinforced Nonstick Coating, Red Handle, Dishwasher and Oven Safe
- Wok pan,12 inch Hybrid Wok with Lid,PFOA Free Cookware,Non Stick Stainless Steel Woks & Stir-fry pans Nonstick, Dishwasher and Oven Safe, Works on Induction
Who doesn’t love a perfectly seared steak with a golden-brown crust, or a delicate piece of fish with crispy skin, all cooked in just minutes? That’s the magic of pan-frying! It’s one of the most fundamental and rewarding cooking techniques, transforming simple ingredients into culinary masterpieces.
While it might seem straightforward, mastering the art of pan-frying involves a delicate balance of heat, fat, and timing. But don’t worry, you don’t need to be a Michelin-star chef to achieve incredible results. With this detailed guide, a little practice, and a dash of patience, you’ll be pan-frying like a pro in no time!
Why Pan-Frying is a Culinary Superpower
Pan-frying is more than just cooking food in a pan with oil. It’s about achieving:
- Incredible Flavor: High heat creates the Maillard reaction – that wonderful browning and caramelization that develops complex, savory flavors.
- Crispy Textures: Think crispy chicken skin, perfectly seared scallops, or golden-brown potato hash.
- Speed and Efficiency: It’s a fantastic technique for quick weeknight meals, as it cooks food rapidly.
- Versatility: From meats and poultry to fish, vegetables, and even some fruits, almost anything can be pan-fried!
Your Essential Pan-Frying Toolkit (No Brand Names, Just Great Tools!)
Before we dive into the technique, let’s ensure you have the right gear. Remember, you don’t need fancy gadgets, just reliable basics:
- A Good Quality Pan:
- Cast Iron Skillets: Excellent heat retention and even heat distribution, perfect for searing. They develop a natural non-stick surface over time.
- Stainless Steel Pans: Durable, conduct heat well, and are great for searing and deglazing.
- Heavy-Bottomed Non-Stick Pans: Useful for more delicate foods like fish or eggs, though they won’t achieve as deep a sear as cast iron or stainless steel.
- Heat-Resistant Spatula or Tongs: For flipping and moving food.
- Instant-Read Thermometer: Your best friend for ensuring meats are cooked to the perfect doneness.
- Paper Towels: Essential for patting food dry.
- Small Bowl/Plate: For seasoning ingredients.
Choosing Your Fat: The Unsung Hero of Pan-Frying
The fat you choose is crucial. It conducts heat, prevents sticking, and adds flavor. The key is understanding smoke point – the temperature at which an oil begins to smoke and break down, creating bitter flavors and potentially harmful compounds.
- High Smoke Point Oils (Ideal for High-Heat Searing):
- Canola Oil
- Vegetable Oil
- Grapeseed Oil
- Avocado Oil
- Rice Bran Oil
- These are neutral in flavor and great for achieving a deep sear without burning.
- Medium Smoke Point Oils (Good for Moderate Heat):
- Light Olive Oil (not extra virgin)
- These can add a subtle flavor but are not ideal for extreme high heat.
- Low Smoke Point Fats (For Flavor and Lower Heat):
- Butter: Adds incredible flavor and richness, but burns easily. Often used after searing with oil, or for gentle pan-frying.
- Extra Virgin Olive Oil: Fantastic flavor but has a low smoke point. Best for finishing dishes or very gentle pan-frying, not high-heat searing.
Rule of Thumb: When in doubt, go with a high smoke point, neutral oil for pan-frying.
The Pan-Frying Process: Step-by-Step to Perfection
Follow these steps for consistently excellent results:
Step 1: Prepare Your Ingredients
- Bring Food to Room Temperature (for Meats): For thicker cuts of meat (like steak or chicken breasts), letting them sit out for 15-30 minutes before cooking helps them cook more evenly.
- Pat Food Thoroughly Dry: This is CRITICAL! Moisture on the surface will create steam, preventing browning and a crispy crust. Use paper towels to blot away all excess liquid.
- Season Generously: Salt and pepper are your friends. Season both sides of your food just before cooking. For thicker items, don’t be shy with the salt.
Step 2: Preheat Your Pan
- Place your pan on medium-high to high heat.
- This is arguably the most important step. A properly preheated pan is essential for achieving a good sear and preventing sticking.
- How to tell it’s ready:
- Stainless Steel: The “mercury ball” test. Add a few drops of water; if they immediately evaporate, the pan isn’t hot enough. If they dance and form little mercury-like balls, it’s perfect.
- Cast Iron: It will start to slightly smoke, or you can hold your hand an inch above it and feel intense heat.
- Non-stick: Don’t overheat excessively, as it can damage the coating. Heat until a drop of water sizzles instantly.
Step 3: Add Your Fat
- Once the pan is hot, add your chosen oil. You typically need just enough to lightly coat the bottom of the pan – about 1-2 tablespoons for most items. Too much oil will make food greasy; too little will cause sticking.
- Swirl the oil to coat the surface. The oil should shimmer and look “wavy” but not smoke excessively. If it’s smoking heavily, your pan is too hot – remove it from the heat for a moment, let it cool slightly, then return it.
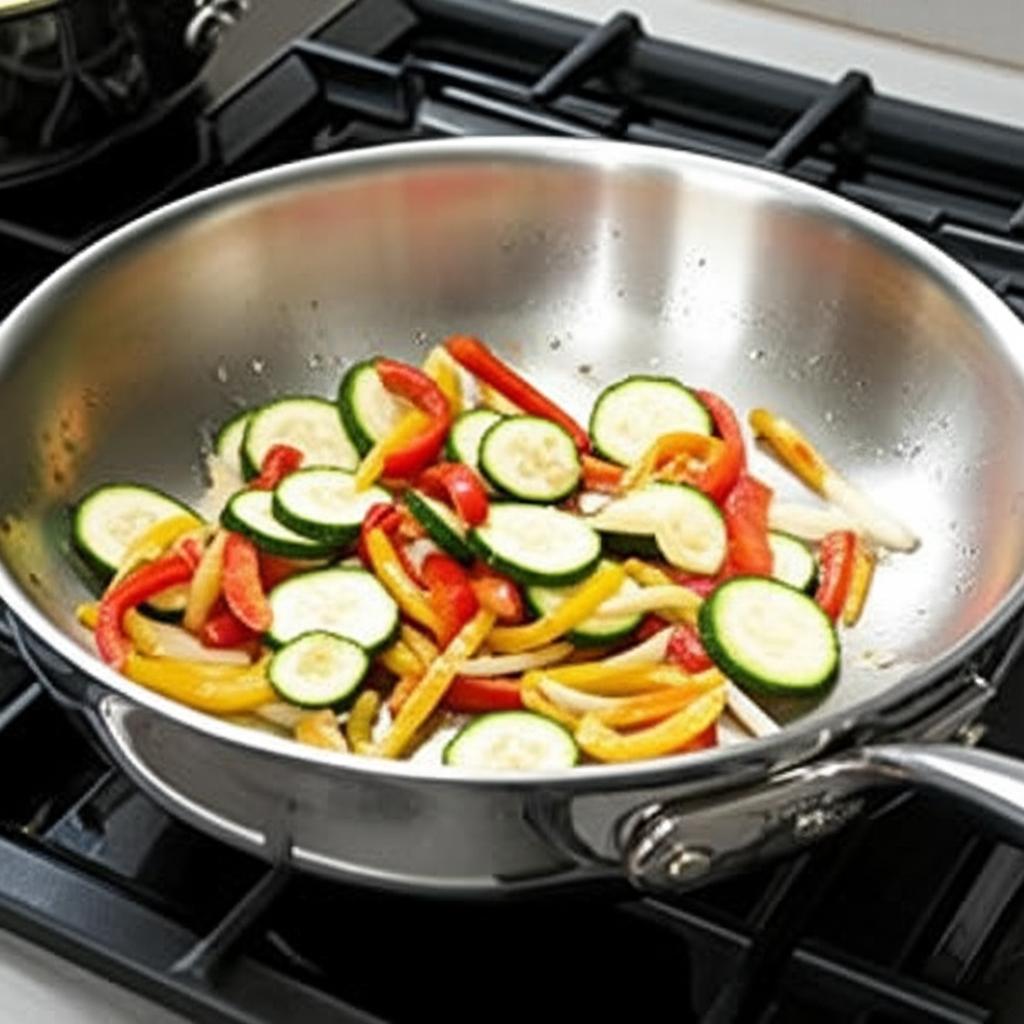
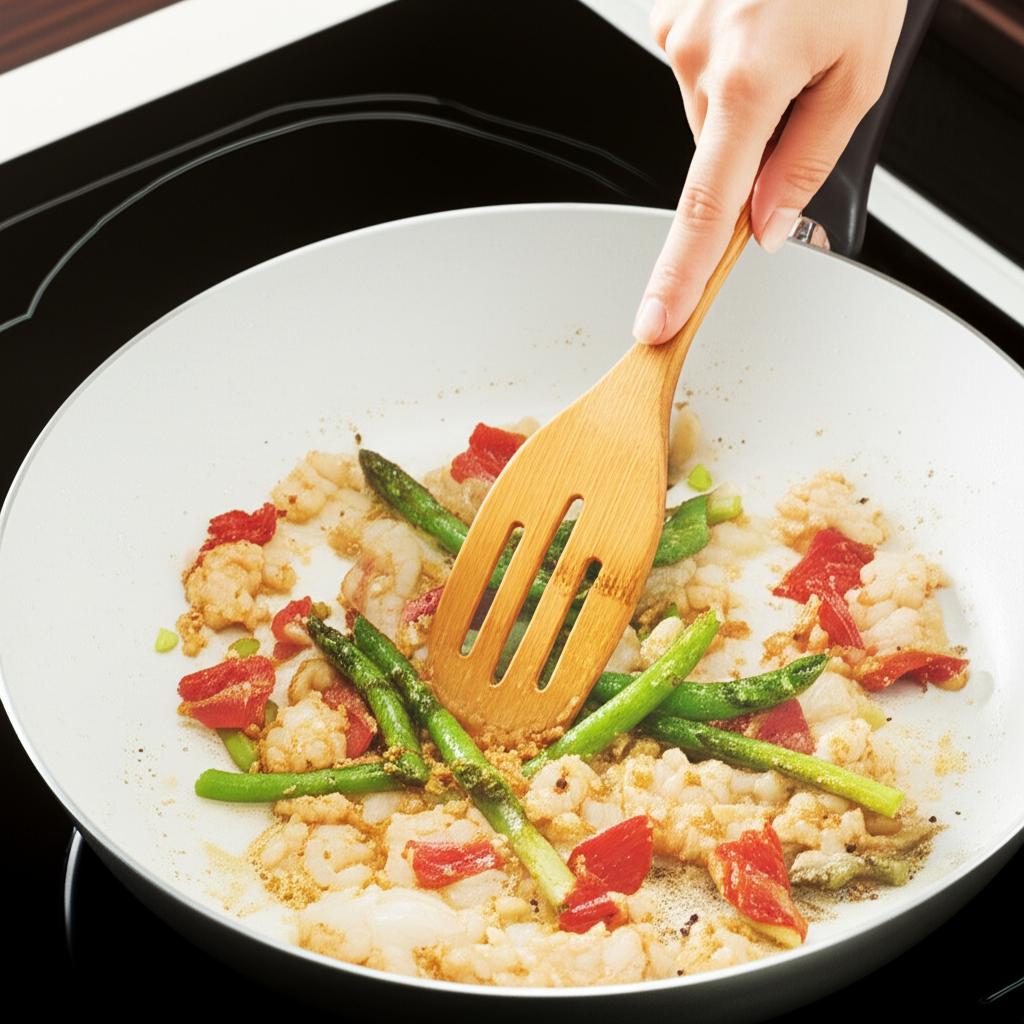
Step 4: Introduce Your Food (Carefully!)
- Gently place your food into the hot pan, laying it away from you to avoid splashes.
- Do not overcrowd the pan! This is another crucial point. If you put too much food in, the pan’s temperature will drop, leading to steaming instead of searing. Cook in batches if necessary. Ensure there’s space between each piece.
Step 5: Resist the Urge to Flip
- Once the food is in, leave it alone! Do not touch it, move it, or try to flip it for several minutes.
- This “hands-off” approach allows a beautiful crust to form. The food will naturally release from the pan when it’s ready to be flipped. If it’s sticking, it’s likely not ready yet, or your pan wasn’t hot enough to begin with.
- Look for the “release” and a deep golden-brown crust creeping up the sides of the food.
Step 6: Flip and Finish
- Once one side is beautifully browned and releases easily, flip the food using your spatula or tongs.
- Continue cooking on the second side until it reaches your desired doneness.
- Adjust the heat if necessary: If the pan is getting too hot and the exterior is browning too quickly, slightly reduce the heat to ensure the inside cooks properly without burning the outside.
Step 7: Check for Doneness
- For meats and poultry, the most accurate way is with an instant-read thermometer. Insert it into the thickest part of the food, avoiding bones.
- Visual cues: Fish will flake easily, vegetables will be tender-crisp.
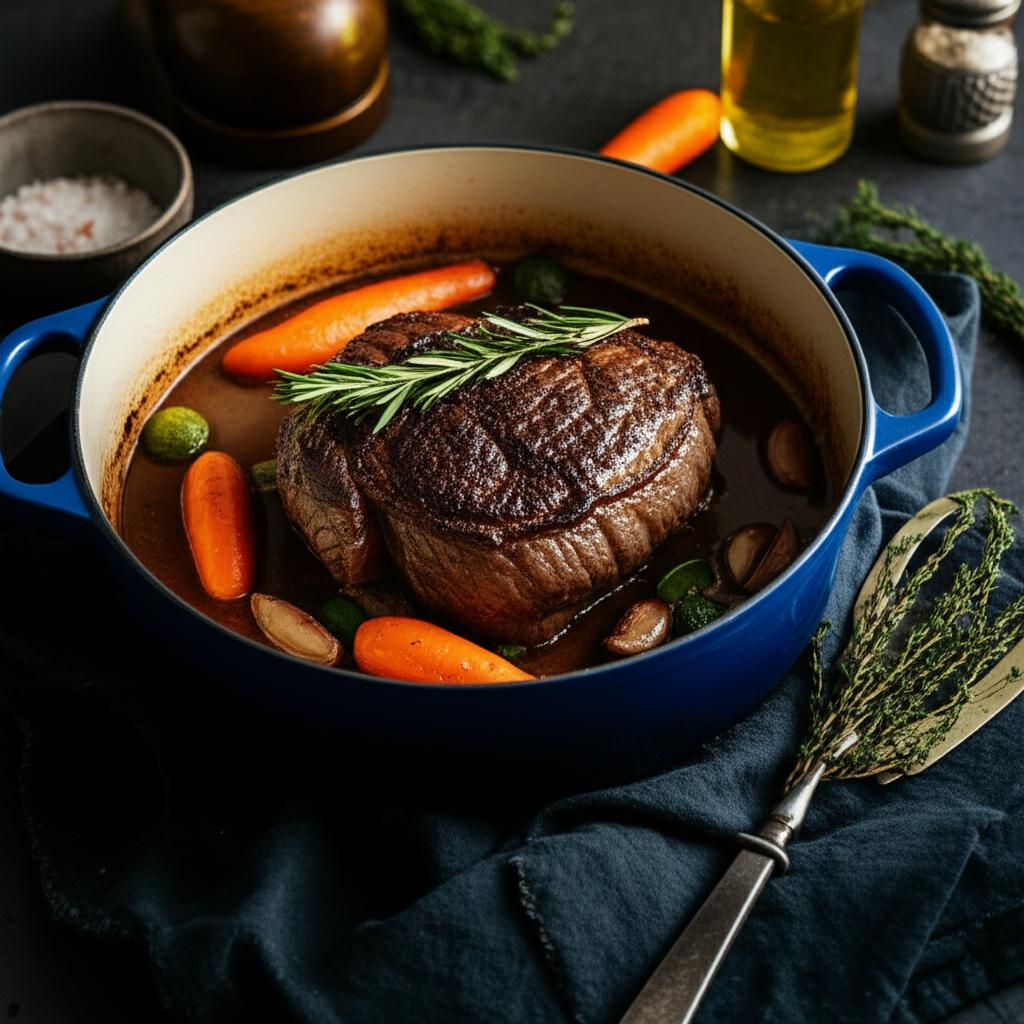
Step 8: Rest Your Food (Especially Meats)
- Once cooked, transfer your food to a cutting board or plate and let it rest for a few minutes (5-10 minutes for steaks, 2-3 minutes for smaller items).
- Why rest? As meat cooks, its juices are pushed to the center. Resting allows these juices to redistribute throughout the meat, resulting in a much more tender and juicy final product. If you cut into it too soon, all those delicious juices will run out onto your board.
Tips for Pan-Frying Perfection
- Don’t Overcrowd the Pan: We can’t say this enough! It’s the number one mistake that leads to steamed, grey food instead of beautifully seared, golden-brown results.
- Temperature Control is Key: A hot pan is essential, but it shouldn’t be smoking excessively or burning your food. Adjust the heat as needed throughout the cooking process.
- Pat Food Dry! Yes, again! It’s that important for a great crust.
- Season Generously: Salt enhances flavor and helps draw out moisture, contributing to a better sear.
- Trust the Release: When the food is ready to flip, it will naturally release from the pan. Don’t force it.
- Consider Deglazing: After pan-frying meats, there will be flavorful browned bits (fond) stuck to the bottom of the pan. You can add a splash of liquid (wine, broth, water) to the hot pan, scrape up the fond, and create a quick, flavorful pan sauce.
Common Pan-Frying Mistakes to Avoid
- Starting with a Cold Pan: Leads to sticking, uneven cooking, and a soggy crust. Always preheat your pan thoroughly.
- Using Too Little or Too Much Fat: Too little causes sticking and burning; too much results in greasy food. Aim for a thin, even layer.
- Overcrowding the Pan: This is a recurring theme because it’s so common! It drops the pan’s temperature and prevents proper searing.
- Flipping Too Soon or Too Often: Prevents a proper crust from forming and adds time to your cooking. Let it sear!
- Not Patting Food Dry: Leads to steaming instead of searing.
- Skipping the Resting Period: Forgetting to rest meats will result in dry, less flavorful cuts.
Cleanup and Pan Care
- Non-stick: Let the pan cool slightly, then wash with warm, soapy water and a soft sponge. Avoid abrasive scrubbers.
- Stainless Steel: Let cool. Most bits will come off with warm, soapy water. For stubborn spots, a little baking soda paste can work wonders.
- Cast Iron: Let cool. Scrape out any large food particles. Wash with hot water and a stiff brush (minimal soap if seasoned). Always dry cast iron immediately and thoroughly after washing to prevent rust. You can put it back on low heat for a minute to ensure it’s completely dry, then lightly rub with a thin layer of cooking oil before storing.
Conclusion
Pan-frying is a foundational skill that opens up a world of delicious possibilities. It’s about building layers of flavor and texture, transforming simple ingredients into memorable meals. The key takeaways are hot pan, dry food, not overcrowding, and patience.
Like any art, mastering pan-frying comes with practice. Don’t be afraid to experiment with different ingredients, fats, and heat levels. Soon, you’ll be creating perfectly golden, crispy, and incredibly flavorful dishes with confidence and flair. Happy frying!
- SENSARTE Nonstick Frying Pan Skillet, Swiss Granite Coating Omelette Pan, Healthy Stone Cookware Chef’s Pan, PFOA Free (8/9.5/10/11/12.5 Inch) (9.5 Inch)
- Tramontina Professional 10-Inch Non Stick Frying Pan, Heavy-Gauge Aluminum Skillet with Reinforced Nonstick Coating, Red Handle, Dishwasher and Oven Safe
- Wok pan,12 inch Hybrid Wok with Lid,PFOA Free Cookware,Non Stick Stainless Steel Woks & Stir-fry pans Nonstick, Dishwasher and Oven Safe, Works on Induction
FAQ
Q. What is the most crucial first step to mastering pan-frying?
A. The most crucial first step is proper pan preheating. A pan that isn’t hot enough will cause food to stick and prevent a good sear, leading to a dull, steamed result instead of a crispy, golden-brown crust. Place your pan over medium-high heat for several minutes until it’s adequately hot before adding oil or food.
Q. What type of oil should I use for pan-frying, and how much?
A. For most pan-frying, choose oils with a high smoke point like grapeseed oil, canola oil, avocado oil, or refined olive oil. Butter can be used for flavor but has a lower smoke point and can burn easily, so it’s often best blended with a high smoke point oil or added towards the end. Use just enough oil to coat the bottom of the pan generously – typically 1-2 tablespoons for most applications – ensuring it shimmers before adding food.
Q. How do I prevent food from sticking to the pan?
A. Preventing sticking involves several factors: ensuring your pan is properly preheated before adding oil, using enough oil, and making sure the food surface is dry before it hits the hot pan. Also, resist the urge to move the food too early; allow a crust to form, and it will naturally release from the pan when ready.
Q. What’s the secret to achieving a perfectly crispy crust on pan-fried items?
A. The secret to a crispy crust lies in a combination of dry food, high heat, and sufficient oil. Pat your food thoroughly dry with paper towels before placing it in the pan. Ensure your pan is hot enough (medium-high to high heat) and has a thin layer of shimmering oil. Place the food in the hot pan and leave it undisturbed for several minutes until a deep golden-brown crust forms before flipping. Overcrowding the pan will lower the temperature and steam the food, preventing crispness.
Q. How do I know the right temperature for pan-frying different foods?
A. The right temperature is critical and often varies by food. A general rule is medium-high heat for most items like chicken breasts, fish fillets, or vegetables, allowing for a good sear without burning. For delicate items or those that cook quickly, you might lower the heat slightly to medium. If your oil is smoking excessively, the pan is too hot; if the food sizzles weakly or seems to stew, it’s not hot enough. Listen to the sizzle – it should be a lively, consistent sound.
Q. Is it okay to overcrowd the pan when pan-frying?
A. Absolutely not. Overcrowding the pan is one of the most common mistakes in pan-frying. It drastically lowers the pan’s temperature, causing food to steam rather than sear and brown. This results in pale, flabby, and often unevenly cooked food. Always cook in batches, leaving ample space around each piece, to maintain consistent heat and achieve optimal browning and crispness.
Q. How can I tell if my pan-fried food is cooked through without cutting into it?
A. While a meat thermometer is always the most accurate method for proteins (e.g., chicken to 165°F, fish to 145°F), you can also rely on visual cues and the “touch test.” For fish, look for opaqueness and flakiness. For chicken or pork, watch for the juices to run clear. For denser items, gently press the food with tongs or your finger; if it feels firm to the touch with a slight spring-back, it’s likely done. Practice and familiarity with different foods will greatly improve your ability to judge doneness by feel.