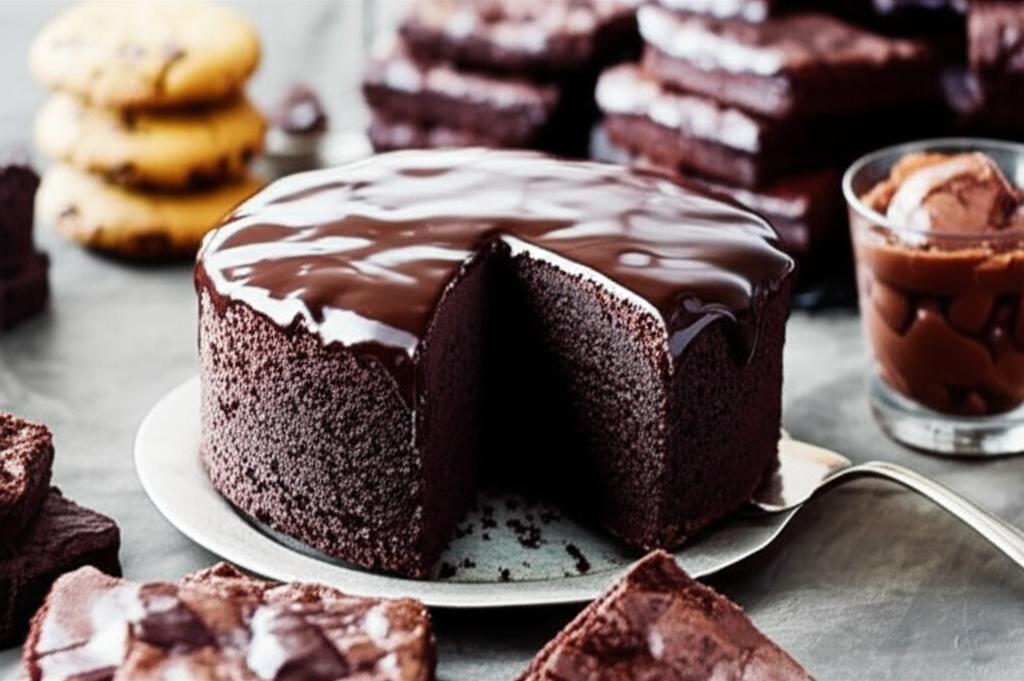
Sweet Success Made Simple: Easy Desserts for Any Occasion
- O’Creme Bakeable Plastic Mini Flan Molds Pan – Baking Pan With Non-Stick Silicone – Reusable Non-Stick baking Mini Flan Molds For Baking and Much More – 25 QTY Pack
- CAKETIME 12 Cups Silicone Muffin Pan – Nonstick Cupcake Pan 1 Pack Regular Size Silicone Mold for Baking
- 2Pack Silicone Muffin Pan for Baking with Metal Reinforced Frame, 12 Cup Regular Size Cupcake Pan, BPA Free Silicone Muffin Tray, Cupcake Baking Pan Molds for Oven Dishwasher Safe
Who doesn’t love a delicious dessert? The perfect sweet ending to a meal, a comforting treat on a cozy evening, or a festive highlight for a celebration. But often, the thought of baking can feel daunting, leading us to believe that impressive desserts require hours of effort and complex techniques. Think again!
This article is your ultimate guide to mastering easy desserts for any occasion. We’ll show you how to whip up delectable treats that are big on flavor but low on stress, perfect for busy weeknights, last-minute gatherings, or even those moments when you just crave something sweet without the fuss. Get ready to impress yourself and everyone else with minimal effort and maximum deliciousness!
Why Choose Easy Desserts?
Beyond the obvious benefit of saving time, easy desserts offer a wealth of advantages:
- Stress-Free Preparation: No need for advanced baking skills or a pantry full of obscure ingredients.
- Versatility: Many simple recipes are easily customizable with different fruits, toppings, or flavorings.
- Budget-Friendly: Often rely on basic, affordable pantry staples.
- Boost Your Confidence: Successfully creating a delightful dessert with ease builds your kitchen confidence.
- Perfect for Beginners: An excellent starting point for anyone new to baking or cooking.
Let’s dive into some crowd-pleasing, genuinely easy dessert ideas, complete with step-by-step instructions, clever tips, and common pitfalls to avoid.
1. No-Bake Cheesecake Parfaits: Elegance in Layers
Why it’s easy: No oven required, minimal mixing, and incredibly adaptable. These parfaits look fancy but are assembled in minutes!
Ingredients You’ll Need (General):
* Cream cheese (softened)
* Powdered sugar
* Vanilla extract
* Heavy cream (or whipped topping)
* Graham crackers (or digestive biscuits, shortbread)
* Your favorite fruit (berries, sliced peaches, mango, or even cherry pie filling)
Step-by-Step Instructions:
- Prep the Crust: Place graham crackers in a zip-top bag and crush them into fine crumbs using a rolling pin or the bottom of a glass. Set aside.
- Make the Cheesecake Filling: In a large bowl, beat the softened cream cheese until smooth. Add powdered sugar and vanilla extract, beating until well combined.
- Whip the Cream: In a separate, chilled bowl, beat the heavy cream until stiff peaks form. Gently fold the whipped cream into the cream cheese mixture until just combined. Be careful not to deflate the cream.
- Assemble the Parfaits: Grab clear glasses, small jars, or stemless wine glasses. Start with a layer of graham cracker crumbs at the bottom.
- Layer it Up: Add a layer of the cheesecake mixture, then a layer of fresh fruit. Repeat the layers: crumbs, cheesecake, fruit, ending with a final layer of fruit or a dollop of cream.
- Chill: Refrigerate for at least 1-2 hours to allow the layers to set and flavors to meld.
Tips for Success:
- Soften Cream Cheese: Take cream cheese out of the fridge at least 30 minutes before use. Room temperature cream cheese will mix smoothly without lumps.
- Chill Your Bowl: For the best whipped cream, chill your mixing bowl and beaters in the freezer for 10-15 minutes before whipping the heavy cream.
- Get Creative: Experiment with different fruits, chocolate shavings, lemon zest, or even a drizzle of caramel or chocolate sauce between layers.
Common Mistakes to Avoid:
- Not Softening Cream Cheese: This will lead to lumpy filling.
- Overmixing the Cheesecake Filling: Once the whipped cream is folded in, stop mixing. Overmixing can deflate the cream and make the filling runny.
- Not Chilling Long Enough: The layers need time to firm up, making it easier to serve and enjoy.
2. Effortless Fruit Crisp (or Crumble): Warm & Comforting
Why it’s easy: Extremely forgiving, rustic charm, and uses pantry staples. Perfect for showcasing seasonal fruit!
Ingredients You’ll Need (General):
* Fresh or frozen fruit (berries, apples, peaches, pears, cherries)
* Granulated sugar (adjust based on fruit sweetness)
* A touch of flour or cornstarch (for thickening)
* For the Topping: Rolled oats, all-purpose flour, brown sugar, cold butter (cubed), a pinch of salt. (Optional: cinnamon, nutmeg).
Step-by-Step Instructions:
- Prepare the Fruit Filling: Preheat your oven to 375°F (190°C). In a large bowl, gently toss your chosen fruit with a bit of sugar (start with less, you can always add more) and a spoonful of flour or cornstarch (this prevents a watery filling). Pour the fruit mixture into a baking dish (8×8 or 9×13, depending on quantity).
- Make the Crumble Topping: In a separate bowl, combine the rolled oats, flour, brown sugar, and a pinch of salt. Add any optional spices like cinnamon.
- Cut in the Butter: Add the cold, cubed butter to the dry ingredients. Use your fingertips, a pastry blender, or two knives to cut the butter into the mixture until it resembles coarse crumbs with some pea-sized pieces remaining. Don’t overmix!
- Assemble and Bake: Sprinkle the crumble topping evenly over the fruit in the baking dish.
- Bake: Bake for 30-45 minutes, or until the fruit is bubbly and tender, and the topping is golden brown and crisp. If the topping browns too quickly, loosely tent with foil.
- Cool Slightly: Let it cool for 10-15 minutes before serving.
Tips for Success:
- Cold Butter is Key: Using cold butter for the topping helps create that distinct crumbly texture. Warm butter will make it greasy.
- Don’t Overmix Topping: A slightly uneven, crumbly texture is desired. Overmixing can lead to a doughy topping.
- Add Spices: A dash of cinnamon, nutmeg, or even cardamom can elevate the flavor, especially with apple or pear crisps.
- Serve Warm: Fruit crisp is best served warm, perhaps with a scoop of vanilla ice cream or a dollop of whipped cream.
Common Mistakes to Avoid:
- Watery Filling: Not adding enough flour or cornstarch to the fruit, or using very ripe, juicy fruit without adjusting.
- Soggy Topping: This often happens if the butter isn’t cold enough or if the topping is overmixed.
- Burning the Topping: Keep an eye on it! If it’s browning too fast, loosely cover with aluminum foil.
3. 5-Minute Chocolate Mug Cake: Instant Gratification
Why it’s easy: Single serving, uses basic pantry ingredients, and cooks in minutes in the microwave. Perfect for a sudden craving!
Ingredients You’ll Need (General):
* All-purpose flour
* Granulated sugar
* Unsweetened cocoa powder
* Baking powder
* Salt
* Milk (any kind)
* Vegetable oil (or melted butter)
* Vanilla extract
* Optional: Chocolate chips, a spoonful of Nutella, or a mini marshmallow
Step-by-Step Instructions:
- Choose Your Mug: Find a microwave-safe mug that’s at least 12-14 ounces (approx. 350-400ml) to prevent overflow.
- Combine Dry Ingredients: In the mug, whisk together the flour, sugar, cocoa powder, baking powder, and salt until well combined.
- Add Wet Ingredients: Pour in the milk, oil, and vanilla extract.
- Mix Well: Using a fork, stir the mixture vigorously until no dry streaks remain and the batter is smooth. Scrape down the sides if necessary. (Optional: Stir in chocolate chips now).
- Microwave: Place the mug in the microwave. Cook on high power for 60-90 seconds. Cooking times vary wildly by microwave, so start at 60 seconds and add 10-15 second increments until the cake is set on top but still slightly moist. It’s better to undercook slightly than overcook.
- Cool & Enjoy: Let the mug cake cool for a minute or two (it will be hot!) before digging in.
Tips for Success:
- Know Your Microwave: Microwaves vary significantly. The first time, watch it closely. If it’s rubbery, you overcooked it. If it’s gooey (not just moist), it needs more time.
- Don’t Overcook: Overcooking is the #1 reason for a dry, rubbery mug cake. Aim for just set, knowing it will continue to cook slightly from residual heat.
- Customize: Add a spoonful of peanut butter or Nutella to the center before microwaving for a molten core. Top with ice cream, whipped cream, sprinkles, or a dusting of powdered sugar.
Common Mistakes to Avoid:
- Overcooking: As mentioned, this is critical. It turns a delicious cake into a rubbery disappointment.
- Using a Too-Small Mug: The batter will rise, and you don’t want a messy overflow.
- Not Mixing Thoroughly: Dry pockets of flour or cocoa powder will result in an unpleasant texture.
General Tips for Easy Dessert Success (No Matter the Recipe!)
- Read the Recipe First: Always, always, always read through the entire recipe before you start. This helps you understand the process and catch any missing ingredients or steps.
- Mise en Place: Get all your ingredients measured and ready before you begin. This French term means “everything in its place” and makes the cooking process smoother and less stressful.
- Measure Accurately: Especially in baking, precision matters. Use proper measuring cups and spoons. For flour, spoon it into the measuring cup and level it off; don’t scoop directly from the bag (it compacts the flour).
- Use Room Temperature Ingredients (When Called For): For certain recipes (like the no-bake cheesecake), using ingredients at room temperature helps them combine smoothly, preventing lumps.
- Don’t Overmix: Overmixing can develop gluten in flour, leading to tough baked goods. Mix just until ingredients are combined.
- Trust Your Instincts (Sometimes): If a recipe calls for a specific topping you dislike, or you have an abundance of a different fruit, feel free to substitute. Just understand the basic principles (e.g., fruit crisp works with most fruits).
- Have Fun! Desserts are meant to bring joy. Don’t stress if it’s not absolutely perfect; the effort and love you put into it will shine through.
Common Mistakes to Avoid in Easy Desserts (Broad Strokes)
- Ignoring Chilling/Setting Times: Many no-bake desserts rely on chilling to set properly. Skipping this step leads to runny, disappointing results.
- Substituting Key Ingredients Blindly: While some flexibility is fine (e.g., berries for peaches), don’t substitute leavening agents (baking powder/soda) or the fat content without understanding the science behind it.
- Impatience: Whether it’s waiting for cream cheese to soften, a cake to cool, or a crisp to bubble, rushing the process can compromise the final texture and taste.
- Not Calibrating Your Oven/Microwave: Every appliance is different. Learn how your oven bakes and your microwave cooks. An oven thermometer can be a great investment.
- Forgetting to Grease/Line Pans: If your recipe involves baking in a pan, make sure it’s properly greased and floured, or lined with parchment paper, to prevent sticking.
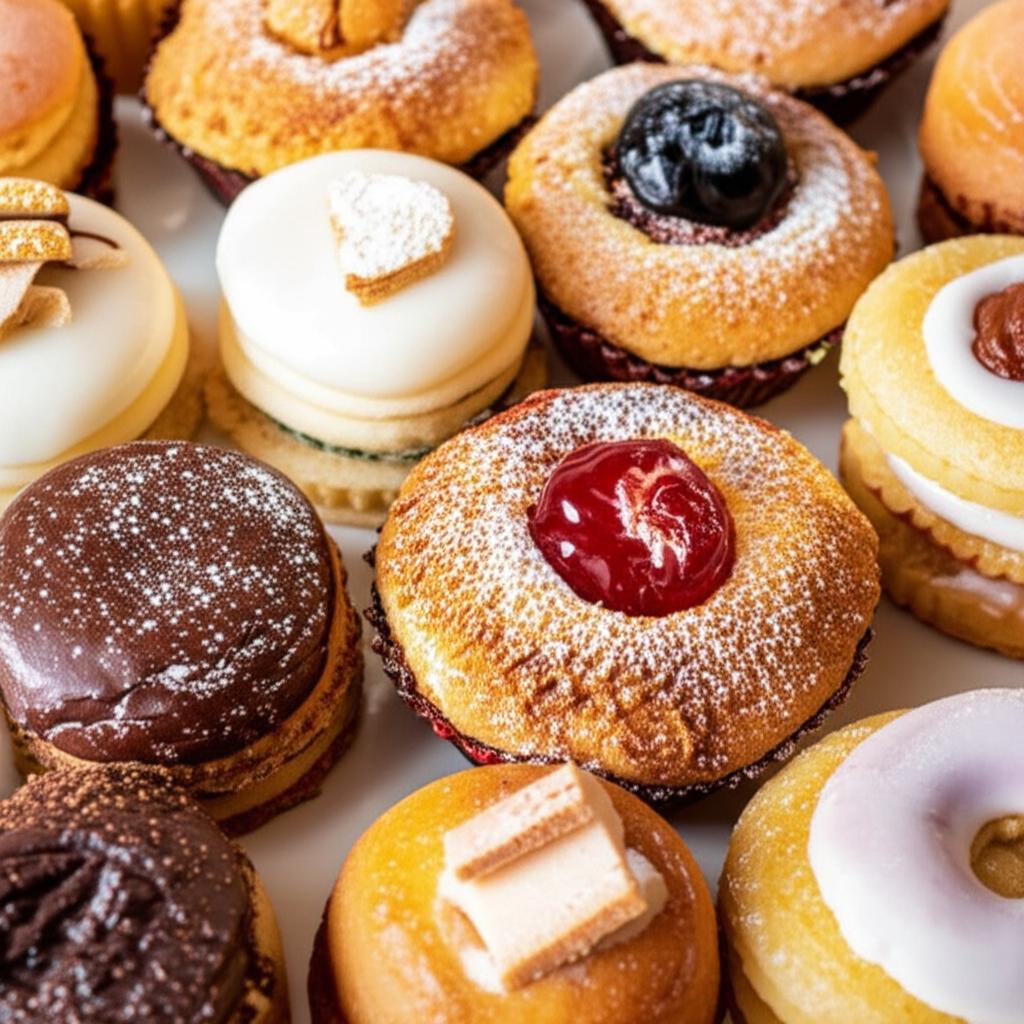
Serving & Customization: Elevate Your Easy Desserts
Even the simplest dessert can look and taste extraordinary with a little extra touch:
- Garnishes: A sprinkle of powdered sugar, a dollop of whipped cream, fresh mint leaves, chocolate shavings, a few fresh berries, or a drizzle of sauce can instantly elevate the presentation.
- Flavor Boosters: A pinch of cinnamon, nutmeg, cardamom, or a splash of almond extract can add depth to many simple desserts. Zest from citrus fruits (lemon, orange, lime) brightens flavors.
- Dietary Adjustments: Many easy dessert recipes can be adapted for dietary needs (e.g., using dairy-free milk/cream cheese, gluten-free flour, or sugar substitutes). Just be sure to use appropriate substitutions for the specific recipe.
- Serving Vessels: Don’t underestimate the power of presentation. Serve parfaits in pretty glasses, crisps in charming ramekins, or cookies on a decorative platter.
Conclusion: Your Journey to Dessert Confidence Starts Now!
You now have the knowledge and inspiration to create easy, delicious, and impressive desserts for any occasion. From elegant no-bake parfaits to comforting fruit crisps and instant mug cakes, these recipes prove that sweet success doesn’t have to be complicated.
Embrace the joy of effortless baking. Experiment with flavors, personalize your creations, and most importantly, enjoy the process. With these tips and tricks, you’ll be delighting friends and family (and yourself!) with homemade treats in no time. Go ahead, unleash your inner dessert maestro!
- O’Creme Bakeable Plastic Mini Flan Molds Pan – Baking Pan With Non-Stick Silicone – Reusable Non-Stick baking Mini Flan Molds For Baking and Much More – 25 QTY Pack
- CAKETIME 12 Cups Silicone Muffin Pan – Nonstick Cupcake Pan 1 Pack Regular Size Silicone Mold for Baking
- 2Pack Silicone Muffin Pan for Baking with Metal Reinforced Frame, 12 Cup Regular Size Cupcake Pan, BPA Free Silicone Muffin Tray, Cupcake Baking Pan Molds for Oven Dishwasher Safe
FAQ
Q. What exactly qualifies a dessert as “easy” for any occasion?
A. An “easy” dessert typically means it requires minimal ingredients, simple preparation steps (often one-bowl or no-bake), common kitchen tools, and doesn’t demand advanced culinary skills. It’s quick to assemble, often within 30 minutes of active time, and yields delicious results that are versatile enough for casual weeknights or more formal gatherings.
Q. Can I prepare easy desserts ahead of time, and how long do they typically last?
A. Absolutely! Many easy desserts are perfect for make-ahead preparation. No-bake cheesecakes, trifles, puddings, and some bar recipes can often be made 1-2 days in advance and stored in the refrigerator. Baked goods like cookies or simple cakes can last 3-5 days at room temperature in an airtight container, or even longer in the freezer, depending on the specific recipe.
Q. Are there easy dessert options for common dietary restrictions, such as gluten-free or dairy-free?
A. Yes, many easy desserts naturally accommodate or can be easily adapted for dietary needs. Fruit-based desserts (like baked apples or fruit salads), sorbets, and some mousse recipes are often naturally gluten- and dairy-free. You can also find simple recipes using almond flour or gluten-free blends, and substitute dairy with plant-based milks, yogurts, or creams (e.g., coconut cream for whipped cream).
Q. What are some ideal “go-to” easy desserts for last-minute entertaining?
A. For last-minute needs, focus on no-bake or minimal-bake options. Excellent choices include fruit parfaits with yogurt or whipped cream, mug cakes (ready in minutes), chocolate fondue with fruit and marshmallow dippers, simple berry crumbles (using quick oat mixtures), or elegant affogatos (a scoop of ice cream drowned in hot espresso). Elevating store-bought components like pre-made pie crusts or brownie mixes is also a great strategy.
Q. How can I make an “easy” dessert look more impressive for a special occasion without adding complexity?
A. Presentation is key! Garnish with fresh berries, a dusting of powdered sugar or cocoa powder, a drizzle of chocolate sauce or caramel, a dollop of fresh whipped cream, or a sprig of mint. Layered desserts presented in clear glasses always look sophisticated. Even a simple cookie can be elevated by dipping half in melted chocolate and sprinkles, or serving alongside a scoop of premium ice cream.
Q. Do I need any special equipment to make these easy desserts?
A. Generally, no. Most easy dessert recipes rely on basic kitchen tools you likely already own, such as mixing bowls, measuring cups and spoons, a whisk, a rubber spatula, and perhaps a baking dish or muffin tin. For many no-bake options, often just a refrigerator and a mixing bowl are sufficient. Specialized equipment like stand mixers or ice cream makers are usually not required.
Q. Can I use store-bought ingredients to simplify easy desserts even further?
A. Absolutely! Using high-quality store-bought ingredients can significantly cut down prep time while still yielding delicious results. Examples include pre-made pie crusts, puff pastry, pound cake, cookies (to crush for crusts or serve with other elements), good quality ice cream, ready-made puddings, or even pre-cut fruit. These can form the base for quick parfaits, trifles, or simple baked goods.