The Art of Fermentation: Unlocking Probiotic Power for Vibrant Health
- Fermentation Crock 1 Gallon – Sauerkraut Crock with Lid, Weights & Pounder – Ceramic Fermenting Crock Kit for Pickling Cabbage Kimchi Vegetables – 4 Liter Fermentation Jar – Stoneware Pickle Pot
- TOMO Fermentation Crock with Weights – Ceramic Sauerkraut Pickling Crock – Stoneware Kombucha Brewing (7L)
- 2 Pack 1 Gallon Large Fermentation Jars w 2 SCREW Lid and 3 Airlock – 100% Airtight Lid, Wide Mouth Glass Jar, Pickle Jar w Scale Mark for Sourdough Starter
Welcome to the wonderful, bubbling world of fermentation! If you’ve ever enjoyed a tangy pickle, a refreshing kombucha, or a creamy yogurt, you’ve already experienced the magic of fermentation. More than just a culinary technique, fermentation is an ancient art that transforms simple ingredients into nutrient-dense, probiotic powerhouses that can significantly boost your well-being.
In this detailed guide, we’ll demystify the art of fermentation, explore its incredible health benefits, and give you the confidence to start making your own delicious, probiotic-rich foods right at home. Get ready to embark on a journey that will revolutionize your gut health and delight your taste buds!
What Exactly is Fermentation? A Gut-Friendly Transformation
At its heart, fermentation is a natural process where beneficial microorganisms – bacteria, yeasts, and fungi – convert carbohydrates (sugars) into alcohol, gases, or organic acids. This transformation isn’t just about changing flavor and texture; it’s about creating an environment where friendly bacteria thrive, while simultaneously preserving food and enhancing its nutritional profile.
Think of it as controlled decomposition, but instead of food going bad, it gets better! These microscopic workers “pre-digest” the food, making nutrients more accessible to our bodies and creating new beneficial compounds.
Why Embrace Fermentation? The Amazing Benefits of Probiotic Power
The “probiotic power” aspect of fermentation is where the real magic happens for your health. Probiotics are live microorganisms that, when consumed in adequate amounts, confer a health benefit on the host. Here’s why you should consider making fermented foods a regular part of your diet:
- Supercharge Your Gut Health: Your gut is home to trillions of microorganisms, collectively known as your gut microbiome. Fermented foods introduce beneficial bacteria, helping to balance your gut flora, reduce harmful pathogens, and promote a healthy digestive ecosystem.
- Boost Digestion & Nutrient Absorption: The enzymes and acids produced during fermentation help break down complex food components, making them easier to digest. This can alleviate issues like bloating, gas, and indigestion. Furthermore, a healthy gut microbiome enhances your body’s ability to absorb essential vitamins and minerals.
- Strengthen Your Immune System: A significant portion of your immune system resides in your gut. A balanced microbiome communicates with immune cells, helping to fortify your body’s defenses against infections and illnesses.
- Produce Essential Vitamins: Some fermented foods, particularly certain vegetable ferments and kefirs, can synthesize B vitamins (like B12 and folate) and Vitamin K2, which are crucial for energy production, nerve function, and bone health.
- Support Mental Well-being: Emerging research highlights the “gut-brain axis” – a direct line of communication between your gut and your brain. A healthy gut microbiome can positively influence mood, reduce anxiety, and even improve cognitive function.
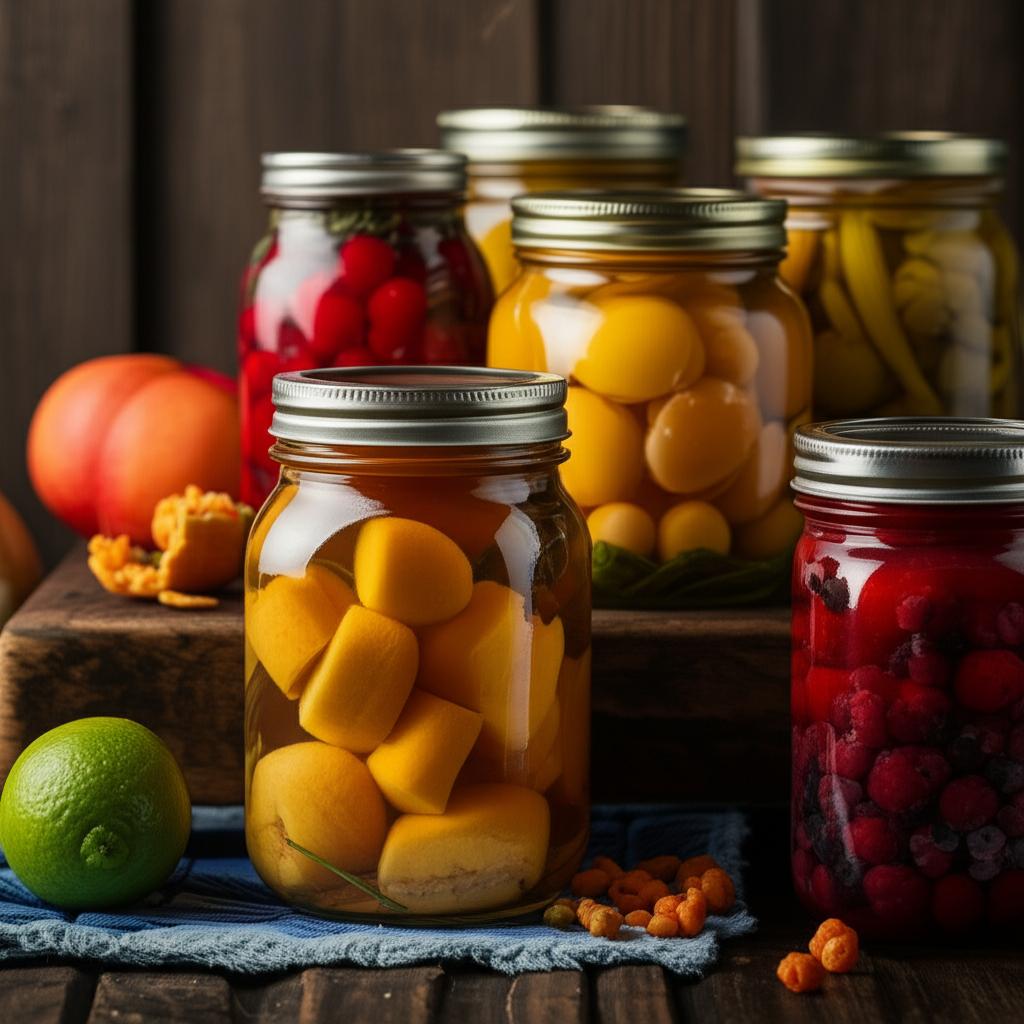
- Natural Food Preservation: Before refrigeration, fermentation was a primary method of preserving food. The acids produced create an environment inhospitable to spoilage-causing bacteria, allowing you to enjoy seasonal produce year-round.
- Enhance Flavors: Beyond the health benefits, fermented foods add incredible depth, tang, and complexity to your meals. They’re a chef’s secret weapon for creating unique and delicious culinary experiences.
Getting Started: Your Fermentation Essentials
Don’t be intimidated! Fermentation requires surprisingly little specialized equipment. Here’s what you’ll typically need:
- Glass Jars: Wide-mouth mason jars (pint, quart, or half-gallon) are perfect. Always ensure your jars are clean and sanitized before starting. You can run them through a hot dishwasher cycle or boil them.
- Non-Chlorinated Water: Chlorine can inhibit or kill beneficial bacteria. Use filtered water or leave tap water out overnight to allow chlorine to dissipate.
- Non-Iodized Salt: For vegetable ferments, use pure sea salt, pickling salt, or Himalayan pink salt. Avoid iodized salt, as iodine can interfere with the fermentation process and often contains anti-caking agents.
- Airtight Lids or Fermentation Lids: Regular mason jar lids work, but you’ll need to “burp” them daily. Specialized fermentation lids with airlocks (like ‘Fido’ jars or ‘pickle pipes’) make the process easier by allowing gases to escape without letting oxygen in.
- Fermentation Weights (Optional but Recommended): Glass weights help keep vegetables submerged under the brine, which is crucial for preventing mold growth.
- Pounder/Tamper: For compacting vegetables like cabbage for sauerkraut.
- Clean Cloth & Rubber Band: To cover jars if not using an airtight lid, allowing airflow while keeping pests out.
- Plastic Strainers/Spoons: Avoid metal when working with active cultures like kefir grains, as it can damage them over time. Use plastic, silicone, or wood.
Cleanliness is paramount in fermentation. While you’re inviting beneficial bacteria, you want to ensure no unwanted guests (like mold) crash the party.
Step-by-Step Guides: Let’s Get Fermenting!
Here are instructions for three popular and relatively easy ferments to get you started:
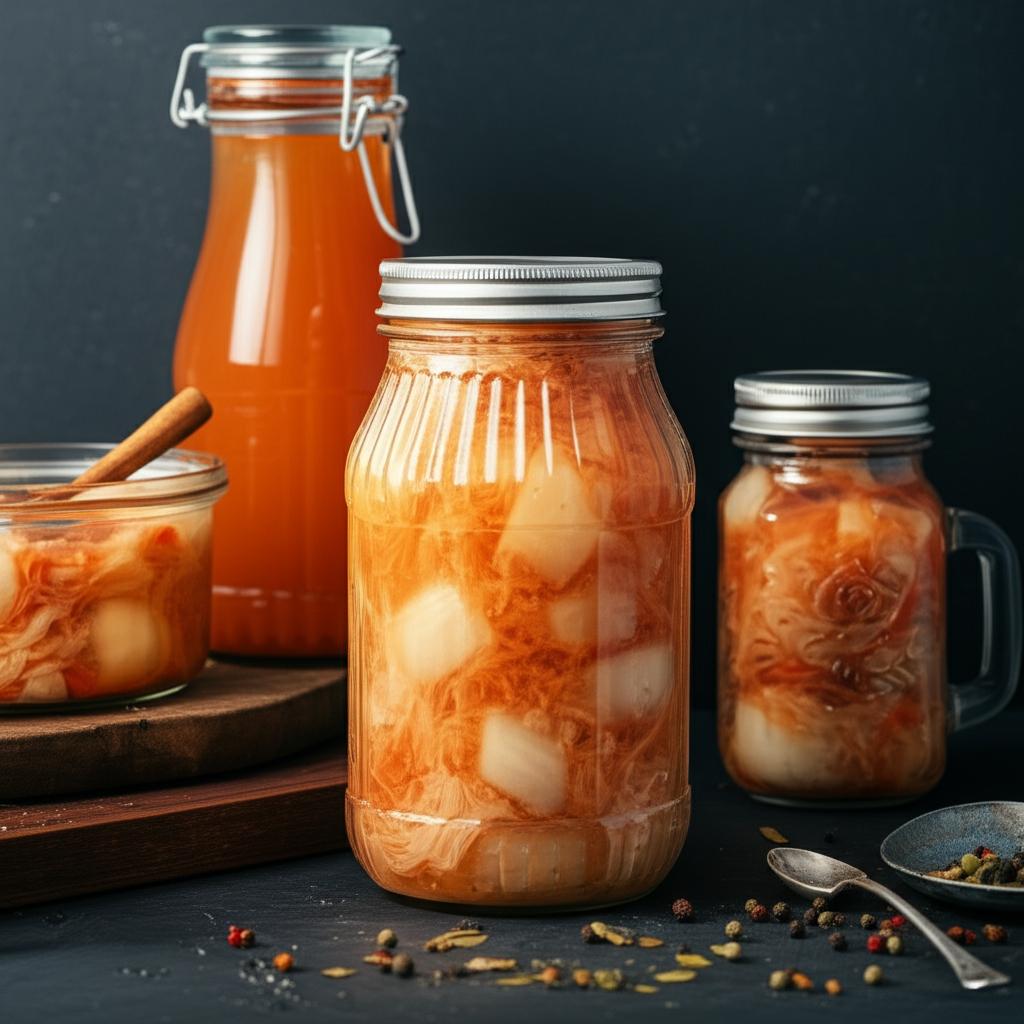
1. Classic Sauerkraut: A Crunchy Gut-Healthy Staple
Sauerkraut is simply fermented cabbage, incredibly easy to make and packed with probiotics.
Ingredients:
* 1 medium head of green cabbage (about 2-3 lbs)
* 2-3 tablespoons non-iodized sea salt (adjust to taste, 2% of cabbage weight is a good guideline)
* Optional: Caraway seeds, juniper berries, shredded carrots, or apples for flavor.
Equipment:
* Large mixing bowl
* Sharp knife or mandoline
* 1-quart wide-mouth glass jar
* Fermentation weight (or a small, clean jar that fits inside your main jar)
* Clean cloth or fermentation lid
Instructions:
- Prep the Cabbage: Remove the outer bruised leaves from the cabbage (save one or two whole outer leaves). Cut the cabbage into quarters and remove the core.
- Shred: Thinly slice or shred the cabbage. A mandoline makes this quick and uniform, but a sharp knife works too.
- Salt and Massage: Place the shredded cabbage in your large mixing bowl. Sprinkle the salt evenly over the cabbage. Now, get your hands in there and massage the cabbage vigorously! Squeeze, knead, and pound it for 5-10 minutes. The salt will draw out water, and the cabbage will become soft and watery. You’re looking for a good puddle of brine at the bottom of the bowl.
- Pack the Jar: Begin packing the cabbage tightly into your clean glass jar. Use your fist or a pounder to press down firmly with each handful. The goal is to remove all air pockets and ensure the cabbage is submerged under its own liquid (brine).
- Submerge & Weigh Down: Once all the cabbage is packed, there should be enough liquid to completely cover it. If not, you can make a simple brine (1 teaspoon salt per 1 cup non-chlorinated water) to top it off. Place your saved whole cabbage leaf on top of the shredded cabbage, then place your fermentation weight (or a small, clean jar filled with water) on top of the leaf to keep all the cabbage submerged under the brine. This is crucial to prevent mold.
- Cover: Loosely cover the jar with a clean cloth secured with a rubber band, or use a fermentation lid.
- Ferment: Place the jar on a plate (to catch any overflow) in a cool, dark spot (ideally 60-70°F or 15-21°C). Ferment for 1 to 4 weeks.
- Check daily: Ensure the cabbage remains submerged. If using a regular lid, “burp” the jar daily by opening it briefly to release gas, then re-seal.
- Taste Test: After a week, start tasting it daily. It will become more sour and tangy over time. When it reaches your desired flavor and texture, it’s ready!
- Store: Once finished, remove the weight and lid, seal the jar tightly, and store your finished sauerkraut in the refrigerator. This will slow down the fermentation process significantly. It will last for several months in the fridge.
2. Refreshing Water Kefir: A Fizzy Probiotic Drink
Water kefir is a delightful, naturally fizzy drink made with water kefir grains (not actual grains, but symbiotic cultures of bacteria and yeast, or SCOBY).
Ingredients:
* 1/4 cup active water kefir grains (you’ll need to source these online or from a fellow fermenter)
* 1/4 cup organic cane sugar (or brown sugar, sucanat)
* 4 cups non-chlorinated water
* Optional: Slice of lemon, dried fruit (like figs or apricots) for minerals
Equipment:
* 1-quart wide-mouth glass jar
* Plastic fine-mesh strainer
* Plastic or wooden spoon
* Clean cloth or lid
Instructions (First Ferment – F1):
- Combine Ingredients: In your clean glass jar, dissolve the sugar in a small amount of warm water, then add the remaining non-chlorinated water. Make sure the water is room temperature before adding grains.
- Add Grains: Gently add the water kefir grains to the sugar water. If using, add the lemon slice or dried fruit.
- Cover & Ferment: Cover the jar loosely with a clean cloth secured with a rubber band, or use a loose-fitting lid. Do not seal tightly, as gases will build up.
- Ferment: Place the jar in a spot out of direct sunlight, at room temperature (ideally 68-78°F or 20-26°C), for 24-48 hours.
- Observe: You’ll see small bubbles forming. The liquid will become slightly cloudy.
- Taste Test: After 24 hours, taste the liquid. It should be less sweet and slightly tangy. If it’s still very sweet, let it ferment longer. The longer it ferments, the less sugar and more tang it will have.
- Strain: Once it reaches your desired sweetness/tang, place the plastic strainer over a clean bowl or serving pitcher. Pour the water kefir through the strainer, catching the liquid and separating the grains.
- Rescue Grains: Your water kefir grains may have grown! You can use them immediately for your next batch of water kefir. If you need a break, store them in a small amount of sugar water (1 tsp sugar to 1 cup water) in the fridge for up to a week.
Instructions (Second Ferment – F2 for Fizz and Flavor):
- Flavor: Pour the strained water kefir (from F1) into clean, sealable bottles (swing-top bottles work great). Add your desired flavorings – fresh fruit juice (e.g., 1/4 cup per 16 oz bottle), fruit pieces, ginger, herbs, or spices.
- Bottle & Ferment: Seal the bottles tightly. Place them at room temperature for another 12-48 hours. This is where the fizz develops as the remaining sugars are converted to CO2.
- Refrigerate: Once the desired carbonation is achieved (you can carefully “burp” a bottle to check the fizz), refrigerate the bottles. This stops the fermentation and preserves the carbonation. Enjoy chilled!
3. Tangy Milk Kefir: A Creamy Probiotic Delight
Milk kefir is a fermented milk drink, similar to a thin yogurt, made with milk kefir grains. It’s incredibly versatile and easy to make.
Ingredients:
* 1-2 tablespoons active milk kefir grains (available online or from a fellow fermenter)
* 1-2 cups whole milk (cow, goat, sheep; avoid ultra-pasteurized)
Equipment:
* 1-quart wide-mouth glass jar
* Plastic fine-mesh strainer
* Plastic or wooden spoon
* Clean cloth or loose-fitting lid
Instructions:
- Combine: Place the milk kefir grains in your clean glass jar. Pour the milk over the grains.
- Cover & Ferment: Cover the jar loosely with a clean cloth and a rubber band, or a loose-fitting lid. Do not seal tightly.
- Ferment: Place the jar at room temperature (ideally 68-78°F or 20-26°C) for 12-24 hours.
- Observe: The milk will thicken and separate into curds and whey. You might see small bubbles. The exact time depends on temperature and grain activity.
- Check: Gently tilt the jar. If the kefir looks thick and separates, it’s likely ready.
- Strain: Place the plastic strainer over a clean bowl or serving pitcher. Gently pour the fermented milk kefir through the strainer, gently shaking or stirring with a plastic spoon to help the kefir pass through.
- Rescue Grains: The milk kefir grains will remain in the strainer. These grains are alive and reusable! They will even grow over time.
- Re-Ferment or Store Grains: Immediately place the strained grains into a fresh batch of milk to start the next ferment. If you need a break, store the grains in a small amount of fresh milk in a sealed container in the fridge for up to a week.
- Enjoy: Your fresh milk kefir is ready to drink! Store finished kefir in the refrigerator for up to a week. It will continue to thicken slightly in the fridge.
Common Fermentation Mistakes to Avoid
Even experienced fermenters run into issues sometimes. Here’s a list of common pitfalls and how to steer clear of them:
- Not Enough Salt (for vegetables): Too little salt won’t create an anaerobic environment conducive to good bacteria, leading to spoilage and mold. Follow recipes carefully for salt ratios.
- Using Chlorinated Water: Chlorine kills the beneficial bacteria you’re trying to cultivate. Always use filtered or dechlorinated water.
- Improper Sanitation: While fermentation is robust, dirty jars or utensils can introduce unwanted molds and yeasts. Always use clean, sanitized equipment.
- Not Keeping Vegetables Submerged: For vegetable ferments, any vegetable matter exposed to air above the brine will likely grow mold. Always keep veggies fully submerged.
- Too Warm or Too Cold Temperatures: Extreme temperatures can kill cultures or lead to off-flavors. Aim for ideal room temperatures (generally 65-75°F or 18-24°C) for most ferments. Too cold, and it will be very slow; too hot, and it can spoil or ferment too quickly, leading to undesirable flavors.
- Using Metal with Kefir Grains: While not definitively proven to “kill” them instantly, prolonged contact with metal (especially reactive metals) can weaken or damage kefir grains over time. Stick to plastic, glass, or wood utensils.
- Impatience: Fermentation takes time! Don’t rush the process. Trust the process and let the microbes do their work.
- Fear of Mold: It’s common to see a thin white film (kahm yeast) on vegetable ferments. This is usually harmless and can be skimmed off. True mold is fuzzy, colored (green, black, pink), and often smells off. If you see true mold, it’s best to discard the batch to be safe. “When in doubt, throw it out.”
Pro Tips for Fermentation Success
- Start Small & Simple: Don’t try to make everything at once. Master one or two ferments before branching out. Sauerkraut is an excellent beginner project.
- Use Quality Ingredients: Organic, fresh produce and good quality starters (kefir grains, kombucha SCOBY) make a difference.
- Observe, Smell, Taste: Your senses are your best tools. Learn what a healthy ferment looks like, smells like (pleasantly sour, not putrid), and tastes like (tangy, not rotten).
- Control Temperature: Find the warmest and coolest spots in your home. Consistency in temperature helps.
- Keep Notes: Jot down dates, ingredients, temperatures, and observations. This helps you replicate successes and learn from failures.
- Don’t Be Afraid to Experiment: Once you’re comfortable with the basics, try adding different spices, fruits, or vegetables to your ferments.
- Trust Your Gut (Literally): If something smells or looks truly “off,” it’s better to discard it.
Enjoying Your Homemade Probiotics
Once you’ve successfully made your first batch, the fun continues with enjoying your creations!
- Start Slowly: If you’re new to fermented foods, introduce them gradually to allow your digestive system to adjust. Begin with a tablespoon or two per day and increase as tolerated.
- Incorporate Them:
- Sauerkraut/Kimchi: Perfect as a side dish, on sandwiches, in salads, or alongside eggs.
- Kefir (Milk & Water): Drink plain, blend into smoothies, use in salad dressings, or as a base for overnight oats.
- Don’t Overheat: To preserve the live probiotic cultures, avoid heating fermented foods to high temperatures (e.g., boiling your sauerkraut). Add them to dishes after cooking or enjoy them raw.
Embrace the Art, Enjoy the Benefits!
Fermentation is more than just a culinary trend; it’s a reconnection to ancient traditions and a powerful way to take control of your health and well-being. With a little patience and a few simple ingredients, you can transform your kitchen into a thriving hub of probiotic power.
So, gather your supplies, embrace the bubbling magic, and get ready to enjoy the incredible flavors and profound health benefits that the art of fermentation brings. Happy fermenting!
- Fermentation Crock 1 Gallon – Sauerkraut Crock with Lid, Weights & Pounder – Ceramic Fermenting Crock Kit for Pickling Cabbage Kimchi Vegetables – 4 Liter Fermentation Jar – Stoneware Pickle Pot
- TOMO Fermentation Crock with Weights – Ceramic Sauerkraut Pickling Crock – Stoneware Kombucha Brewing (7L)
- 2 Pack 1 Gallon Large Fermentation Jars w 2 SCREW Lid and 3 Airlock – 100% Airtight Lid, Wide Mouth Glass Jar, Pickle Jar w Scale Mark for Sourdough Starter
FAQ
Q. What exactly is ‘The Art of Fermentation: Probiotic Power’ about?
A. This topic delves into the ancient and modern practices of fermenting foods and beverages, transforming them through the action of beneficial microorganisms. It explores the science, history, and practical techniques behind fermentation, emphasizing its role in creating nutrient-rich foods packed with probiotics, which are live microorganisms that provide significant health benefits when consumed.
Q. Why are fermented foods considered to have “probiotic power”?
A. Fermented foods are rich in live and active cultures, which are types of beneficial bacteria and yeasts. These are the “probiotics” that contribute to a healthy gut microbiome. When consumed regularly, these probiotics can improve digestion, enhance nutrient absorption, boost the immune system, and may even positively influence mood and overall well-being.
Q. What are the primary health benefits associated with consuming fermented foods?
A. The main benefits include improved digestive health due to the introduction of diverse beneficial bacteria, enhanced immune function, increased bioavailability of nutrients (as fermentation can break down anti-nutrients and make vitamins more accessible), and potential anti-inflammatory effects. Some studies also suggest links to better mood regulation and weight management.
Q. Is it safe to ferment foods at home, and what are the essential safety precautions?
A. Yes, home fermentation is generally safe when proper hygiene and established methods are followed. Essential precautions include using impeccably clean equipment, fresh and high-quality ingredients, maintaining appropriate temperatures, and understanding the signs of successful fermentation versus spoilage. The acidity produced during fermentation naturally inhibits the growth of harmful pathogens.
Q. What types of foods and beverages can be fermented?
A. A wide variety of foods can be fermented. Common examples include dairy products like yogurt and kefir, vegetables such as sauerkraut and kimchi, legumes like tempeh and miso, and beverages like kombucha and kvass. Grains can also be fermented to make sourdough bread or rejuvelac. The possibilities are quite extensive, limited only by creativity and a little scientific understanding.
Q. How does one get started with home fermentation, and what basic equipment is needed?
A. To begin, it’s recommended to choose a simple, well-documented recipe like sauerkraut or basic yogurt. Essential equipment often includes glass jars, possibly airlocks (for some ferments to keep oxygen out), good quality starter cultures (like a SCOBY for kombucha or kefir grains), and measuring tools. A reliable guide or book on fermentation is also highly recommended to understand the process and troubleshoot.
Q. Are there any side effects or individuals who should avoid fermented foods?
A. While generally beneficial, some individuals might experience mild digestive upset, such as gas or bloating, initially as their gut adjusts to the new bacteria. People with severely compromised immune systems or certain medical conditions should consult a doctor before significantly increasing their intake of fermented foods. Those with histamine intolerance might also need to be cautious with certain types of ferments.