Sweet Success: Your Comprehensive Guide to Homemade Jams & Jellies – Delicious Sweet Preserves!
- UrSpeedtekLive 30 Pack Mason Jars 8 oz with Regular Lids and Bands, Half Pint Canning Jars, Small Glass Jars for Honey Jelly Jam Crafts
- UrSpeedtekLive 24 Pack 4 oz Mason Jars with Regular Lids and Bands, Small Canning Jars, Mini Glass Jars for Honey Jelly Jam Crafts
- CycleMore 40 Pcs 4oz Clear Glass Mini Mason Jars With Silver Separable Lids and Diamond appearance, Small Spice Canning Jars for Honey, Jam, Jelly, Wedding Favors, Kitchen Food Storage
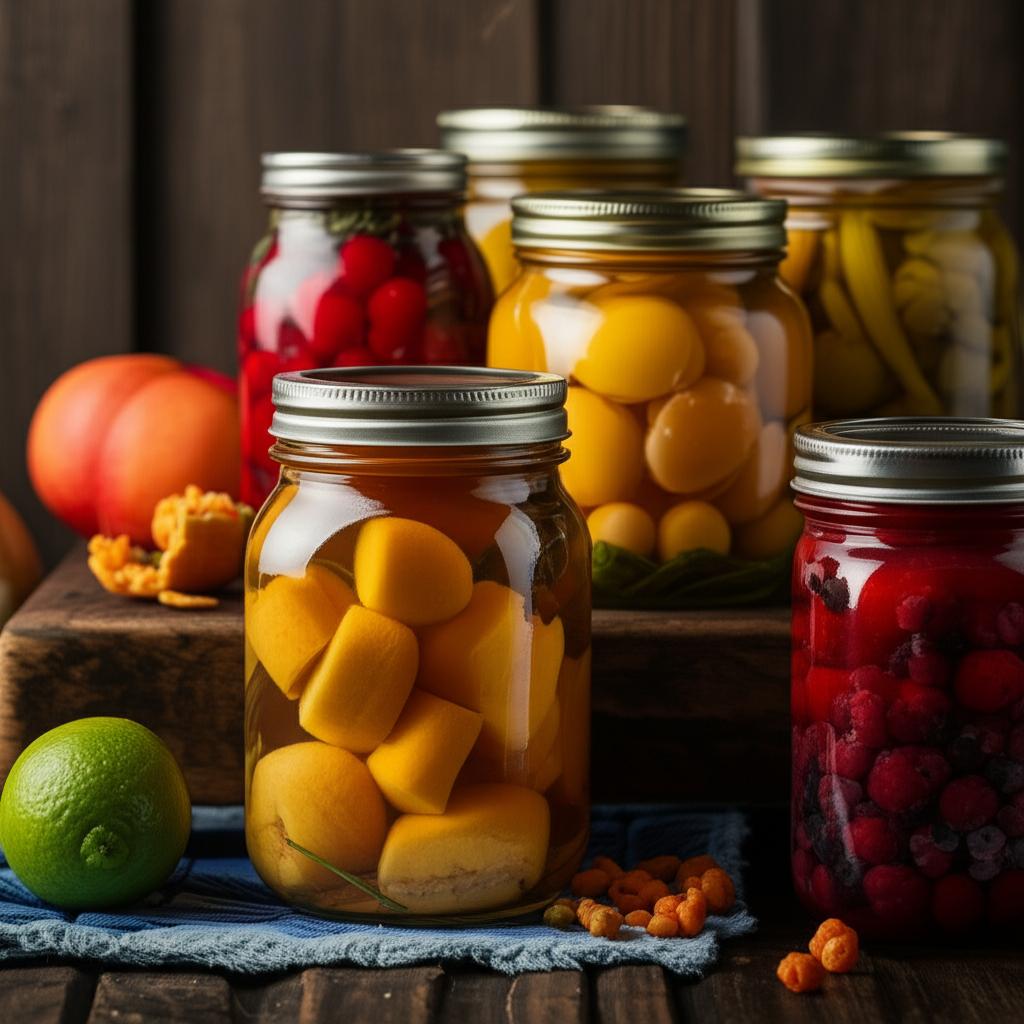
Imagine the rich aroma of ripe berries bubbling on your stove, the satisfying pop of a freshly sealed jar, and the pure delight of spreading a spoonful of your own vibrant, flavorful jam or jelly onto warm toast. Making homemade jams and jellies isn’t just a culinary activity; it’s a journey back to wholesome goodness, a celebration of seasonal bounty, and a wonderful way to create sweet preserves brimming with natural taste.
While it might seem daunting at first, crafting your own preserves is incredibly rewarding and surprisingly straightforward. This guide will walk you through everything you need to know, from selecting the perfect fruit to safely sealing your delectable creations.
Why Make Your Own Homemade Preserves?
Beyond the incredible taste, there are many reasons to dive into the world of jam making and jelly making:
- Unbeatable Flavor: Store-bought options often can’t compete with the fresh, intense flavor of homemade jams. You control the ingredients, ensuring peak ripeness and quality.
- No Unwanted Additives: Say goodbye to artificial colors, flavors, and excessive preservatives. You know exactly what’s going into your food.
- Cost-Effective: When fruit is in season and abundant, making your own can be far more economical than buying pre-made preserves.
- Wonderful Gifts: A jar of homemade jam makes a thoughtful, personalized gift for friends, family, and neighbors.
- Preserving the Season: Enjoy the taste of summer fruits long after their season has passed, capturing their essence in a jar.
- Immense Satisfaction: There’s a unique sense of accomplishment that comes from creating something so delicious and useful from scratch.
Getting Started: Essential Ingredients & Equipment for Jam Making
Before you begin, it’s helpful to understand the basic components and gather your tools. Don’t worry, you likely have many of these already!
The Power of Four: Key Ingredients
Every great jam or jelly relies on a harmonious balance of these four elements:
- Fruit: This is the star! Always choose ripe, high-quality fruit. It provides the flavor, color, and natural pectin (a gelling agent) crucial for your preserve. Slightly under-ripe fruit can also be beneficial in some recipes, as it contains more pectin.
- Sugar: More than just a sweetener, sugar plays a vital role in preservation, flavor development, and helping the pectin set. The amount will vary by fruit and desired sweetness.
- Pectin: This naturally occurring substance in fruit is what makes jams and jellies “set” or thicken. Some fruits (like apples, citrus, cranberries, and some berries) are naturally high in pectin, while others (like strawberries, cherries, and peaches) are low. For low-pectin fruits, or if you want a quicker set, you might use commercial pectin, available in powdered or liquid form.
- Acid: Acid (often from lemon juice) brightens the flavor, helps prevent crystallization, and is essential for proper gelling when using pectin. Even naturally acidic fruits often benefit from a little extra lemon juice.
Essential Equipment (No Specific Brands Needed!)
You don’t need a professional kitchen, but a few key items will make your jam making journey much smoother:
- Large, Heavy-Bottomed Pot: Crucial for preventing scorching and allowing the jam to boil quickly and evenly.
- Canning Jars: Use jars specifically designed for canning with two-piece lids (a flat disc and a screw band). These are designed to withstand heat and create a vacuum seal.
- Lids and Bands: Always use new flat lids for each batch, as their sealing compound can only be used once. Screw bands can be reused if they aren’t rusted or bent.
- Jar Lifter: An absolute must for safely placing hot jars into and removing them from boiling water.
- Canning Funnel: Helps you fill jars cleanly, preventing sticky rims which can hinder sealing.
- Ladle: For transferring hot jam into jars.
- Bubble Remover/Headspace Tool: A non-metallic utensil to remove air bubbles from filled jars and ensure correct headspace.
- Large Water Bath Canner (or a Deep Pot with a Rack): Essential for the final processing step to ensure shelf-stability. The pot must be tall enough to cover your jars with at least an inch of water.
- Clean Towels: For wiping jar rims and general clean-up.
- Tongs: Useful for handling hot lids.
Step-by-Step: Crafting Your Own Homemade Jam (or Jelly!)
While specific recipes vary, the general process for making most fruit preserves is similar. We’ll outline the steps for a basic cooked jam.
Step 1: Preparation is Key (and Safety First!)
- Sterilize Your Jars and Lids: This is perhaps the most critical step for safe, shelf-stable preserves. You can do this by boiling clean jars in water for 10 minutes, running them through a dishwasher’s sanitizing cycle, or heating them in an oven (check oven-safe instructions for jars). Keep them hot until ready to fill. Flat lids should be simmering in hot, not boiling, water (often just off the heat) according to manufacturer’s instructions.
- Prepare Your Fruit: Wash fruit thoroughly. For jam, you’ll typically chop or crush it. For jelly, you’ll extract the juice by simmering the fruit and then straining it through a jelly bag or cheesecloth-lined colander.
Step 2: Cook the Preserve Base
- Combine Ingredients: In your large, heavy-bottomed pot, combine the prepared fruit (or juice for jelly), sugar, and any acid (like lemon juice) or pectin as specified by your recipe.
- Bring to a Boil: Over medium-high heat, stir constantly until the sugar dissolves. Then, bring the mixture to a full, rolling boil that cannot be stirred down.
- Boil and Test for Set: Boil vigorously, stirring frequently to prevent sticking. This is where the magic happens! The mixture will thicken as water evaporates and pectin activates. The boiling time will vary.
- Testing for Set Point: This is crucial. Common methods include:
- Spoon Test: Dip a cold metal spoon into the jam, lift it, and turn it sideways. If two drops form and merge into a single “sheet” or flake off together, it’s likely set.
- Freezer Plate Test: Place a small plate in the freezer before you start. When you think the jam is ready, put a small spoonful onto the cold plate. Wait 30 seconds, then push it with your finger. If the surface wrinkles, it’s ready.
- Temperature Test (with Pectin): If using commercial pectin, follow the package instructions closely, which often involve boiling for a specific time and reaching a certain temperature (e.g., 220°F / 104°C at sea level).
- Testing for Set Point: This is crucial. Common methods include:
Step 3: Fill and Seal the Jars
- Remove from Heat: Once your jam or jelly has reached its set point, remove the pot from the heat immediately.
- Ladle into Hot Jars: Carefully ladle the hot jam into your hot, sterilized jars using a canning funnel.
- Leave Headspace: It’s critical to leave the correct headspace – the empty space between the preserve and the rim of the jar. For most jams and jellies, this is 1/4 inch. Too little, and it might bubble over; too much, and the seal might fail.
- Remove Air Bubbles: Use your bubble remover tool or a non-metallic spatula to gently slide around the inside of the jar to release any trapped air bubbles. Re-check headspace and add more jam if needed.
- Wipe Rims Clean: Thoroughly wipe the rims of each jar with a clean, damp cloth. Any residue can prevent a proper seal.
- Place Lids and Bands: Center a hot flat lid on top of each jar. Screw on the band finger-tight – just until you feel resistance. Do not overtighten, as air needs to escape during processing.
Step 4: Process in a Water Bath Canner (Essential for Shelf-Stability)
This step ensures your preserves are safe for long-term storage by killing mold, yeast, and bacteria, and creating a strong vacuum seal.
- Prepare the Canner: Place a rack at the bottom of your water bath canner. Fill the canner with enough water to cover your jars by at least 1-2 inches. Heat the water to a simmer.
- Load Jars: Carefully lower the filled, lidded jars onto the rack using your jar lifter, ensuring they are not touching each other or the sides of the pot.
- Process: Bring the water to a full, rolling boil. Once boiling, start your timer for the processing time specified in your recipe (this varies by recipe, jar size, and altitude).
- Remove Jars: Once the processing time is complete, turn off the heat. Let the jars sit in the hot water for 5 minutes before carefully removing them with the jar lifter.
Step 5: Cool and Store
- Cool Undisturbed: Place the hot jars upright on a clean towel or cooling rack, ensuring there’s space between them for air circulation. Do not disturb them for 12-24 hours. You’ll often hear a satisfying pop as the jars seal during this time.
- Check Seals: After cooling completely, check the seals. The center of the lid should be concave (curved inwards) and should not flex when pressed. If a lid does not seal, refrigerate the jam immediately and use within a few weeks, or re-process with a new lid.
- Store: Once sealed, remove the screw bands (they can be reused). Label your jars with the contents and date. Store your homemade jams and jellies in a cool, dark place (like a pantry) for up to one year. Refrigerate after opening.
Pro Tips for Perfect Sweet Preserves
- Use the Freshest Fruit: Peak season fruit will yield the best flavor and natural pectin.
- Don’t Skimp on Sugar (Within Reason): Sugar isn’t just for sweetness; it’s a crucial preservative and helps with the set. Follow tested recipes for sugar quantities.
- Work in Batches: Don’t try to double or triple recipes unless specified. Larger batches can lead to longer cooking times, affecting flavor and set.
- Cleanliness is Next to Godliness: Sterilization and cleanliness throughout the process are paramount to prevent spoilage.
- Adjust for Altitude: If you live at a higher altitude, you’ll need to increase your water bath processing times. Consult a reliable canning guide for specific adjustments.
- Label Everything: You might think you’ll remember what’s in that jar, but trust us – you won’t! Label with the type of preserve and the date it was made.
Common Mistakes to Avoid When Making Homemade Jams & Jellies
Learning from others’ missteps can save you frustration!
- Not Sterilizing Jars Properly: This is a major safety concern and can lead to spoilage (mold, yeast growth) quickly.
- Not Reaching a Full Rolling Boil: The mixture needs to boil vigorously and consistently to evaporate water and activate pectin for a proper set.
- Overcooking the Jam: Boiling for too long can result in a rubbery texture, burnt flavor, or destroy the pectin, leading to a runny jam. Pay attention to the set point.
- Incorrect Headspace: Too much headspace can lead to unsealed jars. Too little can cause siphoning (liquid seeping out) during processing, which can also prevent a proper seal.
- Not Wiping Jar Rims Clean: Even a tiny bit of fruit pulp or sugar on the rim can prevent the lid from forming a vacuum seal.
- Over-tightening Screw Bands: Bands should be “finger-tight.” Too tight, and air can’t escape during processing, leading to seal failure.
- Skipping Water Bath Processing: While “open kettle canning” (just inverting hot jars) used to be common, it is NOT recommended for safety. Without proper heat processing, your preserves are at risk of spoilage and harmful bacteria.
Your Jar of Sweet Success Awaits!
Making homemade jams and jellies is a wonderfully satisfying culinary art. It transforms fresh fruit into sparkling, jewel-toned treasures that brighten any meal. With a little preparation, patience, and attention to detail, you’ll be well on your way to filling your pantry with delicious, sweet preserves that are truly your own.
So, gather your ingredients, clear your schedule, and get ready to experience the joy of jam making. Happy preserving!
- UrSpeedtekLive 30 Pack Mason Jars 8 oz with Regular Lids and Bands, Half Pint Canning Jars, Small Glass Jars for Honey Jelly Jam Crafts
- UrSpeedtekLive 24 Pack 4 oz Mason Jars with Regular Lids and Bands, Small Canning Jars, Mini Glass Jars for Honey Jelly Jam Crafts
- CycleMore 40 Pcs 4oz Clear Glass Mini Mason Jars With Silver Separable Lids and Diamond appearance, Small Spice Canning Jars for Honey, Jam, Jelly, Wedding Favors, Kitchen Food Storage
FAQ
Q. What’s the most important thing to ensure my homemade jams and jellies are safe to eat and store long-term?
A. The most crucial step is proper water bath canning. This process involves filling sterilized jars with your hot jam, sealing them with new lids, and then submerging them in boiling water for a specific duration. This creates a vacuum seal, eliminating air and preventing spoilage by harmful bacteria, including Clostridium botulinum. Always follow tested recipes for processing times and ensure jars are clean and lids are new.
Q. My jam didn’t set properly; it’s too runny. What went wrong?
A. Several factors can cause a jam not to set. The most common reasons include insufficient pectin in the fruit, not enough sugar, or not cooking the mixture long enough to reach the gelling point. Some fruits are naturally low in pectin (e.g., strawberries), requiring added commercial pectin. Ensure you follow the recipe precisely, especially regarding sugar ratios and boiling times, and consider using a candy thermometer to reach the recommended setting temperature.
Q. How long do homemade jams and jellies last, and how should I store them?
A. Properly processed and sealed homemade jams and jellies can last for at least one year, and often longer, when stored in a cool, dark, and dry place, such as a pantry or cupboard. Once a jar is opened, it should be refrigerated and consumed within 2-4 weeks for best quality and safety.
Q. Do I always need to add commercial pectin to my fruit preserves?
A. Not necessarily. Many fruits, such as apples, cranberries, citrus rinds, currants, and some plums, are naturally high in pectin and can be made into jams or jellies without added commercial pectin. For fruits low in pectin, like strawberries, peaches, or blueberries, adding commercial pectin is usually required to achieve a good set. You can also combine high-pectin fruits with low-pectin fruits to balance the pectin content naturally.
Q. Can I make low-sugar or sugar-free versions of homemade jams?
A. Yes, you can! Traditional recipes rely on sugar for setting, flavor, and preservation. However, specific types of commercial pectin are available that are designed to work with reduced-sugar or sugar-free recipes, often using alternative sweeteners or very ripe fruit. Always use recipes specifically formulated for low-sugar or no-sugar jams, as simply reducing sugar in a traditional recipe can affect the set, taste, and shelf life.
Q. What are the most common reasons for mold forming on my sealed jars of jam?
A. Mold typically indicates an inadequate seal or improper processing. Reasons include not cleaning jar rims thoroughly before sealing (food residue can prevent a good seal), using old or faulty lids, insufficient processing time in the water bath canner, or storing jars in an overly warm or humid environment. Always discard any jar with mold, as unseen toxins may be present.
Q. What essential equipment do I need to get started with making homemade preserves?
A. To begin, you’ll need large stockpots for cooking the jam and for water bath canning, a canner rack, canning jars with new lids and rings, a jar lifter, a canning funnel, a ladle, and basic kitchen tools like measuring cups, spoons, and a potato masher or immersion blender for fruit preparation. A candy thermometer is also highly recommended for testing jam set points accurately.