Mastering the Art of Braising: Your Ultimate Guide to Tender, Flavorful Dishes
- Nuovva Enamelled Cast Iron Dutch Oven Pot with Lid – 6.4 Quart Non Stick Casserole Pot – Heavy Duty & Oven Safe up to 500° F for Bread Baking, Braising, Stews, Roasting – 28cm Dark Blue
- Lodge 6 Quart Enameled Cast Iron Dutch Oven with Lid – Dual Handles – Oven Safe up to 500° F or on Stovetop – Use to Marinate, Cook, Bake, Refrigerate and Serve – Island Spice Red
- Enameled Cast Iron Dutch Oven – Umite Chef 5QT Pot with Lid & Cotton Potholders – Heavy-Duty Cookware for Bread Baking, Braising, Stews, Roasting(Cream White)
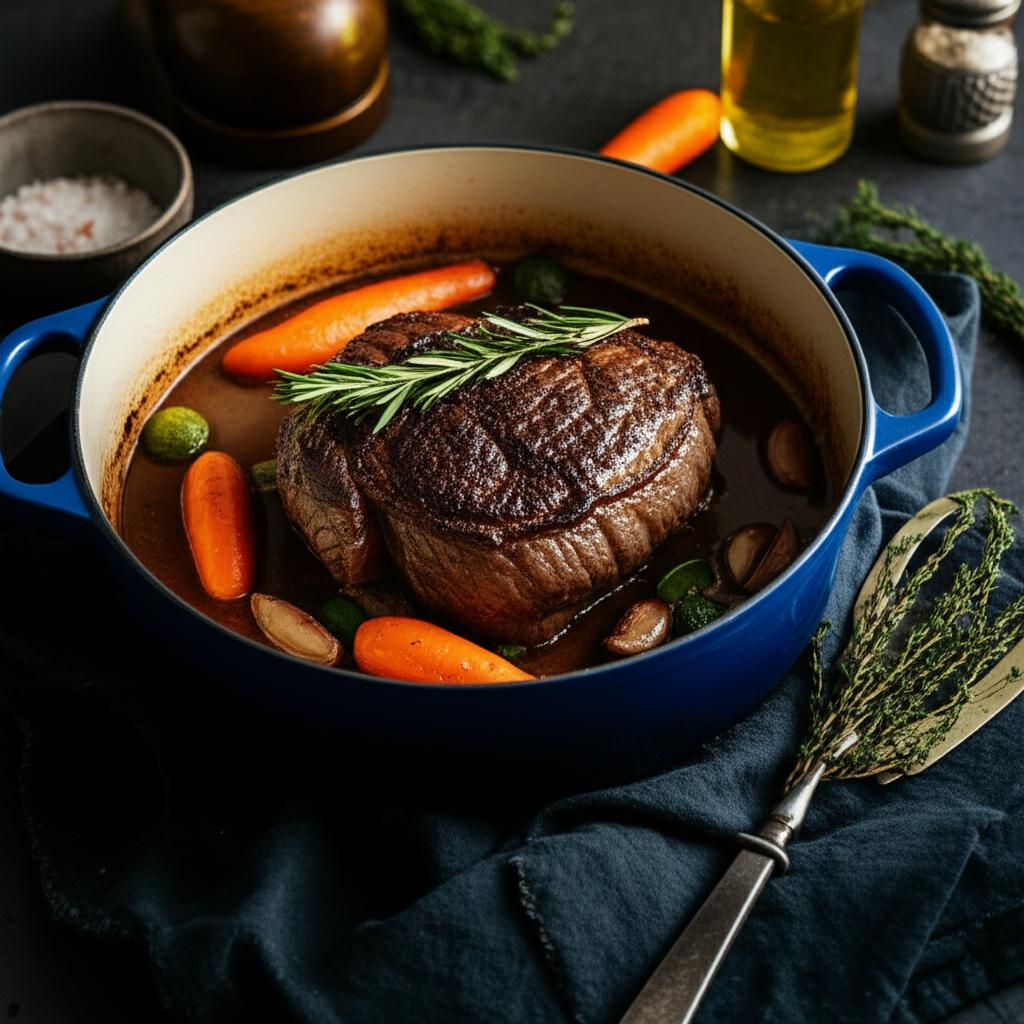
Imagine a dish where tough cuts of meat transform into melt-in-your-mouth tenderness, where vegetables absorb layers of rich flavor, and where the sauce is a silky, savory dream. This isn’t magic; it’s the beautiful, time-honored technique of braising.
Braising is a culinary superpower that allows you to coax incredible depth and succulence from often overlooked ingredients. It’s forgiving, relatively hands-off, and yields truly spectacular results. If you’ve ever wanted to create restaurant-quality comfort food that impresses everyone, you’re in the right place. Let’s dive into mastering the art of braising!
What Exactly is Braising?
At its heart, braising is a combination cooking method that starts with searing food (usually meat or hearty vegetables) at a high temperature, then slowly simmering it in a small amount of liquid, in a covered vessel, over low heat. This gentle, moist-heat environment breaks down tough connective tissues, infuses the food with flavor, and creates a wonderfully rich sauce.
Why Braise? The Irresistible Benefits
- Transforms Tough Cuts: Braising is the secret to making inexpensive, tough cuts of meat (like chuck roast, short ribs, or pork shoulder) unbelievably tender.
- Deep, Complex Flavors: The long, slow cooking allows flavors to meld and intensify, creating a depth you can’t achieve with faster methods.
- Hands-Off Cooking: Once your braise is simmering, it largely takes care of itself, freeing you up for other tasks.
- Perfect for Meal Prep: Braised dishes often taste even better the next day, making them ideal for make-ahead meals.
- One-Pot Wonders: Most braises are cooked in a single pot, simplifying cleanup.
- Comfort Food at its Finest: There’s something inherently comforting about a slow-cooked, deeply flavorful braised meal.
The Essential Elements of a Perfect Braise
Before we get to the steps, let’s understand the key players:
- The Star (Protein or Veg): Choose ingredients that benefit from long, slow cooking.
- Meats: Beef chuck roast, short ribs, oxtail, pork shoulder (Boston butt), pork belly, lamb shanks, chicken thighs or drumsticks.
- Vegetables: Hearty root vegetables like carrots, potatoes, parsnips, turnips, or even cabbage wedges and fennel bulbs.
- Aromatics: These form the flavor foundation. Think onions, carrots, celery (the “holy trinity”), garlic, leeks, and sometimes mushrooms.
- Braising Liquid: This isn’t just water! It’s key to flavor.
- Broth/Stock: Beef, chicken, vegetable.
- Wine: Red or white, depending on the dish.
- Beer: Dark stouts or lighter lagers.
- Tomatoes: Crushed, diced, or paste.
- Other: Coconut milk, apple cider, even just water with herbs.
- Crucial Tip: You only need just enough liquid to come about halfway or two-thirds up the sides of your ingredients, not completely submerge them.
- Fat: For searing (e.g., olive oil, vegetable oil, butter).
- Flavor Boosters: Herbs (bay leaves, thyme, rosemary), spices (paprika, cumin, star anise), citrus zest, dried chilies.
- The Vessel: A heavy-bottomed, oven-safe pot with a tight-fitting lid is essential. A Dutch oven is the quintessential braising pot.
Your Step-by-Step Guide to Braising Perfection
Ready to create culinary magic? Follow these steps for an unforgettable braised dish:
Step 1: Prep Your Ingredients
- Pat the Protein Dry: This is critical for a good sear. Moisture prevents browning. Use paper towels to thoroughly dry your meat.
- Season Generously: Don’t be shy! Season your meat liberally with salt and freshly ground black pepper on all sides. This is your first layer of flavor.
Step 2: Sear for Flavor (The Maillard Reaction)
- Heat the Pot: Place your heavy-bottomed pot over medium-high heat. Add a tablespoon or two of oil with a high smoke point.
- Sear the Protein: Once the oil shimmers, carefully add your seasoned meat in a single layer. Do not overcrowd the pot, as this will steam the meat instead of searing it. Work in batches if necessary.
- Achieve a Deep Brown Crust: This step is non-negotiable for developing deep, complex flavors. Let the meat sear undisturbed for several minutes per side until a rich, deep brown crust forms. This is the Maillard reaction, where sugars and amino acids react to create hundreds of new flavor compounds. Remove the seared meat and set aside.
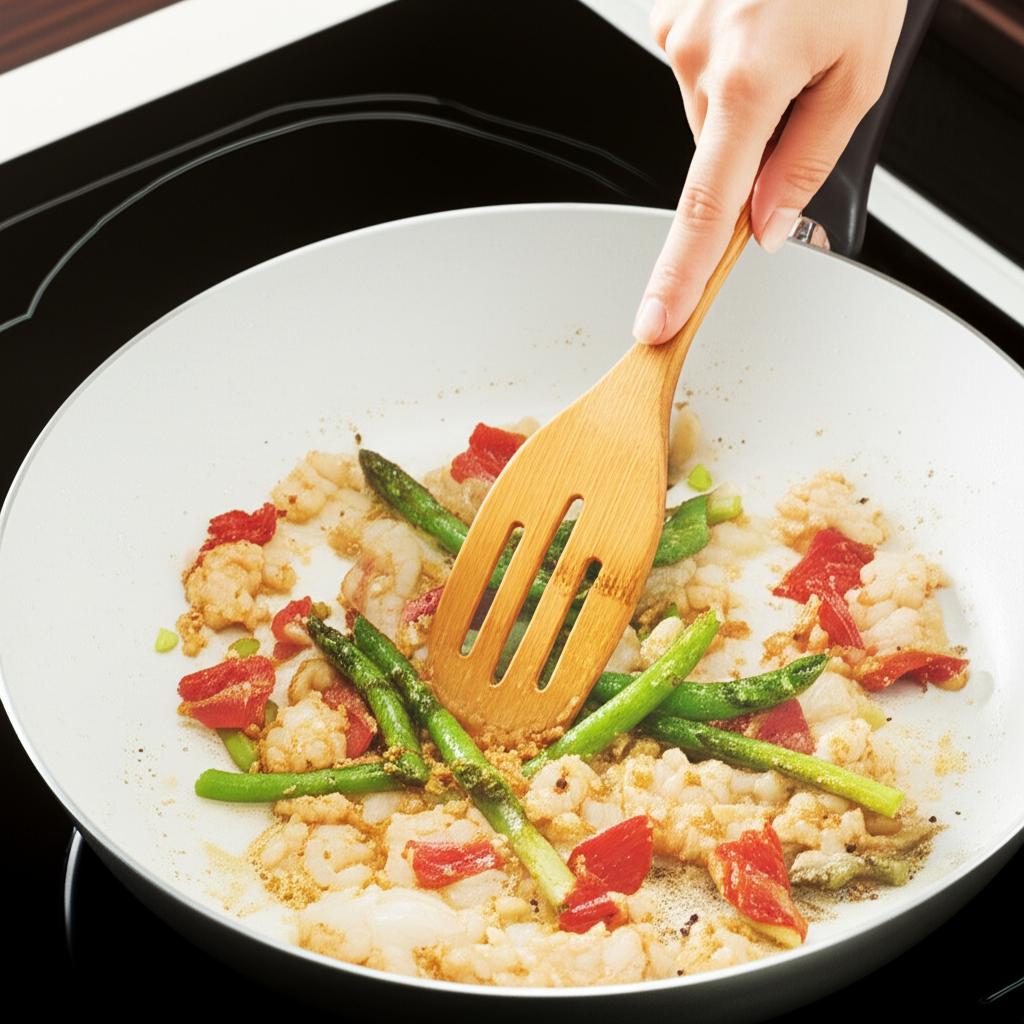
Step 3: Sauté Your Aromatics
- Build the Flavor Base: Reduce the heat to medium. Add your chopped aromatics (onions, carrots, celery, etc.) to the pot, scraping up any browned bits (fond) from the bottom of the pan as they cook. This “fond” is pure flavor gold!
- Cook Until Softened: Sauté for 5-10 minutes until they soften and become fragrant. Add minced garlic in the last minute to prevent burning. If using tomato paste, add it now and cook for a minute or two until it darkens slightly, which intensifies its flavor.
Step 4: Deglaze the Pan (Optional but Recommended)
- Unlock More Flavor: Pour a splash of your braising liquid (wine, beer, or a bit of broth) into the hot pot. Use a wooden spoon to aggressively scrape up all the remaining browned bits from the bottom. This process, called deglazing, incorporates all that delicious fond into your sauce. Let the liquid reduce slightly.
Step 5: Introduce Your Braising Liquid
- Add the Bulk of the Liquid: Pour in the rest of your chosen braising liquid. Remember, you only need enough liquid to come about halfway to two-thirds up the sides of your ingredients, not to fully submerge them. You’re braising, not boiling!
- Add Flavor Boosters: Now is the time to add your herbs (bay leaves, thyme sprigs), whole spices, or any other flavorings.
Step 6: Return the Protein and Bring to a Simmer
- Nestle the Protein: Carefully return the seared meat (and any collected juices) to the pot, nestling it into the aromatics and liquid.
- Bring to a Gentle Simmer: Increase the heat until the liquid comes to a gentle simmer. You should see small bubbles, not a vigorous boil. This ensures even, gentle cooking.
Step 7: Cover and Braise (Low and Slow!)
- The Magic Happens Here: Once simmering, cover the pot tightly with its lid. You have two primary options for cooking:
- Oven Braising: This is often preferred because it provides more consistent, even heat all around the pot. Transfer the covered pot to a preheated oven set to a low temperature, typically 300-350°F (150-175°C).
- Stovetop Braising: You can also braise on the stovetop by keeping the heat on the absolute lowest setting possible, just enough to maintain a gentle simmer. This requires more vigilance to prevent scorching.
- Cook Until Fork-Tender: Braise for several hours (timing depends on the size and type of meat/veg), checking periodically. The dish is ready when the meat is fall-apart, fork-tender, easily pulling away with minimal pressure. For most tough cuts, this can take 2-4 hours or more.
Step 8: Rest and Refine (The Grand Finale)
- Rest the Meat: Once cooked, remove the meat from the pot and transfer it to a cutting board. Cover it loosely with foil and let it rest for 10-15 minutes. This allows the juices to redistribute, ensuring maximum tenderness and flavor.
- Refine the Sauce: While the meat rests, you can finish your sauce.
- Strain (Optional): If you prefer a smoother sauce, strain the liquid through a fine-mesh sieve, pressing on the solids to extract all the liquid. Discard the solids (or serve them alongside).
- Skim Fat: Use a spoon or ladle to skim off any excess fat that has risen to the surface.
- Reduce (Optional but Recommended): Place the strained liquid back on the stovetop over medium-high heat and bring to a simmer. Let it reduce until it reaches your desired consistency and intense flavor. Season with salt and pepper to taste. You can also thicken it with a cornstarch slurry or beurre manié if needed, but reduction is often sufficient.
Step 9: Serve and Enjoy!
- Shred or Slice: Shred or slice the rested meat.
- Combine and Serve: Return the meat to the sauce, or spoon the sauce over the meat and any accompanying vegetables. Serve hot with your favorite sides like mashed potatoes, polenta, rice, or crusty bread to soak up every last drop of that incredible sauce.
Tips for Braising Success
- Patience is Your Best Friend: Braising cannot be rushed. Low and slow is the mantra.
- Season in Layers: Season the meat, season the aromatics, and finally, adjust the seasoning of the finished sauce.
- Don’t Overcrowd the Pot: This applies to searing and to the overall braise. Give ingredients space to cook evenly.
- Check Liquid Levels Periodically: Especially for longer braises, check every hour or so. If the liquid gets too low, add a little more hot broth or water to maintain the level.
- Consistency is Key: For oven braising, trust your oven temperature and try not to open the lid too frequently, as this releases precious heat and moisture.
- Let it Rest: Just like a good steak, braised meat benefits immensely from a brief rest.
- Make Ahead for Better Flavor: Braised dishes often taste even more incredible the day after they’re made, as the flavors have more time to meld and develop. Plus, it’s easier to skim off solidified fat when the dish is cold.
Common Braising Mistakes to Avoid
- Not Searing Enough: This is arguably the biggest mistake. A weak sear means a bland, less flavorful braise. Don’t skip the browning step!
- Using Too Much Liquid: You’ll end up with a watery, diluted sauce instead of a rich, concentrated one. Remember the “half to two-thirds” rule.
- Cooking Too Hot or Too Fast: High heat toughens meat instead of tenderizing it. A gentle simmer is what you’re after.
- Not Seasoning Properly: Bland food is no fun. Season at multiple stages.
- Not Letting it Rest: Impatience leads to dry, less tender meat.
- Opening the Lid Too Often: Every time you lift the lid, you release heat and steam, extending the cooking time and potentially drying out the dish. Resist the urge to peek!
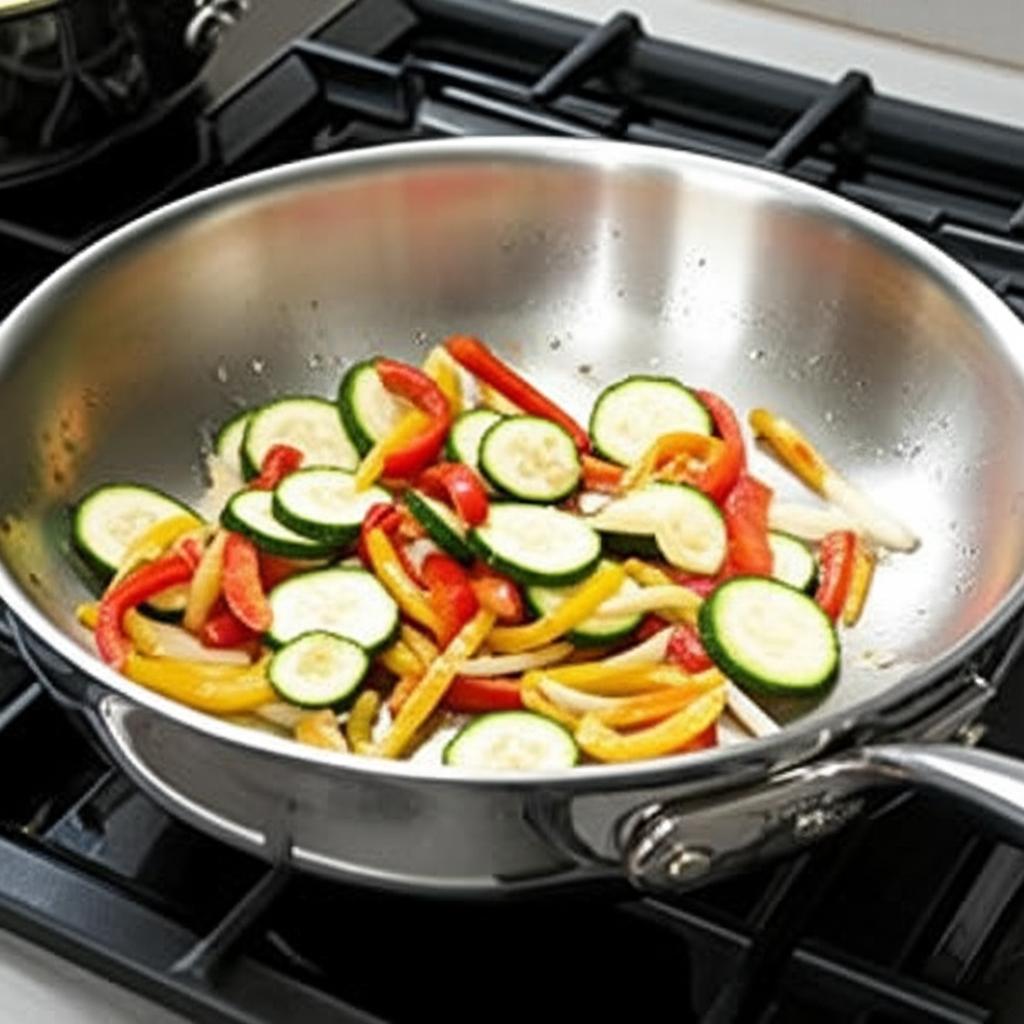
Beyond Meat: Braising Vegetables
While often associated with meat, braising is also a fantastic technique for transforming hearty vegetables into showstopping sides. Think braised fennel, cabbage wedges, endives, or even whole heads of garlic. The principles remain the same: sear (if applicable), sauté aromatics, add liquid, and cook low and slow until tender and flavorful.
Embrace the Braise!
Braising is more than just a cooking method; it’s an act of culinary love. It teaches patience, rewards attention to detail, and delivers dishes that are deeply satisfying and incredibly delicious. With these steps, tips, and warnings in mind, you’re now equipped to master the art of braising and fill your home with the comforting aromas of truly exceptional food. Happy braising!
- Nuovva Enamelled Cast Iron Dutch Oven Pot with Lid – 6.4 Quart Non Stick Casserole Pot – Heavy Duty & Oven Safe up to 500° F for Bread Baking, Braising, Stews, Roasting – 28cm Dark Blue
- Lodge 6 Quart Enameled Cast Iron Dutch Oven with Lid – Dual Handles – Oven Safe up to 500° F or on Stovetop – Use to Marinate, Cook, Bake, Refrigerate and Serve – Island Spice Red
- Enameled Cast Iron Dutch Oven – Umite Chef 5QT Pot with Lid & Cotton Potholders – Heavy-Duty Cookware for Bread Baking, Braising, Stews, Roasting(Cream White)
FAQ
Q. Why is browning the meat so crucial before adding liquid for braising?
A. Browning the meat, often referred to as searing, is paramount because it initiates the Maillard reaction. This chemical process creates hundreds of new flavor compounds, develops a rich, savory crust, and adds depth and complexity that cannot be achieved otherwise. It contributes significantly to the final taste and color of your braised dish.
Q. What type of liquid should I use for braising, and how much?
A. The braising liquid can vary widely, from stock (chicken, beef, vegetable), wine, beer, tomatoes, or even just water with aromatics. The key is to use enough liquid to come about one-third to halfway up the sides of the meat, but not fully submerge it. This allows the top of the meat to steam gently while the bottom simmers, creating a more balanced texture.
Q. What are the best cuts of meat for braising, and why?
A. The best cuts for braising are typically tough, collagen-rich cuts from well-exercised parts of the animal. Examples include beef chuck, short ribs, oxtail, lamb shanks, pork shoulder (Boston butt), and chicken thighs or drumsticks. These cuts, when cooked low and slow, allow the collagen to break down into gelatin, which tenderizes the meat and enriches the braising liquid, making it luxurious and unctuous.
Q. How do I ensure my braised dish doesn’t dry out or become tough, even after long cooking times?
A. To prevent drying out or toughness, ensure your cooking temperature is consistently low (e.g., 300-325°F or a gentle simmer on the stovetop). Keep the pot tightly covered to trap moisture, which creates a steamy environment that tenderizes the meat. Also, avoid overcooking; the meat is done when it’s fork-tender and can be easily shredded, not falling apart into mush.
Q. Can I braise vegetables, and are there any specific considerations?
A. Absolutely! Braising vegetables can concentrate their flavors beautifully. Root vegetables like carrots, potatoes, parsnips, and hearty greens like kale or collard greens are excellent choices. Considerations include cutting them into uniform pieces for even cooking, adding them later in the cooking process if they cook faster than the main protein, and adjusting the braising liquid to complement their flavors.
Q. How do I thicken the braising liquid into a rich sauce at the end?
A. There are several ways to thicken the liquid: 1) Reduction: After removing the meat, simmer the liquid over medium-high heat until it thickens to your desired consistency. 2) Roux: At the beginning of the braise, you can make a roux (equal parts fat and flour) before adding liquid. 3) Slurry: Mix a small amount of cornstarch or arrowroot with cold water, then whisk it into the simmering liquid. 4) Naturally: The gelatin from the meat and finely diced vegetables in the liquid will naturally thicken it as it cools.
Q. Is it true that braised dishes taste better the next day?
A. Yes, it’s often true! Braised dishes frequently improve in flavor after being refrigerated overnight and reheated. This resting period allows the flavors to meld and deepen, becoming more harmonious. Additionally, cooling the dish helps the fat separate and solidify on top, making it easy to skim off before reheating for a lighter, cleaner sauce.