Cool Treats for Hot Days: Crafting Perfect Homemade Ice Cream
- DASH My Mug Ice Cream Maker Machine (Aqua): Multi-Purpose Soft Serve Ice Cream Machine with (2) Bowls for Homemade Gelato, Sorbet, Frozen Yogurt, Built-In Ingredient Chute, Easy to Clean and Store
- Cuisinart Ice Cream Maker Machine, 1.5 Quart Double Insulated Machine, Sorbet and Frozen Yogurt Maker, Ready in 20 Minutes, ICE-21P1, White
- Rellytech Slushy Machine for Home – Slushie Machine No Ice Needed with 6 Preset Programs, Ice Cream, Margaritas, Frappes, Smoothie, Professional Frozen Drink Maker, Self-Cleaning, Fathers Day Gift
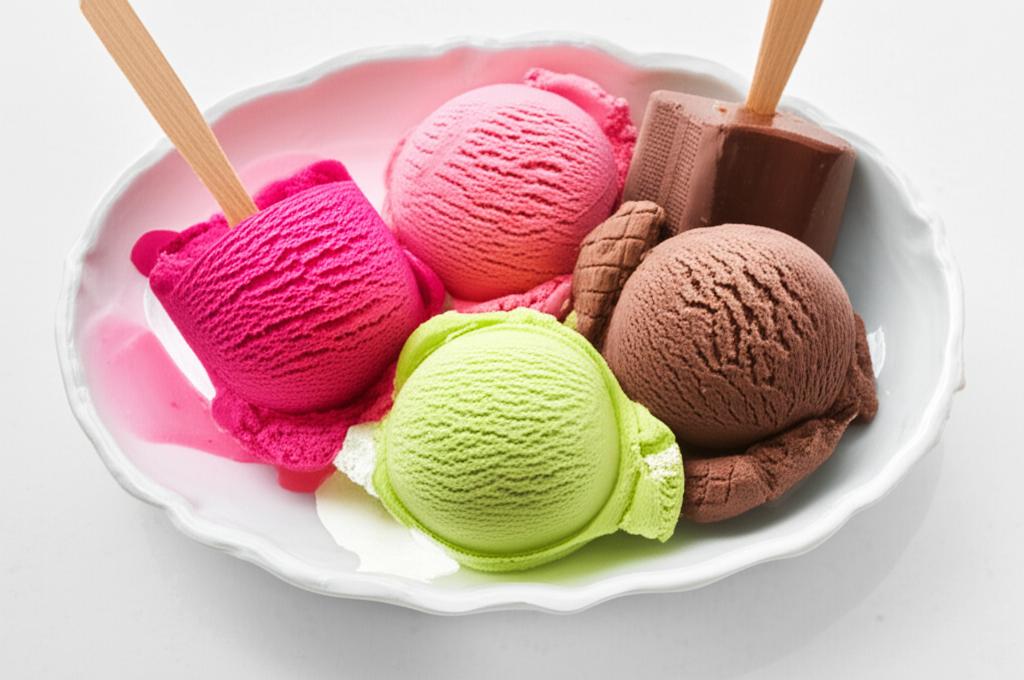
Is there anything better than a scoop of creamy, dreamy ice cream on a scorching hot day? Now, imagine that ice cream is one you made yourself – bursting with fresh flavors, perfectly textured, and incredibly satisfying. Making homemade ice cream isn’t just a summer activity; it’s a delightful experience that brings joy, creativity, and undeniably delicious results right into your kitchen.
Forget the store-bought tubs! This guide will walk you through everything you need to know to whip up your own cool treats for hot days, ensuring every spoonful is a taste of pure bliss.
Why Make Your Own Homemade Ice Cream?
Beyond the sheer deliciousness, there are several compelling reasons to embrace the art of DIY ice cream:
- Unbeatable Freshness: You control every ingredient, ensuring the freshest, highest-quality taste.
- Customization Galore: From classic vanilla to daring lavender honey, your flavor possibilities are endless. Add your favorite mix-ins!
- Quality Control: No unpronounceable ingredients or excessive stabilizers – just pure, wholesome goodness.
- A Fun Activity: It’s a fantastic project for families, friends, or a relaxing solo endeavor.
- Nostalgia and Memories: The scent of churning ice cream and the anticipation of that first scoop create lasting memories.
The Basics: What You’ll Need
Before diving in, let’s gather your essential ingredients and tools. Don’t worry, you likely have most of these already!
Essential Ingredients:
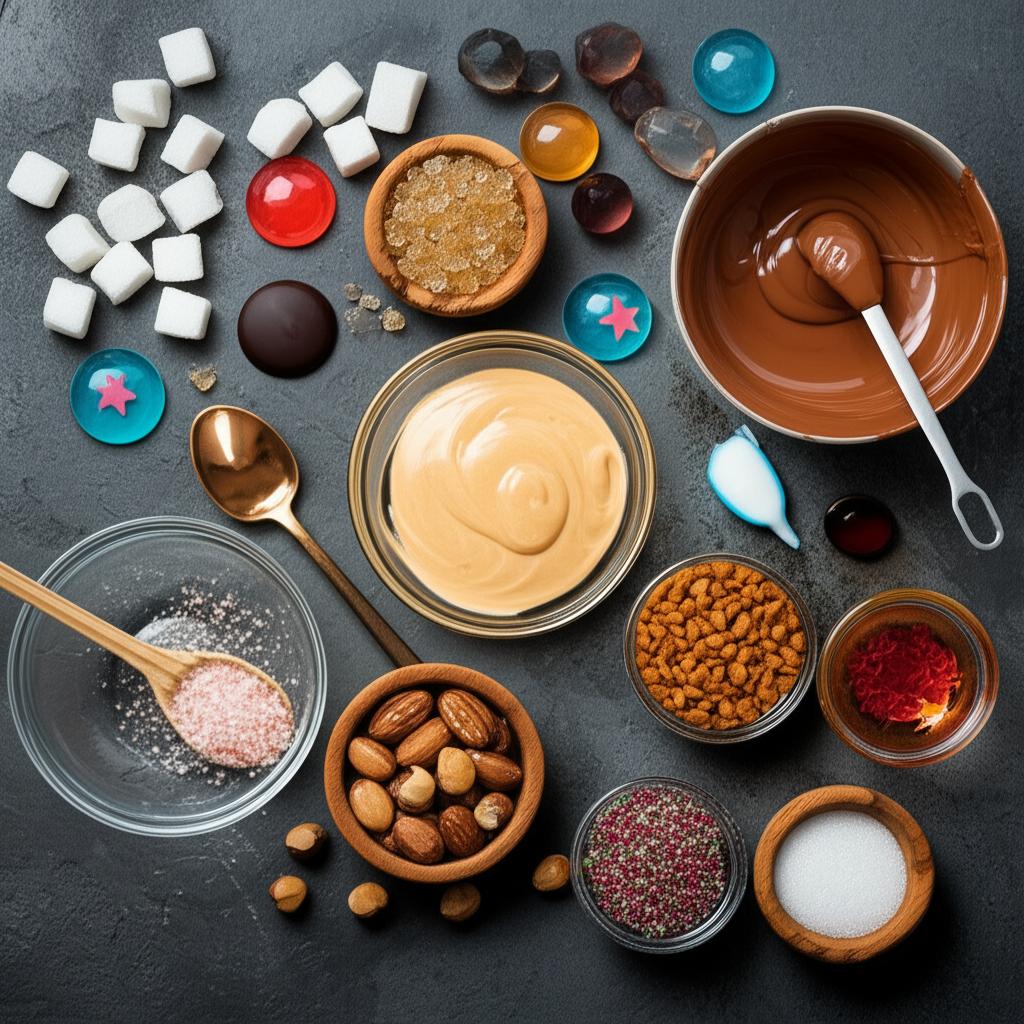
At its core, ice cream is simply a blend of dairy, sugar, and flavor.
- Heavy Cream: This is your foundation for richness and creaminess. Don’t skimp here!
- Whole Milk: Balances the richness of the cream and contributes to the overall texture.
- Granulated Sugar: Provides sweetness and also plays a crucial role in preventing large ice crystals from forming.
- Vanilla Extract: A classic for a reason! Use a good quality pure vanilla extract for the best flavor.
- A Pinch of Salt: Enhances all the other flavors and keeps the ice cream from tasting flat.
- Optional (for Custard Base): Eggs Yolks: Used in a traditional custard-based (French-style) ice cream for an incredibly rich, smooth, and luxurious texture. This involves cooking the base, which adds an extra step but is well worth it for the ultimate creaminess.
Key Equipment:
- Ice Cream Maker: This is the star of the show!
- Freezer Bowl Models: These are popular and more affordable. You’ll need to freeze the inner bowl for at least 12-24 hours beforehand.
- Compressor Models: More expensive but self-chilling, meaning no pre-freezing is required. Great for making multiple batches.
- Large Mixing Bowls: For whisking your base ingredients.
- Whisk or Hand Mixer: To combine ingredients thoroughly.
- Airtight Freezer Container: Essential for storing your finished ice cream and preventing freezer burn. A shallow, wide container is often best for quicker freezing.
- Spatula: For scraping every last bit of deliciousness!
Step-by-Step Guide: Crafting Your Creamy Dream
Let’s get churning! This guide focuses on a simple, no-cook (Philadelphia-style) base, but the churning and freezing steps apply to custard bases too.
Step 1: Prepare Your Ice Cream Base
- Combine Ingredients: In a large bowl, whisk together the heavy cream, whole milk, granulated sugar, vanilla extract, and pinch of salt. Whisk until the sugar is completely dissolved. This can take a few minutes.
- For a Custard Base: If using egg yolks, gently temper them with a small amount of warm cream mixture before adding them back to the pot, then cook over medium-low heat, stirring constantly, until the mixture thickens slightly and coats the back of a spoon. Do not boil!
Step 2: Chill, Chill, Chill!
- Crucial Chilling: This step is non-negotiable for creamy ice cream. Cover your mixed base and refrigerate it for at least 4 hours, or preferably overnight (8-12 hours).
- Why Chill? A very cold base churns faster and results in smaller ice crystals, leading to a much smoother, creamier texture. A warm base will create icy, grainy ice cream.
- Pre-Freeze Your Bowl: If using a freezer-bowl ice cream maker, make sure its bowl is frozen solid (at least 12-24 hours). If it’s not thoroughly frozen, your ice cream won’t set up properly.
Step 3: Churning Time!
- Assemble Your Maker: Follow your ice cream maker’s specific instructions for assembly.
- Pour and Churn: Pour the well-chilled ice cream base into your pre-frozen or self-chilling ice cream maker. Turn the machine on and let it churn.
- Watch the Magic: Churning typically takes 20-30 minutes, depending on your machine and the base’s temperature. The mixture will gradually thicken, aerate, and resemble a soft-serve consistency.
- Add Mix-ins (Optional): If you’re adding solid mix-ins like chocolate chips, chopped nuts, or cookie pieces, add them during the last 5 minutes of churning. This ensures they’re evenly distributed without getting crushed or sinking to the bottom.
Step 4: The Final Freeze (Ripening)
- Transfer to Container: Once your ice cream has reached a soft-serve consistency, it’s time to harden it further. Transfer the ice cream to your airtight freezer-safe container.
- Prevent Ice Crystals: To prevent large ice crystals from forming on the surface, press a piece of parchment paper or plastic wrap directly onto the surface of the ice cream before sealing the container.
- Freeze and Ripen: Place the container in the deepest, coldest part of your freezer. Freeze for at least 2-4 hours (longer is better, especially for non-custard bases) to allow the ice cream to firm up and “ripen” to a scoopable texture.
- Serve and Enjoy! When ready to serve, let the ice cream sit at room temperature for a few minutes to soften slightly for easier scooping.
Pro Tips for Homemade Ice Cream Success
- Quality Matters: Always use high-quality dairy products and flavorings. They make a noticeable difference.
- Chill Everything: The colder your base and your equipment (especially the freezer bowl), the creamier your results will be.
- Don’t Overfill: Never fill your ice cream maker bowl more than two-thirds full, as the mixture will expand significantly as it churns and incorporates air.
- Patience is a Virtue: Resist the urge to open the freezer too early! Give your ice cream adequate time to harden and ripen.
- Proper Storage: Always store homemade ice cream in an airtight container to prevent freezer burn and off-flavors. It’s best enjoyed within 1-2 weeks.
Common Mistakes to Avoid
Even experienced ice cream makers can slip up. Here are a few pitfalls to sidestep:
- Not Chilling Your Base Enough: This is the most common mistake. It leads to a longer churning time and a grainy, icy texture because larger ice crystals have more time to form.
- Overfilling Your Machine: As mentioned, this causes overflow, mess, and inefficient churning, resulting in a less creamy product.
- Over-Churning: Churning for too long can lead to a dense, gummy texture, or even cause the fat to separate. Stop churning when it reaches a soft-serve consistency.
- Adding Mix-ins Too Early: If added at the beginning, softer mix-ins like fruit can get completely pulverized, and harder ones can damage your machine’s paddle. Add them towards the end of the churning cycle.
- Improper Storage: Leaving your ice cream uncovered or in a non-airtight container will expose it to air and moisture, leading to unappetizing freezer burn and a hard, icy texture.
Flavor Adventures: Beyond Vanilla
Once you’ve mastered the basic vanilla, the world of flavors opens up! Here are just a few ideas to spark your creativity:
- Rich Chocolate: Add cocoa powder to your base, or melt in chocolate chips during the last few minutes of churning.
- Fresh Berry: Purée fresh berries (strawberries, raspberries, blueberries) and stir them into the base before chilling, or swirl them in after churning.
- Mint Chip: Add peppermint extract and mini chocolate chips.
- Coffee & Cream: Dissolve instant espresso powder or strongly brewed coffee into your warm (if making custard) or cold base.
- Lemon or Lime: Add citrus zest and a touch of fresh juice for a bright, tangy treat.
- Cookies & Cream: Stir in crushed sandwich cookies at the end of churning.
- Salted Caramel Swirl: Drizzle homemade or good-quality store-bought caramel sauce into the ice cream as you transfer it to the freezer container.
Conclusion
There’s truly nothing quite like the taste of homemade ice cream – it’s an experience that combines the joy of creation with the ultimate delicious reward. With a little planning, the right ingredients, and these helpful tips, you’ll be well on your way to crafting your own creamy, dreamy, cool treats for hot days. So, grab your ingredients, fire up that ice cream maker, and prepare for a summer of sweet, homemade bliss! Enjoy every scoop!
- DASH My Mug Ice Cream Maker Machine (Aqua): Multi-Purpose Soft Serve Ice Cream Machine with (2) Bowls for Homemade Gelato, Sorbet, Frozen Yogurt, Built-In Ingredient Chute, Easy to Clean and Store
- Cuisinart Ice Cream Maker Machine, 1.5 Quart Double Insulated Machine, Sorbet and Frozen Yogurt Maker, Ready in 20 Minutes, ICE-21P1, White
- Rellytech Slushy Machine for Home – Slushie Machine No Ice Needed with 6 Preset Programs, Ice Cream, Margaritas, Frappes, Smoothie, Professional Frozen Drink Maker, Self-Cleaning, Fathers Day Gift
FAQ
Q. Why should I make ice cream at home instead of buying it?
A. Homemade ice cream offers unparalleled freshness, allows for complete control over ingredients, and lets you customize flavors and sweetness levels to your exact preference. It’s also a fun and rewarding culinary project, free from artificial additives and preservatives often found in commercial brands.
Q. What essential equipment do I need to get started with making homemade ice cream?
A. The most crucial piece of equipment is an ice cream maker, which can be a compressor-based, freezer-bowl, or even a simple hand-crank model. Beyond that, you’ll need mixing bowls, a whisk or immersion blender, measuring cups and spoons, and an airtight container for storing your finished ice cream.
Q. My homemade ice cream often turns out too hard or icy. How can I achieve a creamier texture?
A. To achieve a smoother, creamier texture, ensure your ice cream base is thoroughly chilled (ideally for 4-6 hours or overnight) before churning. Using full-fat dairy products (like heavy cream and whole milk), incorporating a small amount of alcohol (e.g., a tablespoon of vodka, which lowers the freezing point), or using an egg custard base (which adds emulsifiers) can significantly reduce ice crystal formation. Churn until the consistency of soft-serve before freezing.
Q. How long can homemade ice cream be stored, and what’s the best way to store it?
A. For optimal flavor and texture, homemade ice cream is best consumed within 1-2 weeks. Store it in an airtight container, preferably a shallow, wide one, to minimize exposure to air. Press a piece of parchment paper or plastic wrap directly onto the surface of the ice cream before sealing the container to prevent freezer burn and maintain freshness.
Q. Is it possible to make homemade ice cream without an ice cream machine?
A. Yes, absolutely! The popular “no-churn” method involves whipping heavy cream to stiff peaks and then folding it into a base of sweetened condensed milk, often with added flavorings. This mixture is then frozen directly in a container, yielding a surprisingly creamy and delicious result without the need for a churner.
Q. What are some common mistakes to avoid when making homemade ice cream?
A. Common mistakes include not chilling the base sufficiently before churning, overfilling the ice cream maker (as the mixture expands), using low-fat dairy which can lead to an icier texture, and frequently opening the lid during churning, which allows warm air in. Also, ensure your freezer bowl is completely frozen solid if using that type of machine.
Q. Can I make dairy-free or sugar-free homemade ice cream?
A. Yes, you can! For dairy-free versions, full-fat coconut milk, cashew cream, or almond milk can be used as substitutes, though textures may vary. For sugar-free or reduced-sugar options, natural sweeteners like stevia, erythritol, or monk fruit can be used. Be aware that altering the fat and sugar content can affect the final texture and freezing point, so some experimentation may be required.
