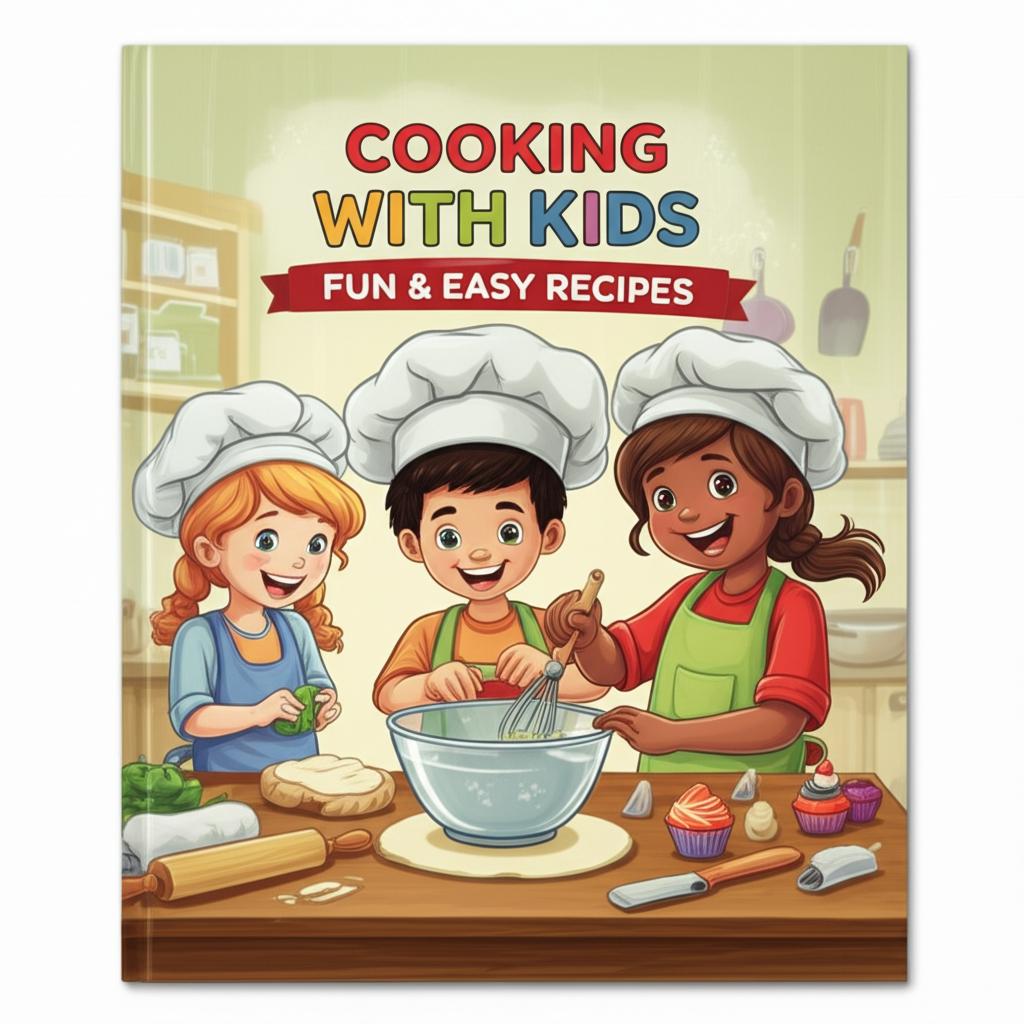
Cooking with Kids: Fun & Easy Recipes for Happy Little Chefs
- 12 Pieces Toddler Utensils Set, Plastic Spoons and Forks Set for Kids, Children Safe Flatware, Plastic Reusable Cutlery, BPA Free, Dishwasher Safe
- DRKIO Stainless Steel Toddler Utensils Set – 12 Pieces Kids Silverware Set Children Safe Food Grade Small Forks and Spoons Dishwasher Safe Mirror Polished
- PLASKIDY Kids Silverware Stainless Steel Set of 10 Toddler Utensils Forks and Spoons – Dishwasher Safe Kids Flatware Set Children’s Safe Cutlery Set
Transforming your kitchen into a classroom of fun, flavor, and bonding is easier than you think! Cooking with kids isn’t just about preparing food; it’s about creating cherished memories, teaching valuable life skills, and fostering healthy eating habits. This guide will help you embrace the delightful chaos and joy of cooking with your children, offering fun and easy recipes that are perfect for little hands and eager minds.
Why Cook with Kids? The Benefits Are Endless!
Involving children in the kitchen offers a smorgasbord of developmental advantages:
- Boosts Confidence & Independence: Completing tasks, no matter how small, gives kids a huge sense of accomplishment.
- Develops Fine Motor Skills: Stirring, pouring, mashing, and sprinkling all refine hand-eye coordination.
- Enhances Math & Reading Skills: Measuring ingredients, following recipes, and setting timers are practical applications of academics.
- Introduces Science Concepts: Watching ingredients change (like dough rising or eggs cooking) is a natural science lesson.
- Promotes Healthy Eating: Kids are more likely to try foods they helped prepare.
- Fosters Creativity: Decorating, choosing toppings, and experimenting (within reason!) spark imagination.
- Strengthens Family Bonds: It’s quality time spent together, laughing and creating.
Safety First! Essential Kitchen Rules for Little Helpers
Before you even tie on those aprons, it’s crucial to establish some basic safety guidelines:
- Always Supervise: Never leave children unattended in the kitchen, especially when heat or sharp objects are involved.
- Wash Hands Thoroughly: This is the #1 rule before touching any food.
- Teach Knife Safety: For older kids, teach them to use a dull butter knife or a kid-safe nylon knife. Adults should always handle sharp knives for chopping hard vegetables or meat.
- Beware of Hot Surfaces: Teach children about hot stoves, ovens, and pots. Use back burners whenever possible.
- Keep a Clear Path: Ensure no toys or obstacles are on the floor to prevent tripping.
- Tie Back Long Hair: Essential for hygiene and safety.
- Allergies & Dietary Restrictions: Always be mindful of any family members’ or friends’ food allergies or dietary needs.
Top Tips for a Successful Cooking Adventure
To make your experience enjoyable and stress-free:
- Keep It Simple: Start with easy, no-bake recipes or those with minimal steps.
- Choose the Right Time: Avoid cooking when kids are tired or hungry. A relaxed atmosphere is key.
- Assign Age-Appropriate Tasks:
- Toddlers (2-3 years): Washing fruits/veggies, stirring cold ingredients, tearing lettuce, mashing soft foods (like bananas), sprinkling.
- Preschoolers (4-5 years): Measuring pre-portioned ingredients, pouring, kneading dough, cutting soft foods with a kid-safe knife, decorating.
- School-Aged (6+ years): Reading recipes, cracking eggs, using simple kitchen tools (with supervision), grating, helping with clean-up.
- Embrace the Mess: Spills and sticky fingers are part of the fun. Have cleaning supplies ready.
- Focus on the Process, Not Perfection: The goal is participation and fun, not a gourmet meal.
- Praise Effort: Celebrate their contributions, no matter how small.
- Taste Test! Encourage them to try everything they’ve made.
Fun & Easy Recipes to Get Started!
Here are three fantastic, kid-friendly recipes that are guaranteed to be a hit.
1. Rainbow Fruit Skewers with Yogurt Dip (No-Bake Fun!)
This recipe is vibrant, healthy, and requires no cooking, making it perfect for even the youngest chefs.
What You’ll Need:
- Assorted fresh fruits: Strawberries (red), orange segments or cantaloupe (orange), pineapple or banana (yellow), green grapes or kiwi (green), blueberries or purple grapes (blue/purple).
- Yogurt: Plain or vanilla (dairy or non-dairy).
- Honey or Maple Syrup: A touch for sweetness (optional).
- Wooden or metal skewers (blunt-tipped if possible).
Kid-Friendly Tasks:
- Washing fruits.
- Peeling bananas or oranges (with adult help if needed).
- Using a butter knife to cut soft fruits (like strawberries, bananas, or melon chunks) on a safe cutting board. Adults should pre-cut harder fruits like pineapple or kiwi into kid-safe pieces.
- Threading fruit onto skewers.
- Measuring and stirring yogurt and honey for the dip.
Step-by-Step Instructions:
- Prep the Fruits (Adults First!): Wash all fruits thoroughly. For younger children, pre-cut all fruits into bite-sized pieces. For older children, supervise them cutting softer fruits with a butter knife.
- Arrange the Rainbow: Lay out the cut fruit pieces in separate bowls or piles, organized by color.
- Create the Skewers: Invite your child to carefully thread the fruit pieces onto the skewers, aiming for a rainbow pattern (or any pattern they like!). Guide them to hold the skewer upright to prevent spills.
- Make the Dip: In a small bowl, have your child measure out the yogurt. Add a small drizzle of honey or maple syrup if desired.
- Stir It Up: Give them a spoon and let them stir the yogurt and sweetener together until well combined.
- Serve and Enjoy: Arrange the colorful skewers on a platter with the yogurt dip on the side. Watch them beam with pride!
2. Mini Pizzas on English Muffins or Pita Bread (Simple & Savory!)
Pizza is a universal crowd-pleaser, and these mini versions are quick, customizable, and great for little hands.
What You’ll Need:
- English muffins, pita bread, or small pre-made pizza crusts
- Pizza sauce
- Shredded mozzarella cheese
- Kid-friendly toppings: Sliced bell peppers, small mushroom pieces, pre-cooked mini pepperoni, olives, cooked crumbled sausage, pineapple chunks.
Kid-Friendly Tasks:
- Spreading sauce.
- Sprinkling cheese.
- Arranging toppings.
- Setting the timer (with adult guidance).
Step-by-Step Instructions:
- Preheat & Prep (Adults First!): Preheat your oven to 375°F (190°C). Line a baking sheet with parchment paper or aluminum foil. Slice English muffins in half or prepare your pita bread/crusts.
- Spread the Sauce: Give each child an English muffin half or a pita and a spoonful of pizza sauce. Let them spread the sauce evenly over the surface using the back of the spoon.
- Sprinkle the Cheese: Next, it’s time for the cheese! Have them generously sprinkle the mozzarella cheese over the sauce. This is usually a favorite step!
- Add the Toppings: Present the bowls of toppings. Let your child choose and arrange their favorite toppings on their mini pizza. Encourage colorful choices!
- Bake (Adults Only!): Carefully place the assembled pizzas on the prepared baking sheet. An adult must place the tray into the preheated oven. Bake for 8-12 minutes, or until the cheese is melted and bubbly and the crust is golden brown.
- Cool & Serve: Adults, carefully remove the hot pizzas from the oven. Let them cool for a few minutes on a wire rack before serving. Enjoy your personalized creations!
3. Easy Banana Muffins (Sweet Treat & Baking Basics!)
This recipe is fantastic for practicing measuring and mixing, and the end result is a delicious, comforting treat. It’s also a great way to use up those overripe bananas!
What You’ll Need:
- 2-3 ripe bananas, mashed
- 1 ½ cups all-purpose flour
- ½ cup granulated sugar
- 1 teaspoon baking soda
- ½ teaspoon salt
- 1 egg, lightly beaten
- ¼ cup melted butter or vegetable oil
- Muffin tin and paper liners
Kid-Friendly Tasks:
- Mashing bananas.
- Measuring dry ingredients (with help).
- Pouring liquid ingredients.
- Stirring.
- Scooping batter into muffin liners.
Step-by-Step Instructions:
- Preheat & Prep (Adults First!): Preheat your oven to 375°F (190°C). Line a muffin tin with 12 paper liners.
- Mash the Bananas: In a large bowl, give your child a fork or potato masher and let them mash the ripe bananas until mostly smooth (a few lumps are fine!).
- Combine Wet Ingredients: Add the beaten egg and melted butter/oil to the mashed bananas. Let your child stir everything together until combined.
- Mix Dry Ingredients: In a separate medium bowl, have your child measure out the flour, sugar, baking soda, and salt. Show them how to level off the measurements. Then, let them whisk these dry ingredients together with a fork.
- Combine Wet & Dry: Pour the dry ingredient mixture into the wet ingredient mixture. Using a spatula or large spoon, gently encourage your child to mix until just combined. Do not overmix! Lumps are okay. Overmixing makes tough muffins.
- Scoop the Batter: Help your child scoop the muffin batter into the prepared muffin liners, filling each about two-thirds full.
- Bake (Adults Only!): An adult must carefully place the muffin tin into the preheated oven. Bake for 18-22 minutes, or until a toothpick inserted into the center of a muffin comes out clean.
- Cool & Enjoy: Adults, carefully remove the hot muffin tin from the oven. Let the muffins cool in the tin for a few minutes before transferring them to a wire rack to cool completely. Then, it’s time for a tasty treat!
Common Mistakes to Avoid When Cooking with Kids
Even with the best intentions, things can go awry. Here’s what to watch out for:
- Overcomplicating the Recipe: Starting with a 10-step recipe is a recipe for frustration. Begin with 2-3 step recipes.
- Ignoring Safety Measures: Rushing or forgetting to emphasize safety can lead to accidents. Safety is paramount.
- Not Prepping Ahead: Having ingredients measured, tools ready, and surfaces clean before starting can save a lot of meltdowns (yours and theirs!). Mise en place is your friend.
- Focusing on Perfection: If the cookies aren’t perfectly round or the sauce splatters, it’s okay! Celebrate their effort and participation.
- Lack of Patience: Children learn at a different pace. Be prepared for things to take longer. Patience is a virtue in the kitchen.
- Expecting Too Much Too Soon: A toddler might only manage stirring for 30 seconds. That’s a win! Adjust expectations to their age and attention span.
- Forgetting About Clean-Up: Involve them in the clean-up process, even if it’s just wiping the table or putting away utensils. Responsibility is part of the lesson.
Cooking with kids is more than just making a meal; it’s an investment in their development, a chance to create lasting memories, and an opportunity to teach vital life skills. So, tie on those aprons, embrace the flour dust, and get ready for some fun in the kitchen with your little chefs. Happy cooking!
- 12 Pieces Toddler Utensils Set, Plastic Spoons and Forks Set for Kids, Children Safe Flatware, Plastic Reusable Cutlery, BPA Free, Dishwasher Safe
- DRKIO Stainless Steel Toddler Utensils Set – 12 Pieces Kids Silverware Set Children Safe Food Grade Small Forks and Spoons Dishwasher Safe Mirror Polished
- PLASKIDY Kids Silverware Stainless Steel Set of 10 Toddler Utensils Forks and Spoons – Dishwasher Safe Kids Flatware Set Children’s Safe Cutlery Set
FAQ
Q. What are the best ages to start cooking with kids?
A. You can start involving children in the kitchen at surprisingly young ages! Toddlers can help with simple tasks like washing vegetables, stirring cold ingredients, or tearing lettuce. Preschoolers can measure, pour, and knead dough. By elementary age, they can manage more complex steps like cracking eggs or basic chopping with supervision. The key is to assign age-appropriate tasks and always ensure supervision.
Q. How can I ensure safety when cooking with young children?
A. Safety is paramount. Always supervise children closely, especially around hot surfaces, sharp knives, and electrical appliances. Teach them kitchen rules like washing hands, staying away from the stove, and asking for help. Use child-safe tools where appropriate, such as nylon knives for chopping soft foods, and ensure handles of pots are turned inward on the stove.
Q. My child is a picky eater. Will cooking help them try new foods?
A. Absolutely! Involving children in the cooking process often significantly increases their willingness to try new foods. When they’ve helped prepare a dish, they develop a sense of ownership and pride, making them more curious and less apprehensive about tasting what they’ve created. It demystifies the food and makes it less intimidating.
Q. How do I manage the mess when cooking with kids?
A. Embrace the mess to a certain extent, but also be prepared! Lay down old newspapers or a large placemat for easy cleanup. Use larger bowls to minimize spills, and have a damp cloth ready for immediate wipe-ups. Involve the kids in the cleanup process too; it teaches responsibility and makes the whole experience more rewarding.
Q. What are some truly easy recipes for beginners?
A. Start with no-cook or minimal-cook recipes. Good options include fruit skewers, simple sandwiches (like peanut butter and jelly or cheese), vegetable sticks with dips, no-bake energy balls, or yogurt parfaits. For very light cooking, try scrambled eggs, simple quesadillas, or two-ingredient dough recipes for pizza or breadsticks.
Q. What are the main benefits of cooking with kids, beyond just making food?
A. Cooking with kids offers a wealth of developmental benefits. It’s an excellent way to teach practical life skills, foster independence, and boost self-confidence. It also incorporates valuable lessons in math (measuring, fractions), science (chemical reactions, states of matter), reading (following recipes), and fine motor skills. Plus, it’s a fantastic bonding activity that creates lasting family memories.
Q. What kind of supervision is needed for different age groups?
A. For toddlers and preschoolers, constant, direct supervision is essential, as their motor skills and understanding of danger are still developing. Young elementary school children (6-9) need close supervision, especially with heat and sharp objects, but can handle more independent tasks. Older elementary and pre-teens (10-12) can manage many tasks with less direct oversight, but still require an adult present to guide them and assist with complex or dangerous steps.