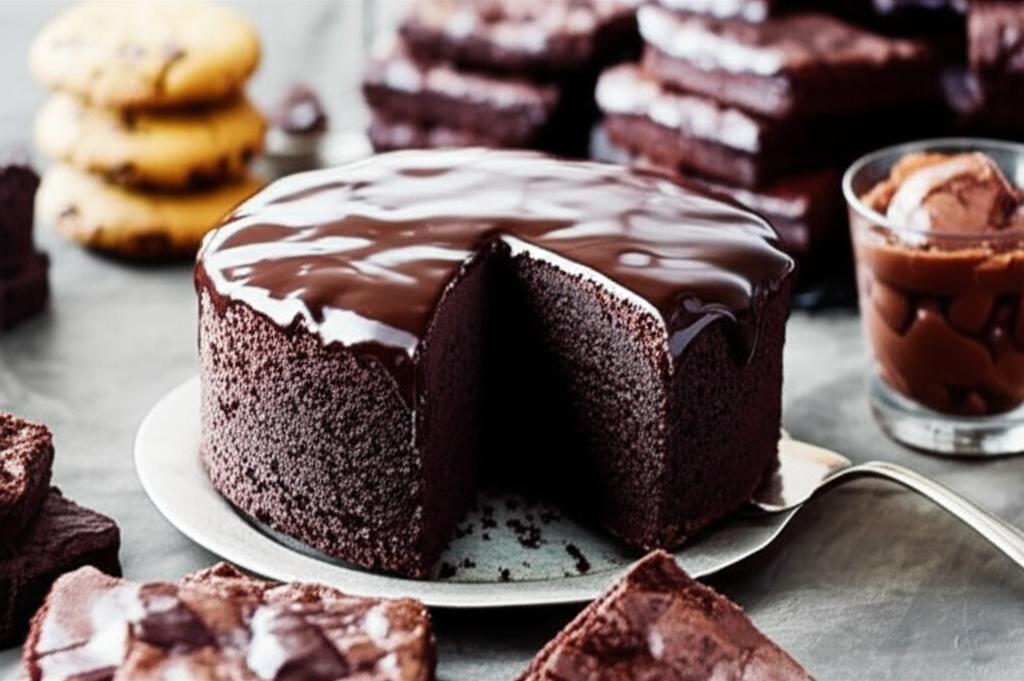
Mastering the Art of Candy Making: Your Ultimate Guide to Sweet Success
- Digital Candy Thermometer with Pot Clip, Instant Read Kitchen Thermometer for Cooking, Baking, and Candy Making – 10″ Stainless Steel Probe, LCD Display, Essential Baking Tool
- ThermoPro TP510 Waterproof Digital Candy Thermometer with Pot Clip, 10″ Long Probe Instant Read Food Cooking Meat Thermometer for Grilling Smoker BBQ Deep Fry Oil Thermometer
- Candy Thermometer Deep Fry Thermometer with Stainless Steel 2 Inch Large Dial & 9 Inch Long Probe Candy Making Temperature Reference for Confectionery,Dessert,Deepfrying Food
Welcome, sweet-toothed adventurers! Have you ever dreamed of crafting delectable treats that impress friends, delight family, or simply satisfy your own cravings? The world of candy making might seem a little intimidating at first, with its bubbling sugars and precise temperatures. But fear not! With the right knowledge, tools, and a sprinkle of patience, you too can master the art of candy making and create professional-quality confections right in your own kitchen.
This comprehensive guide will walk you through the essentials, demystify the process, and help you avoid common pitfalls. Get ready to embark on a delightful journey into the sugary realm!
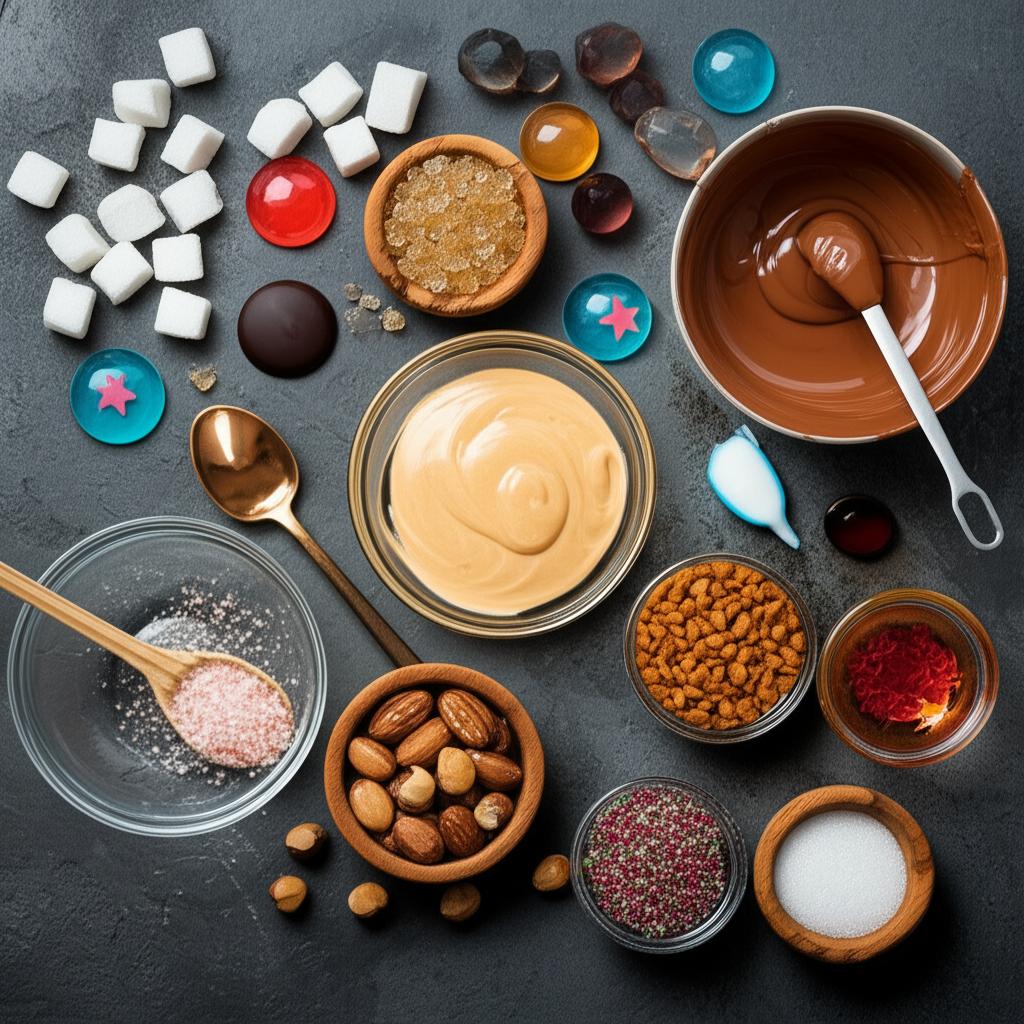
The Essential Toolkit for Sweet Success
Before you dive into the delicious details, gathering the right equipment is paramount. Having the proper tools will make your candy-making journey much smoother and more successful.
- A Heavy-Bottomed Pot: This is non-negotiable. A heavy-bottomed pot distributes heat evenly, preventing scorching and ensuring your sugar mixture cooks consistently. Thin-bottomed pots are prone to hot spots and can ruin your candy.
- A Reliable Candy Thermometer: Your candy thermometer is your best friend in this endeavor. Precision is key in candy making, and relying on guesswork for temperature will almost always lead to disappointment. Look for one that clips easily to the side of your pot and is easy to read.
- Measuring Cups and Spoons: Accurate measurements are crucial for candy making, even more so than in baking.
- Long-Handled Wooden Spoon or Heat-Proof Silicone Spatula: For stirring. Silicone spatulas are great for scraping down the sides of the pot.
- Parchment Paper or Silicone Mats: For cooling and preventing sticking.
- Baking Sheets: For pouring and cooling your candy.
- Pastry Brush: A small, clean brush is incredibly useful for washing down sugar crystals from the sides of your pot.
Understanding the Magic: The Sugar Stages
This is where the science (and the art!) truly happens. Different temperatures correspond to different sugar concentrations and textures, known as “sugar stages.” Mastering these stages is the secret to perfect candy. A reliable candy thermometer is essential here.
- Thread Stage (223-235°F / 106-113°C): When a spoonful of syrup is dropped into cold water, it forms fine threads. Used for thin icings and some meringue.
- Soft Ball Stage (235-245°F / 113-118°C): A drop of syrup in cold water forms a soft, pliable ball that flattens when removed. Ideal for fudge, fondants, and pralines.
- Firm Ball Stage (245-250°F / 118-121°C): The ball formed in cold water holds its shape but is still soft enough to be pressed flat. Used for caramels and divinities.
- Hard Ball Stage (250-265°F / 121-129°C): The ball is firm but still pliable. Good for nougat and some caramels.
- Soft Crack Stage (270-290°F / 132-143°C): When dropped in cold water, the syrup separates into threads that are firm but not brittle. Used for taffy and butterscotch.
- Hard Crack Stage (295-310°F / 146-154°C): The threads formed in cold water are hard and brittle, breaking easily. This is the stage for hard candy, brittle, and lollipops.
- Caramel Stage (320-350°F / 160-177°C): The sugar begins to turn golden brown and develops a distinct nutty flavor. Used for caramel sauces and coatings. Be extremely careful at this stage as it’s very hot and can burn quickly.
The Universal Steps to Any Candy Creation
While recipes vary, the fundamental process for most cooked candies follows a similar pattern.
- Read Your Recipe Thoroughly (Twice!): Seriously. Understand every step and have all your ingredients measured and ready (mise en place) before you even turn on the stove. Candy making moves fast once the heat is on.
- Prepare Your Equipment and Surfaces: Grease molds, line baking sheets with parchment paper or silicone mats, and set out any necessary tools. You won’t have time to scramble for equipment once the candy is ready.
- Combine Ingredients & Heat Gently: Most candy recipes start by combining sugar, water, and sometimes corn syrup (which helps prevent crystallization). Heat the mixture over medium-low heat, stirring only until the sugar is dissolved. Once the mixture comes to a boil, stop stirring.
- Cook to Temperature: Clip your candy thermometer to the side of the pot, ensuring it’s submerged but not touching the bottom. Allow the syrup to boil undisturbed until it reaches the desired temperature for your specific candy stage.
- Crucial Tip for Preventing Crystallization: As the syrup boils, use a wet pastry brush to wash down any sugar crystals that form on the sides of the pot. These stray crystals can act as “seeds” and cause the entire batch to crystallize.
- Add Flavorings/Colorings (if applicable): Once the target temperature is reached, remove the pot from the heat. Carefully stir in any flavor extracts, food coloring, or butter.
- Cooling and Forming: This is often the trickiest part and varies by candy.
- Some candies (like fudge) require cooling to a specific temperature before stirring to achieve the right texture.
- Others (like hard candy or brittle) are poured immediately onto prepared surfaces. Do NOT scrape the bottom of the pot; it may contain crystallized sugar.
- Finishing Touches: Once cooled and set, cut, wrap, or store your candy according to the recipe.
Common Candy Making Mistakes & How to Avoid Them
Even seasoned candymakers encounter issues. Knowing what to watch out for can save you a lot of frustration!
- The Archenemy: Sugar Crystallization: This is when your beautiful syrup turns into a grainy, sugary mess.
- Avoid It:
- Don’t stir after the mixture comes to a boil. Stirring can encourage sugar crystals to form.
- Wash down the sides of the pot with a wet pastry brush during cooking.
- Use a small amount of corn syrup or cream of tartar; these act as “interfering agents” that prevent crystallization.
- Ensure your pot and utensils are spotlessly clean.
- Avoid It:
- Ignoring the Candy Thermometer: Guessing the temperature is the quickest route to candy failure. Too low, and your candy won’t set; too high, and it will be brittle or burnt.
- Avoid It: Always use a reliable candy thermometer. Test it occasionally by placing it in boiling water (it should read 212°F / 100°C at sea level).
- Humidity Hassles: Sugar is hygroscopic, meaning it absorbs moisture from the air. High humidity can make your candy sticky or prevent it from setting.
- Avoid It: Try to make candy on a dry day or in an air-conditioned environment. Store finished candy in airtight containers.
- Impatience: Candy making is not a sprint; it’s a marathon. Rushing the cooking process by turning up the heat too high can lead to scorching or uneven cooking. Rushing the cooling process can ruin the texture.
- Avoid It: Cook over medium heat and let the thermometer guide you. Allow ample time for cooling before disturbing the candy.
- Safety Neglected: You are working with boiling sugar, which can cause severe burns.
- Avoid It: Always wear oven mitts when handling hot pots. Keep children and pets away from the stove. Have a bowl of ice water nearby in case of accidental contact (though prevention is best). Never taste hot candy!
- Not Prepping Molds/Surfaces: This leads to a frantic mess when your perfectly cooked candy has nowhere to go and starts to set in the pot.
- Avoid It: Always prepare your molds, pans, or surfaces before you start cooking.
Tips for the Aspiring Candymaker
- Start Simple: Don’t try to make delicate truffles as your first project. Begin with forgiving recipes like fudge, simple caramels, or peanut brittle. These will help you get comfortable with the process and the feel of the sugar stages.
- Read the Entire Recipe, Then Read It Again: We can’t stress this enough. Understanding the entire process before you begin is the most crucial step to success.
- Mise en Place (Everything in its Place): Measure all your ingredients and have them ready before you start heating anything.
- Cleanliness is Key: Ensure your pot and utensils are sparkling clean to prevent sugar crystallization.
- Patience is Not Just a Virtue; It’s a Necessity: Don’t rush the heating or cooling processes. Let the sugar do its thing at its own pace.
- Don’t Panic if it Fails: Even experienced candymakers have off days. Sugar can be finicky! Learn from your mistakes, adjust, and try again. Every batch is a learning opportunity.
Beginner-Friendly Candy Ideas to Get You Started
Once you’re comfortable with the basics, here are some great entry points:
- Classic Fudge: Often made to the soft ball stage, it’s relatively forgiving and delicious.
- Simple Caramels: Cooked to the firm ball stage, these are chewy and satisfying.
- Peanut Brittle: A classic hard candy cooked to the hard crack stage, it’s surprisingly simple once you master the temperature.
- Basic Hard Candy (Lollipops): Cooked to the hard crack stage, these are fun to flavor and color.
Conclusion: Embrace the Sweet Journey!
Mastering the art of candy making is a rewarding endeavor that combines science, precision, and creativity. While it may require a bit of practice and patience, the satisfaction of creating your own delicious confections from scratch is immeasurable.
So, gather your tools, choose a simple recipe, and don’t be afraid to experiment. With each batch, you’ll gain confidence and refine your skills. Soon, you’ll be delighting everyone with your homemade treats and proudly calling yourself a master of the sweet, sweet art of candy making! Happy candying!
- Digital Candy Thermometer with Pot Clip, Instant Read Kitchen Thermometer for Cooking, Baking, and Candy Making – 10″ Stainless Steel Probe, LCD Display, Essential Baking Tool
- ThermoPro TP510 Waterproof Digital Candy Thermometer with Pot Clip, 10″ Long Probe Instant Read Food Cooking Meat Thermometer for Grilling Smoker BBQ Deep Fry Oil Thermometer
- Candy Thermometer Deep Fry Thermometer with Stainless Steel 2 Inch Large Dial & 9 Inch Long Probe Candy Making Temperature Reference for Confectionery,Dessert,Deepfrying Food
FAQ
Q. What topics are covered in “Mastering the Art of Candy Making”?
A. This comprehensive guide delves into fundamental candy-making techniques, covering everything from understanding sugar crystallization and mastering temperature control to balancing complex flavors and applying professional finishing touches. You’ll explore different sugar stages, proper tempering methods, and how to troubleshoot common issues that arise during the process.
Q. Is “Mastering the Art of Candy Making” suitable for beginners, or do I need prior experience?
A. This resource is designed for a wide range of skill levels. Absolute beginners will find clear, step-by-step instructions to get started, while more experienced home cooks will discover advanced techniques and deeper insights to refine their craft and expand their repertoire. Basic kitchen comfort and safety awareness are beneficial, but no prior candy-making experience is required.
Q. What essential equipment will I need to get started with candy making?
A. While detailed lists are provided within the guide, key essentials include a heavy-bottomed saucepan (preferably stainless steel), a reliable candy thermometer, accurate measuring cups and spoons, parchment paper or silicone mats, and basic stirring utensils. Specialized tools like candy molds or specific cutters can be acquired as your skills and interest develop.
Q. How does this guide help me troubleshoot common candy-making problems like crystallization or sticky candies?
A. “Mastering the Art of Candy Making” dedicates significant sections to understanding and preventing common pitfalls. It offers practical advice and step-by-step solutions for issues such as sugar crystallization, achieving the correct candy texture (e.g., preventing stickiness), avoiding burning, and navigating challenges posed by humidity.
Q. Does “Mastering the Art of Candy Making” include recipes, and what types of candies will I learn to make?
A. Absolutely! The guide features a diverse collection of tested recipes that put the learned techniques into practice. You’ll gain the skills to create classic confections like smooth caramels, creamy fudges, chewy taffy, various types of hard candies, nougats, and even venture into basic chocolate work. The foundational knowledge provided will also empower you to adapt and create your own unique candy recipes.
Q. Are there specific safety tips provided for working with hot sugar?
A. Yes, safety is paramount when working with the high temperatures involved in candy making. The guide emphasizes crucial safety measures throughout, including proper handling of hot syrup, recommended kitchen attire (e.g., long sleeves, closed-toe shoes), and emergency procedures in case of burns. Always exercise extreme caution and follow instructions carefully.
Q. Will I learn about advanced techniques like tempering chocolate or working with specialty ingredients?
A. Beyond the foundational principles, “Mastering the Art of Candy Making” delves into more advanced topics. This includes the science and art of tempering chocolate to achieve a professional shine and snap, incorporating various flavorings and colorings, and even touches on working with alternative sweeteners or creating intricate decorative elements for your homemade confections.