Mastering the Art of Poaching Eggs: Your Ultimate Guide to Silky, Perfect Results
- Egg Poacher – Eggssentials Poached Egg Maker, Stainless Steel Egg Poaching Pan, Poached Eggs Cooker Food Grade Safe PFOA Free with Spatula.
- Excelsteel 18/10 Stainless Steel 2 Cup Egg Poacher, Non Stick Easy Use Kitchenware Rust Resistant Stove Top Breakfast Brunch Cooking Pan
- EXCELSTEEL Non Stick Easy Use Rust Resistant Home Kitchen Breakfast Brunch Induction Cooktop Egg Poacher, 6 Cup, Stainless Steel, Round
There’s something uniquely satisfying about a perfectly poached egg. That delicate, silky white cradling a liquid gold yolk, just waiting to burst and mingle with whatever deliciousness lies beneath. It’s a staple of elegant breakfasts, brunch menus, and even simple, comforting meals. Yet, for many, the idea of poaching eggs can feel intimidating, leading to fears of whispy, disintegrated whites or overcooked yolks.
Fear not, fellow food lovers! Poaching an egg is less a dark art and more a mastery of simple techniques and a little patience. With this detailed guide, you’ll learn the secrets to achieving restaurant-quality poached eggs right in your own kitchen, every single time. Get ready to impress your taste buds and your brunch guests!
Why Poach an Egg?
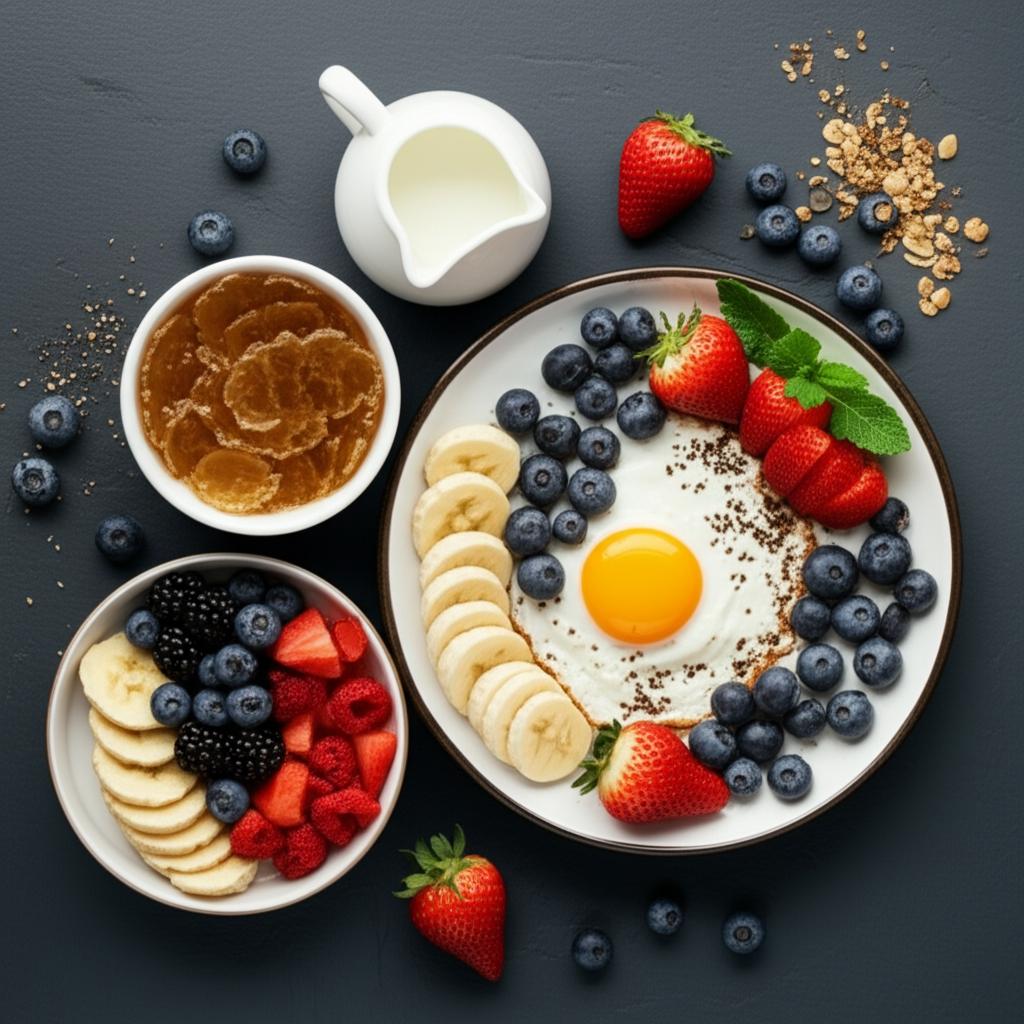
Beyond their undeniable beauty, poached eggs offer a lighter, healthier alternative to fried eggs, requiring no added oil or butter. Their creamy texture and rich flavor make them incredibly versatile, pairing wonderfully with everything from avocado toast to hearty hashes, salads, and even soups.
The (Simple) Science Behind the Magic
Understanding a few basic principles will demystify the poaching process:
- Freshness is Key: This is arguably the most crucial factor. Fresher eggs have tighter whites that hold their shape better when cooked. Older eggs tend to spread out in the water, creating those dreaded wisps.
- Temperature Control: You want a gentle simmer, not a rolling boil. Violent bubbles will tear your delicate egg apart. A steady, gentle heat allows the whites to set slowly and evenly.
- The Vinegar Advantage (Optional but Helpful): A splash of white vinegar in the water helps the egg whites coagulate (set) faster, preventing them from spreading too much. Don’t worry, you won’t taste it!
- The Vortex (Optional but Clever): Creating a gentle swirl in the water before adding the egg helps wrap the whites around the yolk, promoting a neater, more compact shape.
What You’ll Need:
- Very Fresh Eggs: Seriously, this makes all the difference.
- A Large Pot or Deep Skillet: With enough depth for the eggs to be fully submerged.
- A Slotted Spoon: For easy retrieval and draining.
- A Small Bowl or Ramekin: For cracking your egg into before it goes into the water.
- White Vinegar (Optional but Recommended): About 1-2 teaspoons.
- Salt and Freshly Ground Black Pepper: For seasoning your finished masterpiece.
Step-by-Step: How to Poach an Egg Perfectly
Follow these steps closely, and you’ll be enjoying flawless poached eggs in no time!
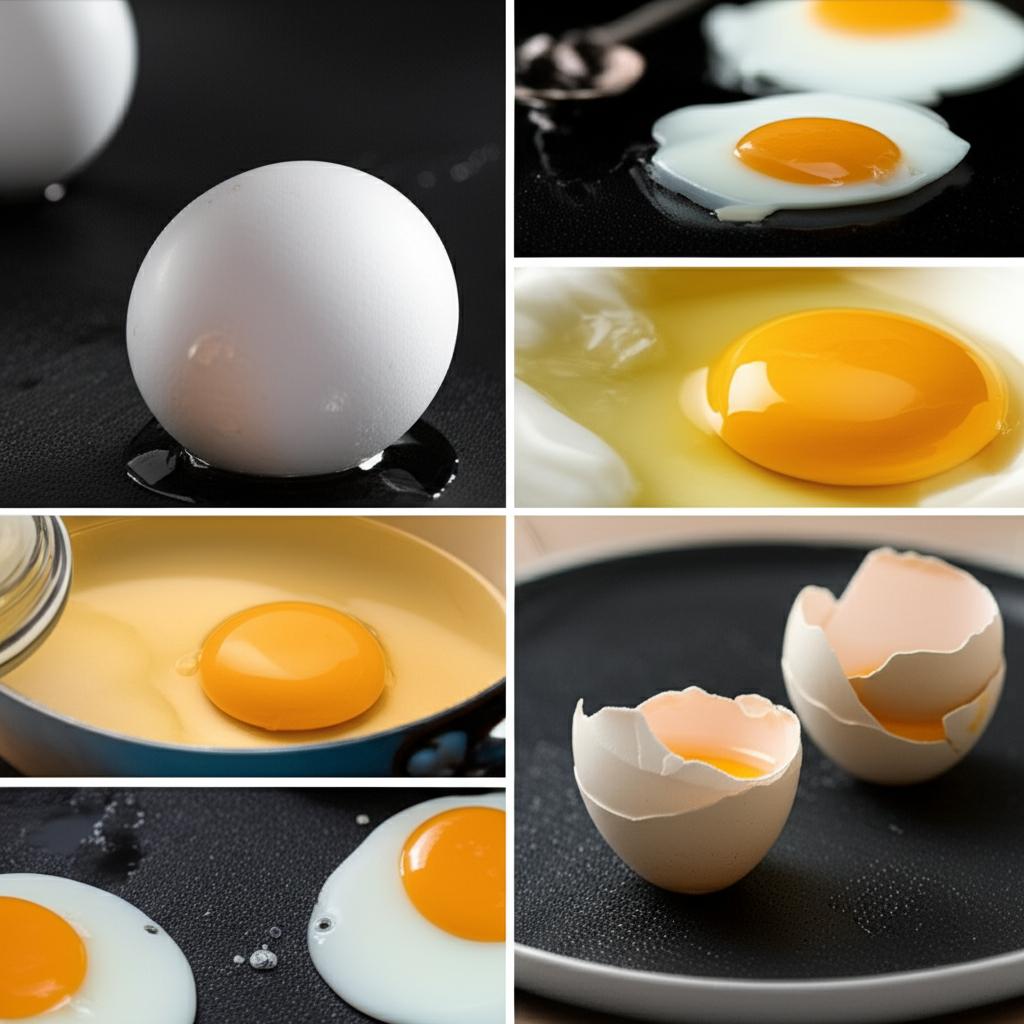
1. Choose Your Eggs Wisely
As mentioned, freshness is paramount. Eggs that are less than a week old are ideal. You can often tell if an egg is fresh by cracking it onto a flat surface: the white will be tight and hold close to the yolk. Older eggs will have a much flatter, more spread-out white.
2. Prepare Your Water Bath
Fill your pot or skillet with at least 3-4 inches of water. Add a generous pinch of salt (this doesn’t really affect the egg but seasons the water slightly) and 1-2 teaspoons of white vinegar.
Place the pot over medium-high heat and bring it to a gentle simmer. You’re looking for tiny bubbles forming on the bottom of the pot, but no rolling boil. If it starts to boil vigorously, lower the heat immediately.
3. Crack with Care
This step is crucial for maintaining the egg’s integrity. Crack one egg at a time into a small bowl or ramekin. This allows you to check for any shell fragments and ensures a clean, controlled entry into the water. Do not crack it directly into the pot!
4. Create the Vortex (Optional but Recommended)
Once your water is at a gentle simmer, use your slotted spoon to create a gentle swirl in the water. This vortex helps to gather the whites around the yolk as the egg cooks, resulting in a neater shape.
5. The Grand Plunge
Carefully and gently slide the egg from the small bowl into the center of the swirling water. The water should continue to barely simmer.
6. The Waiting Game
Allow the egg to cook undisturbed for 2 to 4 minutes, depending on your desired yolk consistency.
* 2-2.5 minutes: Very runny yolk, whites just set.
* 3 minutes: Classic runny yolk, firm whites.
* 4 minutes: Jammy yolk, fully set whites.
You’ll see the whites firm up and turn opaque. The egg will float to the top as it cooks.
7. Retrieve Your Masterpiece
Once cooked to your liking, use your slotted spoon to carefully lift the poached egg out of the water. Gently drain any excess water by holding it over the pot for a few seconds. If there are any stray wisps of white, you can carefully trim them off with a knife for a cleaner presentation (chefs do this!).
8. Serve Immediately
Place your perfectly poached egg on your plate, on top of toast, or nestled into your chosen dish. Season generously with salt and freshly ground black pepper.
Tips for Poaching Perfection
- Egg Freshness is King (Again!): Seriously, this can’t be stressed enough. It’s the number one factor for success.
- Maintain That Gentle Simmer: Consistency in water temperature is key. Too hot, and your egg will explode; too cool, and it won’t set properly.
- The Vinegar Advantage: While optional, it’s highly recommended for beginners as it acts as a fantastic insurance policy against wispy whites.
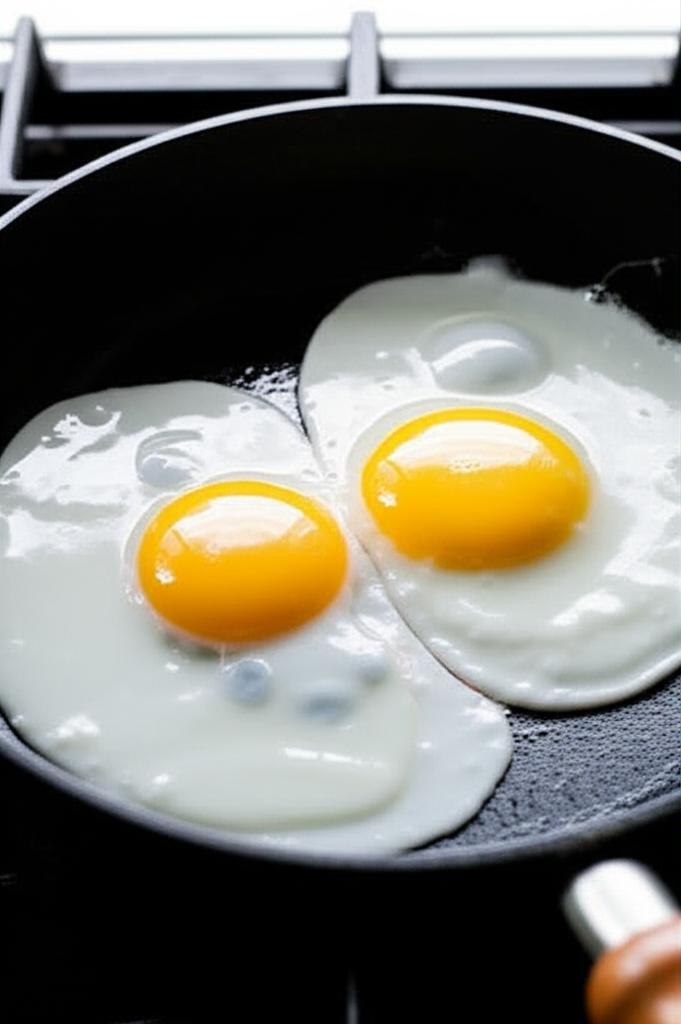
- Cook One (or Two) at a Time: Especially when starting out, focus on one egg at a time. If your pot is large enough and you’re confident, you can poach two or three, but do not overcrowd the pot. Give each egg ample space.
- For Batch Poaching: If you need to make several poached eggs for a crowd, you can cook them slightly under your desired doneness and then immediately transfer them to an ice bath. This stops the cooking process. When ready to serve, gently reheat them in a bowl of warm (not hot!) water for about 30 seconds.
- Trim Any “Wisps”: For a truly professional look, use kitchen shears or a small paring knife to trim off any straggly bits of cooked egg white once it’s out of the water.
Common Mistakes and How to Avoid Them
- Mistake 1: Not Using Fresh Eggs.
- Solution: Always use the freshest eggs you can find. Store them properly in your fridge.
- Mistake 2: Boiling Water Too Vigorously.
- Solution: Keep the water at a gentle simmer with small, steady bubbles. Reduce heat if it starts to boil hard.
- Mistake 3: Dropping Eggs Directly from the Shell into the Pot.
- Solution: Always crack the egg into a small bowl or ramekin first, then gently slide it into the water.
- Mistake 4: Overcrowding the Pot.
- Solution: Cook eggs in batches if necessary. Give each egg enough space to cook evenly without touching.
- Mistake 5: Overcooking the Egg.
- Solution: Use a timer! Start with 2.5-3 minutes and adjust to your preferred doneness. A practice run can help.
- Mistake 6: Too Much Vinegar.
- Solution: A little goes a long way. Too much can impart a slight vinegary taste. Stick to 1-2 teaspoons for a medium-sized pot of water.
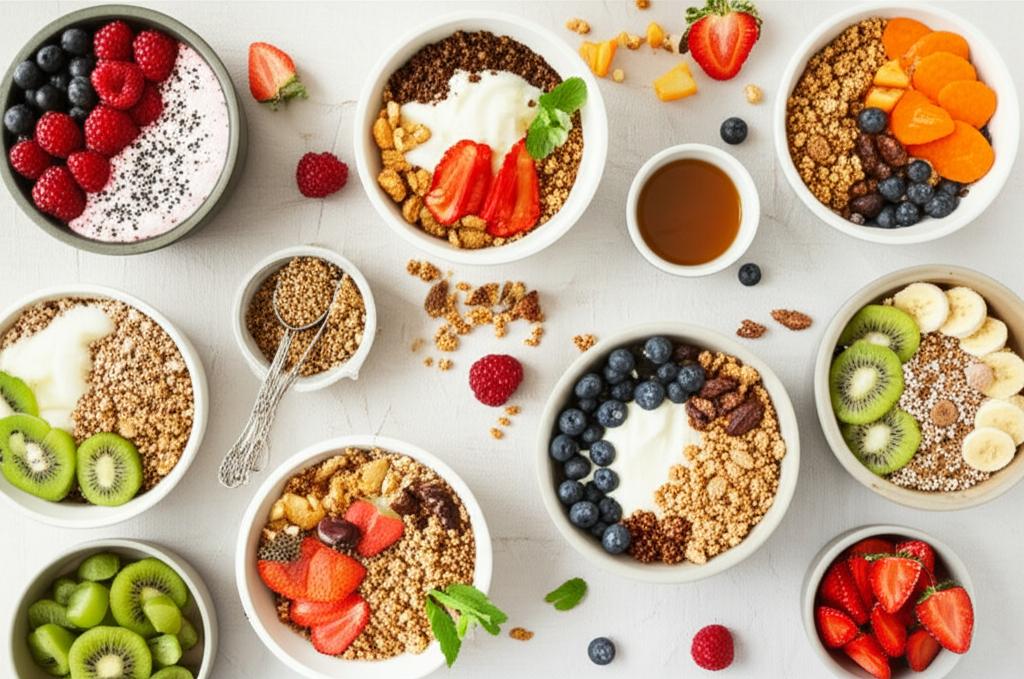
Serving Suggestions
The beauty of a perfectly poached egg is its versatility. Here are just a few ideas:
- Classic Avocado Toast: A match made in heaven.
- Eggs Benedict: The quintessential poached egg dish with hollandaise sauce.
- Over Asparagus or Steamed Greens: A light and healthy option.
- On Top of Hash: Perfect with corned beef hash or sweet potato hash.
- With Smoked Salmon and Cream Cheese on a Bagel: An elevated breakfast.
- In a Bowl of Ramen or Noodle Soup: Adds richness and protein.
- On a Salad: A fantastic way to add protein and creamy texture to a lunch salad.
Conclusion
Mastering the art of poaching eggs is a truly rewarding culinary skill. It requires a bit of practice and attention to detail, but once you get the hang of it, you’ll wonder why you ever found it intimidating. The joy of cutting into that perfectly set white and watching the golden yolk spill out is unparalleled. So, grab your freshest eggs, set your water to a gentle simmer, and embark on your journey to poached egg perfection. Happy poaching!
- Egg Poacher – Eggssentials Poached Egg Maker, Stainless Steel Egg Poaching Pan, Poached Eggs Cooker Food Grade Safe PFOA Free with Spatula.
- Excelsteel 18/10 Stainless Steel 2 Cup Egg Poacher, Non Stick Easy Use Kitchenware Rust Resistant Stove Top Breakfast Brunch Cooking Pan
- EXCELSTEEL Non Stick Easy Use Rust Resistant Home Kitchen Breakfast Brunch Induction Cooktop Egg Poacher, 6 Cup, Stainless Steel, Round
FAQ
Q. Why is the freshness of my eggs so important for poaching?
A. Fresh eggs have a much thicker and more viscous egg white that holds its shape tightly when dropped into hot water. Older eggs have thinner, more watery whites that tend to spread out and feather, resulting in a less appealing, dispersed shape. Using the freshest eggs available is the most crucial step for perfectly poached eggs.
Q. Should I add vinegar or salt to the poaching water? What do they do?
A. A small amount of white vinegar (about 1-2 teaspoons per liter of water) is highly recommended as its acidity helps the egg whites coagulate faster and more firmly, preventing them from spreading. Salt, however, can actually cause egg whites to break apart more easily when poaching, so it’s best to omit it from the water and season your poached egg after it’s cooked.
Q. What’s the ideal water temperature for poaching eggs?
A. The water should be at a gentle simmer, not a rolling boil. You should see small bubbles forming at the bottom of the pot, but the surface should remain relatively still. An ideal temperature is between 175-185°F (80-85°C). Water that’s too hot can break the egg apart, while water that’s too cool won’t cook it properly or efficiently.
Q. How can I prevent the egg whites from spreading out and feathering in the water?
A. Beyond using very fresh eggs and a little vinegar, there are several techniques. Crack each egg into a small ramekin or bowl first. Gently lower the bowl close to the water’s surface, then tip the egg in. Some chefs also use a fine-mesh sieve to drain off the thinnest, most watery part of the egg white just before poaching, which significantly helps in achieving a compact, round shape. Creating a gentle swirl in the water before adding the egg can also encourage the whites to wrap around the yolk.
Q. How long should I poach an egg for, and how do I know when it’s perfectly done?
A. The cooking time typically ranges from 2 to 4 minutes, depending on the size of the egg and your desired yolk consistency. For a perfectly runny yolk with set whites, aim for about 3 minutes. You’ll know it’s done when the whites are completely opaque and firm to the touch, but the yolk still feels soft and gives slightly when gently pressed with a slotted spoon.
Q. Can I poach multiple eggs at once, and how do I handle them?
A. Yes, you can poach several eggs simultaneously, provided your pot is wide enough and you don’t overcrowd it. Leave ample space between each egg to prevent them from sticking together and to allow for even cooking. If you need to poach many, it’s often better to do them in batches. Once poached, immediately remove them from the water using a slotted spoon and gently place them on a paper towel-lined plate to drain any excess water before serving.
Q. Is it possible to poach eggs ahead of time and reheat them?
A. Yes, absolutely! Poached eggs can be prepared up to a day or two in advance. After poaching, immediately plunge them into an ice bath to stop the cooking process completely. Once they are thoroughly chilled, store them in a sealed container filled with cold water in the refrigerator. To reheat, gently place them in a bowl of very hot (not boiling) water for about 30-60 seconds, or briefly submerge them in simmering water until warmed through.