The Art of Making Homemade Yogurt: Your Complete Guide to Creamy, Probiotic Perfection
- Ultimate Probiotic Yogurt Maker with Adjustable Time & Temp Control – Make Trillions of Live Probiotics with Two 1-Quart Containers for Larger Batches – Greek Yogurt Maker – ULTIMATE LIFETIME WARRANTY
- Euro Cuisine YM80 Electric Yogurt Maker Machine- Promote Gut Health with Probiotic Rich Homemade Yogurt -Home Yogurt Incubator with Glass Jars, White
- Bear Yogurt Maker, Greek Yogurt Maker Machine with Strainer and Timer Control, Stainless Steel Inner Pot, Automatic Digital with 2 Glass Jars 1 Quart for Home Organic Yogurt, Cheese, Fruit Wine
There’s something truly magical about transforming simple milk into a creamy, tangy, gut-friendly superfood right in your own kitchen. While store-bought options are convenient, making homemade yogurt offers unparalleled freshness, control over ingredients, and a deeply satisfying sense of accomplishment. Plus, it’s often more economical in the long run!
If you’ve ever thought about making your own yogurt but felt intimidated, you’re in the right place. This guide will walk you through the entire process, demystifying the “art” and turning it into a simple, enjoyable science experiment. Get ready to impress your taste buds and boost your gut health with every spoonful!
Why Make Your Own Homemade Yogurt?
Before we dive into the how-to, let’s explore why so many people are falling in love with DIY yogurt:
- Unbeatable Freshness & Flavor: Nothing compares to the taste of yogurt made just hours ago. You control the tanginess by adjusting fermentation time.
- Customizable Ingredients: Choose your preferred milk (dairy or non-dairy), fat content, and avoid unwanted additives, sugars, or preservatives. You’re in charge of what goes into your body.
- Cost-Effective: Over time, making your own yogurt can significantly reduce your grocery bill, especially if you consume a lot of it.
- Probiotic Powerhouse: Homemade yogurt, when done right, is teeming with live and active cultures, essential for a healthy digestive system and overall well-being.
- Environmental Benefit: Reduce plastic waste from disposable yogurt containers.
- Pure Satisfaction: There’s a unique joy in creating something delicious and wholesome from scratch.
The Essential Ingredients & Basic Equipment
You don’t need fancy gadgets to make incredible yogurt. Here’s what you’ll need:
The Ingredients:
- Milk: This is your foundation.
- Dairy Milk: Whole milk will yield the thickest, creamiest yogurt. 2% milk works well for a slightly lighter option, while skim milk will produce a thinner result. Avoid ultra-pasteurized (UHT) milk if possible, as its proteins are altered, sometimes making it harder for the yogurt to set properly. Regular pasteurized milk is ideal.
- Non-Dairy Milk: You can make non-dairy yogurt with milks like soy, almond, or coconut, but the process may require a thickener (like agar-agar or tapioca starch) and different starter cultures. For this guide, we’ll focus on dairy milk, as it’s the most common starting point.
- Yogurt Starter: This is where the magic happens – it contains the live bacteria cultures that ferment the milk.
- Plain Store-Bought Yogurt: Choose a brand that explicitly states “live and active cultures” on the label. Make sure it’s plain and unsweetened. A good quality Greek yogurt often works wonders due to its higher protein content.
- Freeze-Dried Yogurt Starter Cultures: These are specifically designed for homemade yogurt and can be purchased online. They offer consistent results and often contain specific strains for desired textures or health benefits.
- A Previous Batch of Homemade Yogurt: Once you’ve successfully made a batch, you can reserve a small amount to start your next batch – this is known as “reculturing” or maintaining a “mother culture.”
The Equipment:
- Heavy-Bottomed Pot: To heat the milk without scorching.
- Accurate Thermometer: A crucial tool! An instant-read digital thermometer is best.
- Whisk: For stirring.
- Airtight Containers/Jars: Glass jars (like Mason jars) are perfect for incubating and storing your yogurt.
- A Warm Spot for Incubation: This is where your creativity comes in! You need a consistent temperature of around 105-115°F (40-46°C) for several hours. Options include:
- An oven with just the light on (often provides enough warmth).
- A cooler filled with warm water or hot water bottles.
- A slow cooker set to “warm” or “low” (with a careful temperature check).
- A yogurt maker (if you choose to invest).
- A heating pad wrapped around your jars.
- An Instant Pot with a “yogurt” function.
- A dehydrator set to the lowest temperature.
Step-by-Step Guide to Homemade Yogurt Perfection
Ready to transform that milk? Let’s get started!
Step 1: Scald the Milk
This step is crucial for two reasons: it denatures the milk proteins, making for a thicker, firmer yogurt, and it kills any unwanted bacteria that might compete with your yogurt cultures.
- Pour your desired amount of milk into your heavy-bottomed pot.
- Heat the milk over medium heat, stirring occasionally to prevent scorching.
- Monitor the temperature with your thermometer. You want the milk to reach 180-200°F (82-93°C). It will usually start to steam and form small bubbles around the edges. Do not let it boil vigorously!
- Once it reaches the target temperature, remove the pot from the heat.
Step 2: Cool the Milk
This is arguably the most critical step for ensuring your cultures thrive. If the milk is too hot, it will kill your starter bacteria. Too cold, and they won’t activate properly.
- Let the milk cool naturally, stirring occasionally to help it cool evenly and prevent a skin from forming. For faster cooling, you can place the pot in an ice bath (a larger bowl filled with ice water).
- Continuously monitor the temperature with your thermometer. You want the milk to cool down to 105-115°F (40-46°C). This is the ideal temperature range for your yogurt cultures to flourish.
- Once it reaches this temperature, skim off any skin that might have formed on top.
Step 3: Introduce the Starter
Now for the magic!
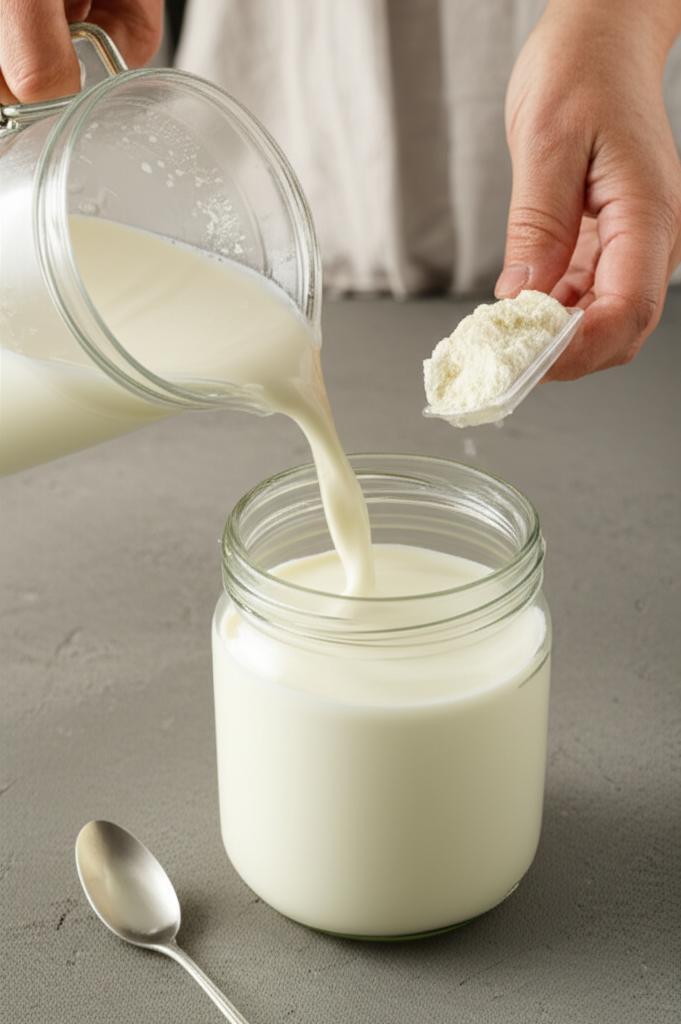
- In a small bowl, whisk together your yogurt starter (about 1-2 tablespoons of plain yogurt per quart/liter of milk) with a little bit of the cooled milk until smooth. This helps prevent clumps.
- Pour this mixture back into the main pot of milk.
- Gently but thoroughly whisk the milk and starter mixture for about a minute, ensuring the cultures are evenly distributed.
Step 4: Incubate!
This is where the bacteria get to work, fermenting the lactose in the milk into lactic acid, which thickens the milk and gives yogurt its characteristic tang.
- Carefully pour the inoculated milk into your clean jars or containers. Do not overfill.
- Place the jars in your chosen warm spot. The goal is to maintain a consistent temperature of 105-115°F (40-46°C) for the entire fermentation period.
- Do not disturb the jars during incubation. Avoid shaking, stirring, or moving them excessively.
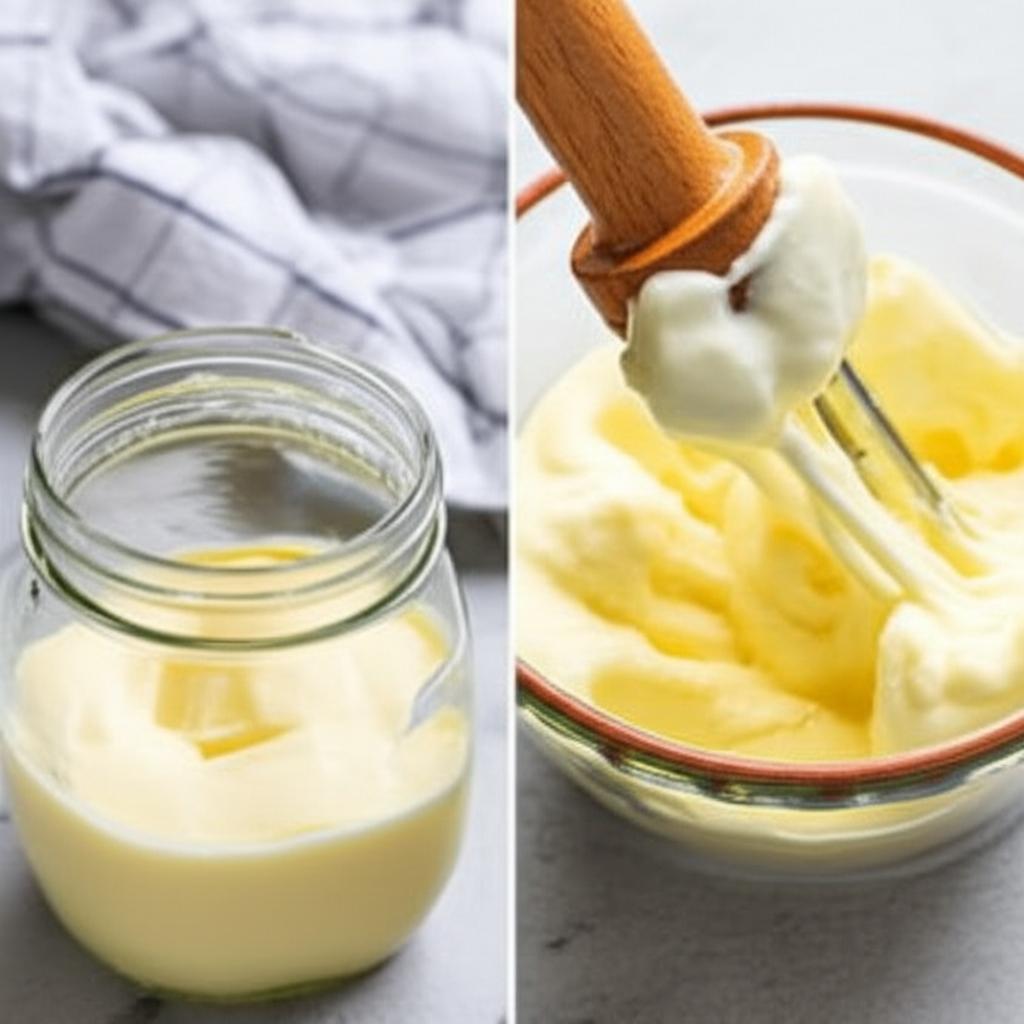
- Let the yogurt incubate for 6-12 hours. The longer it incubates, the tangier and often thicker it will become. For a milder flavor, aim for 6-8 hours. For a tangier, firmer yogurt, go for 10-12 hours. You’ll know it’s ready when it looks set and pulls cleanly away from the side of the jar when tilted gently.
Step 5: Chill & Enjoy
You’re almost there!
- Once your yogurt has set, remove the jars from their warm environment.
- Place them directly into the refrigerator. Chilling for at least 4 hours (or ideally overnight) is crucial. This stops the fermentation process, further thickens the yogurt, and improves its texture and flavor.
- Once chilled, your homemade yogurt is ready to enjoy! Store it in airtight containers in the refrigerator for up to 1-2 weeks.
Tips for Yogurt Mastery
- Temperature is King: We can’t stress this enough. Invest in a good thermometer.
- Sterilization Matters: Always use spotlessly clean pots, utensils, and jars. Any unwanted bacteria can interfere with your cultures and lead to spoilage.
- Use Fresh Starter: If using store-bought yogurt as a starter, ensure it’s very fresh and has strong “live and active cultures.” An old or weak starter might result in runny yogurt.
- Save Your Starter: Once you have a successful batch, save a few tablespoons in a separate, clean container as a starter for your next batch. This is an excellent way to maintain a consistent culture.
- For Thicker Yogurt:
- Use whole milk or add 1-2 tablespoons of powdered milk to your liquid milk before scalding.
- Incubate for a longer period (up to 12 hours).
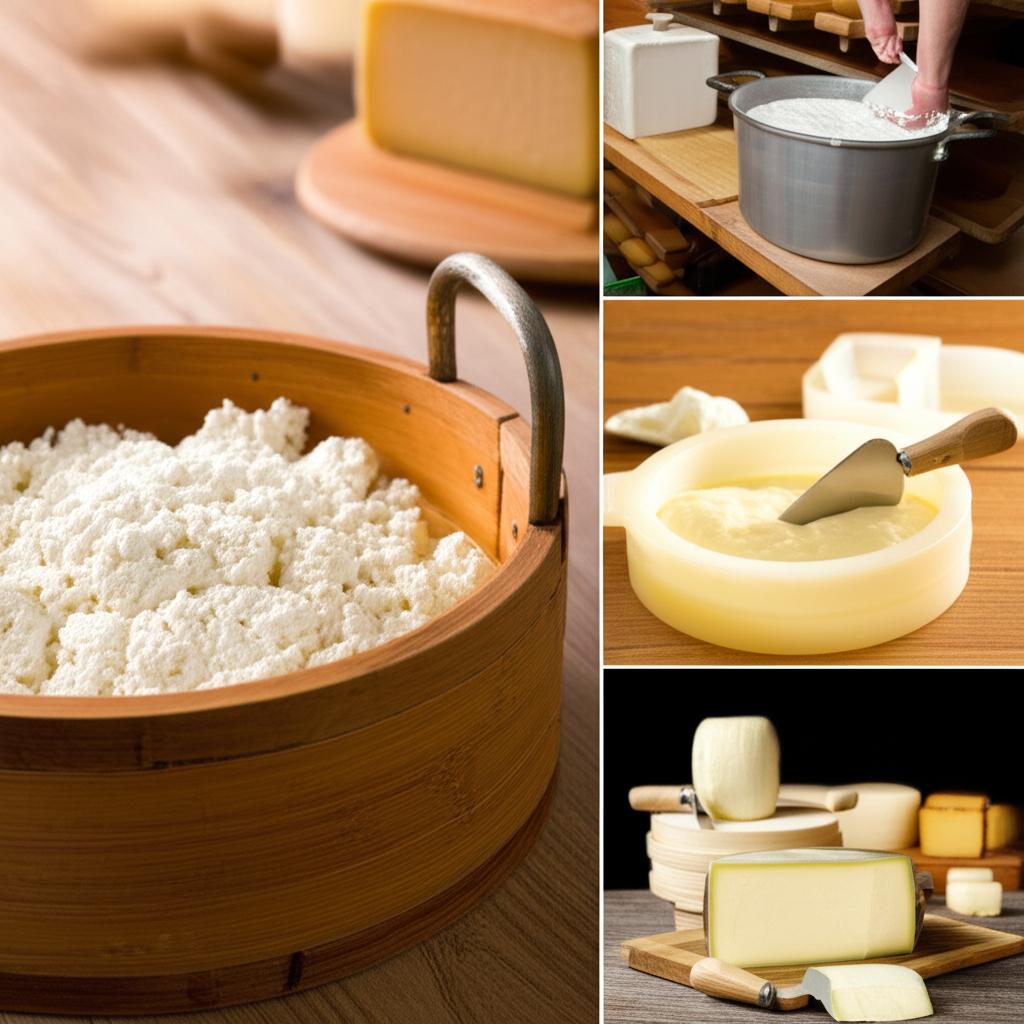
- Strain the finished yogurt through a cheesecloth-lined sieve for a few hours in the fridge to make Greek-style yogurt. The liquid that drains off is whey, which is nutritious and can be used in smoothies or baking!
- Flavor After Fermentation: Always add sweeteners, fruits, vanilla, or other flavorings after the yogurt has fully chilled. Adding them beforehand can interfere with the culturing process.
Common Mistakes to Avoid
Even experienced yogurt makers can sometimes run into issues. Here are the most common pitfalls:
- Milk Too Hot When Adding Starter: This is the #1 culprit for runny or failed yogurt. Heat kills your cultures! Always ensure the milk is within the 105-115°F (40-46°C) range.
- Milk Too Cold When Adding Starter: If the milk isn’t warm enough, the cultures won’t activate properly, leading to a thin, un-set yogurt.
- Inactive or Old Starter: If your store-bought yogurt isn’t fresh or doesn’t contain enough active cultures, it won’t be able to properly ferment the milk. Always check the “live and active cultures” label and expiration date.
- Disturbing During Incubation: Shaking or moving the jars during the crucial incubation period can break up the delicate curd that’s forming, resulting in a thin or lumpy texture. Set it and forget it!
- Not Enough Incubation Time: Patience is key. If you remove the yogurt too early, it won’t have fully set.
- Unclean Equipment: Contamination from dirty utensils or jars can introduce competing bacteria, leading to off-flavors, mold, or simply a failed batch. Cleanliness is paramount!
- Adding Sweeteners/Flavorings Too Early: As mentioned, adding anything other than the milk and starter before incubation can interfere with the cultures.
Embrace the Journey!
Making homemade yogurt is a rewarding journey of experimentation and discovery. Don’t be discouraged if your first batch isn’t perfect. With each attempt, you’ll gain more confidence and a better understanding of the process. Soon, you’ll be enjoying deliciously fresh, healthy, and perfectly customized yogurt that will make you wonder why you ever bought it from the store!
So, gather your ingredients, clear your schedule for a little kitchen fun, and get ready to create your own creamy masterpiece. Happy yogurt making!
- Ultimate Probiotic Yogurt Maker with Adjustable Time & Temp Control – Make Trillions of Live Probiotics with Two 1-Quart Containers for Larger Batches – Greek Yogurt Maker – ULTIMATE LIFETIME WARRANTY
- Euro Cuisine YM80 Electric Yogurt Maker Machine- Promote Gut Health with Probiotic Rich Homemade Yogurt -Home Yogurt Incubator with Glass Jars, White
- Bear Yogurt Maker, Greek Yogurt Maker Machine with Strainer and Timer Control, Stainless Steel Inner Pot, Automatic Digital with 2 Glass Jars 1 Quart for Home Organic Yogurt, Cheese, Fruit Wine
FAQ
Q. What type of milk is best for making homemade yogurt?
A. Full-fat whole milk is often recommended for the thickest and creamiest results due to its higher fat content. However, you can successfully use skim, 2%, or even UHT (ultra-high temperature processed) milk. UHT milk sometimes produces a slightly thicker yogurt because its proteins are denatured, making them more receptive to the culture. Organic milk works just as well as conventional.
Q. What kind of starter culture should I use for homemade yogurt?
A. You have a few excellent options. You can use a small amount (1-2 tablespoons) of plain, unflavored yogurt from a previous homemade batch or from a store-bought container that explicitly states it contains “live and active cultures.” Alternatively, you can purchase freeze-dried yogurt starter cultures specifically designed for this purpose, which offer more control over the specific strains of bacteria and can produce very consistent results.
Q. What is the ideal temperature for culturing yogurt and why is it important?
A. The ideal temperature range for culturing yogurt is typically between 105°F and 115°F (40°C and 46°C). Maintaining this temperature is crucial because it provides the optimal environment for the beneficial bacteria in your starter culture to thrive. These bacteria convert lactose in the milk into lactic acid, which is what thickens the milk and gives yogurt its characteristic tangy flavor. Temperatures too low will significantly slow down or stop fermentation, while temperatures too high can kill the bacteria.
Q. How long does homemade yogurt take to ferment, and how can I control its thickness and tanginess?
A. Fermentation time usually ranges from 6 to 12 hours, depending on your desired consistency and tanginess. A longer fermentation period will result in a thicker and more tart yogurt, as the bacteria have more time to produce lactic acid. For a milder flavor, aim for shorter times. You can also increase the thickness of your yogurt by adding a few tablespoons of non-fat dry milk powder to your milk before heating it, as this adds extra protein for the bacteria to work with.
Q. My homemade yogurt is too thin or slimy. What might have gone wrong?
A. Thin yogurt is often caused by insufficient fermentation time, a temperature that was too low during culturing, or an inactive starter culture. Ensure your starter is fresh and contains live cultures, maintain the correct temperature throughout the process, and allow enough time for the bacteria to work. If your yogurt is slimy, it might be due to a specific type of bacterial strain (some produce exopolysaccharides, which create a ropy texture) or sometimes a temperature that was slightly too high. Adding milk powder can help mitigate thinness in future batches.
Q. Can I use homemade yogurt from a previous batch as a starter for a new one?
A. Yes, absolutely! This is a very common and economical way to continue making yogurt. Simply reserve 1-2 tablespoons of your freshly made, plain homemade yogurt to use as the starter for your next batch. This process, often called “reculturing” or “back-slopping,” can be repeated for several generations, though some people find that the culture weakens or changes slightly over time, eventually requiring a fresh store-bought or freeze-dried starter.
Q. How should I store homemade yogurt, and how long does it typically last?
A. Once your yogurt is made and has reached your desired consistency, transfer it to clean, airtight containers and refrigerate immediately. Chilling stops the fermentation process. Homemade yogurt typically lasts for about 1 to 2 weeks in the refrigerator. Always check for any off smells, unusual discoloration, or visible mold before consuming, as these are signs of spoilage.