Mastering the Art of Blanching & Shocking: Your Guide to Vibrant, Crisp Produce
- Gulex Colander Stainless Steel 3-Quart, Strainer for Kitchen Food, Dishwasher Safe
- EXCELSTEEL Heavy Duty Stainless Steel Colander 5 Qt | Easy Grip Handles | Self-Draining Base | Mirror Polished | Dishwasher Safe | Pack of 1
- Cluren Collapsible Colander 3-Pack Set Space-Saving Foldable Kitchen Strainer with Non-Slip Base Durable Thickened PP+TPE Collapsible Strainers for Pasta, Vegetables, Fruits (Gray-Green)
Ever wondered how professional chefs keep their vegetables so vibrantly colored, perfectly crisp, and ready for anything? The secret often lies in two fundamental, yet incredibly powerful, culinary techniques: blanching and shocking. These methods are your gateway to elevating everyday ingredients, ensuring optimal flavor, texture, and visual appeal in all your dishes.
In this comprehensive guide, we’ll demystify blanching and shocking, providing you with step-by-step instructions, expert tips, and common pitfalls to avoid. Get ready to transform your cooking!
What Exactly is Blanching?
At its core, blanching is the process of briefly cooking food, typically vegetables or fruits, in boiling water, then immediately plunging them into an ice bath to stop the cooking process. It’s a quick dip, not a full cook. Think of it as a controlled spa day for your produce!
Why Bother to Blanch? The Many Benefits!
Blanching might seem like an extra step, but its advantages are numerous and impactful:
- Locks in Vibrant Color: This is one of the most visually stunning benefits. Blanching brightens the natural pigments in green vegetables like broccoli, asparagus, and green beans, making them look incredibly appealing.
- Achieves Perfect Crisp-Tender Texture: It lightly cooks the exterior while keeping a satisfying bite, preventing mushiness and creating that coveted “al dente” texture.
- Deactivates Enzymes for Freezing: For anyone looking to preserve produce, blanching is crucial. It stops enzyme activity that causes spoilage, dulling of color, and loss of flavor during freezing, significantly extending shelf life.
- Easier Peeling: For foods like tomatoes, peaches, or almonds, a quick blanch loosens the skin, making them incredibly easy to peel.
- Reduces Bitterness or Strong Flavors: Some vegetables, like collard greens or cabbage, can benefit from blanching to mellow out their strong flavors.
- Prepares for Further Cooking: It can partially cook tougher vegetables, reducing overall cooking time in subsequent dishes like stir-fries or roasts.
What is Shocking (The Ice Bath)?
Shocking, also known as creating an ice bath, is the immediate transfer of blanched food into a bowl of ice water. This sudden change in temperature is critical for the success of the blanching process.
Why Shock? It’s Crucial!
The shocking step is non-negotiable if you want to reap the full benefits of blanching:
- Halts the Cooking Process Instantly: Without an ice bath, the residual heat in the food would continue to cook it, leading to overcooked, dull, and mushy results.
- Locks in that Gorgeous Color: The rapid cooling helps to set the pigments, ensuring the vibrant color achieved during blanching remains.
- Maintains Crispness: By stopping the cooking, the texture stays firm and crisp, rather than becoming soft or limp.
Essential Equipment You’ll Need
Good news! You likely already have everything required for blanching and shocking:
- A Large Pot: Big enough to hold plenty of water and your food without overcrowding.
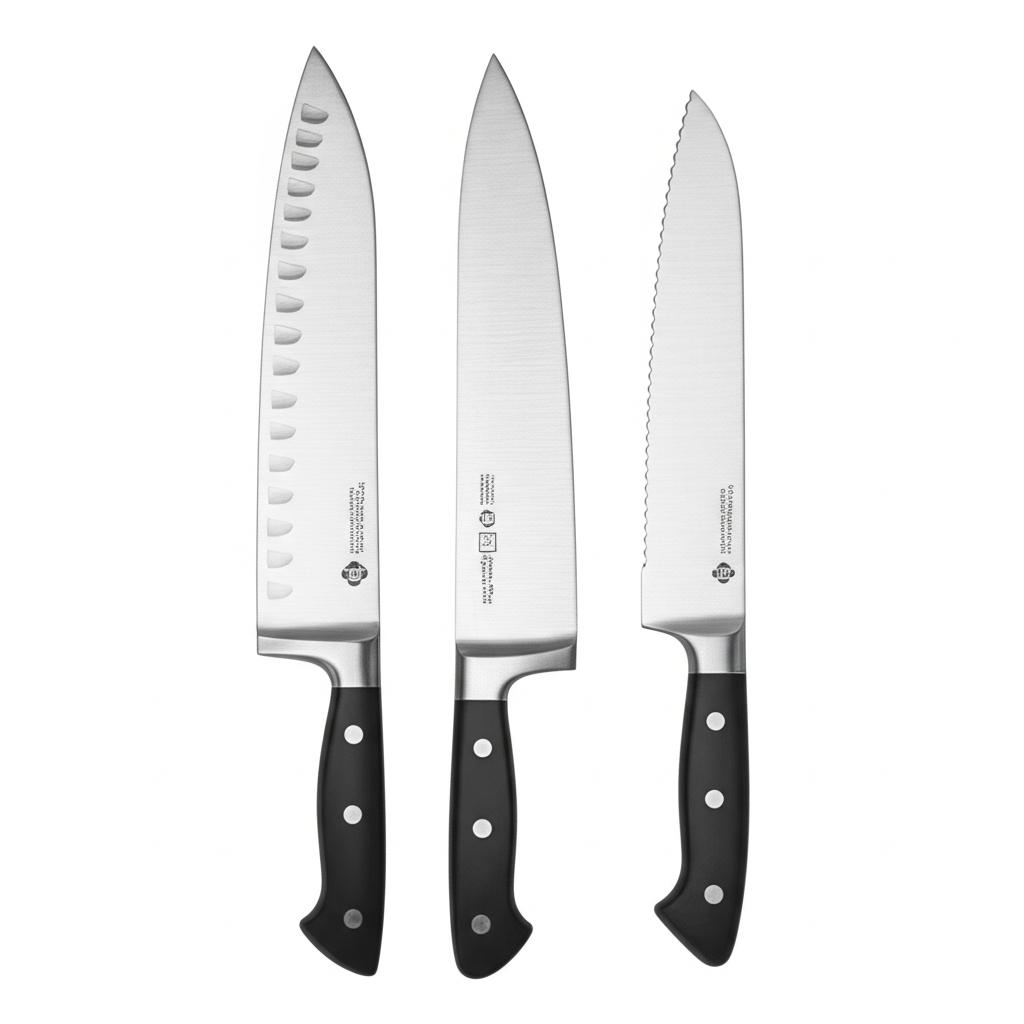
- A Slotted Spoon or Spider Strainer: For safely transferring food from hot water to cold.
- A Large Bowl: At least as big as your cooking pot, for the ice bath.
- Plenty of Ice: The colder, the better!
- A Colander: For draining.
- Clean Kitchen Towels or Paper Towels: For drying.
Your Step-by-Step Guide to Mastering Blanching & Shocking
Let’s get practical! Follow these steps for perfect results every time.
Step 1: Prep Your Produce
- Wash and Trim: Thoroughly wash your vegetables or fruits. Trim any ends, peel if necessary, and cut them into uniform sizes. This ensures even cooking.
- Set Up Your Ice Bath (CRITICAL!): Fill your large bowl with a generous amount of ice and cold water. You’ll need enough to fully submerge your food. Have this ready and waiting before you even start boiling water.
Step 2: Blanch Your Food
- Boil Water: Fill your large pot with plenty of water. You want enough water so that when you add the food, the temperature doesn’t drop too drastically.
- Salt the Water: Add a generous amount of salt to the boiling water (like pasta water). This seasons the food, helps to preserve color, and raises the boiling point slightly.
- Add Your Food (Don’t Overcrowd!): Once the water is at a rolling boil, carefully add your prepared food. Do not overcrowd the pot. If you add too much at once, the water temperature will drop, and your food will steam rather than blanch evenly. Work in batches if necessary.
- Time It Carefully: Blanching times are very short and vary depending on the food.
- Delicate greens (spinach, arugula): 30-60 seconds
- Asparagus, green beans, peas, broccoli florets: 1-3 minutes
- Carrots, potatoes (small dice), firm leafy greens (collards): 3-5 minutes
- Tomatoes (for peeling): 30-60 seconds (until skin just starts to split)
- Stir Occasionally: Gently stir the food to ensure all pieces are exposed to the hot water.
- Watch for Color Change: You’ll notice the vegetables’ color becoming instantly brighter and more vibrant. This is your visual cue.
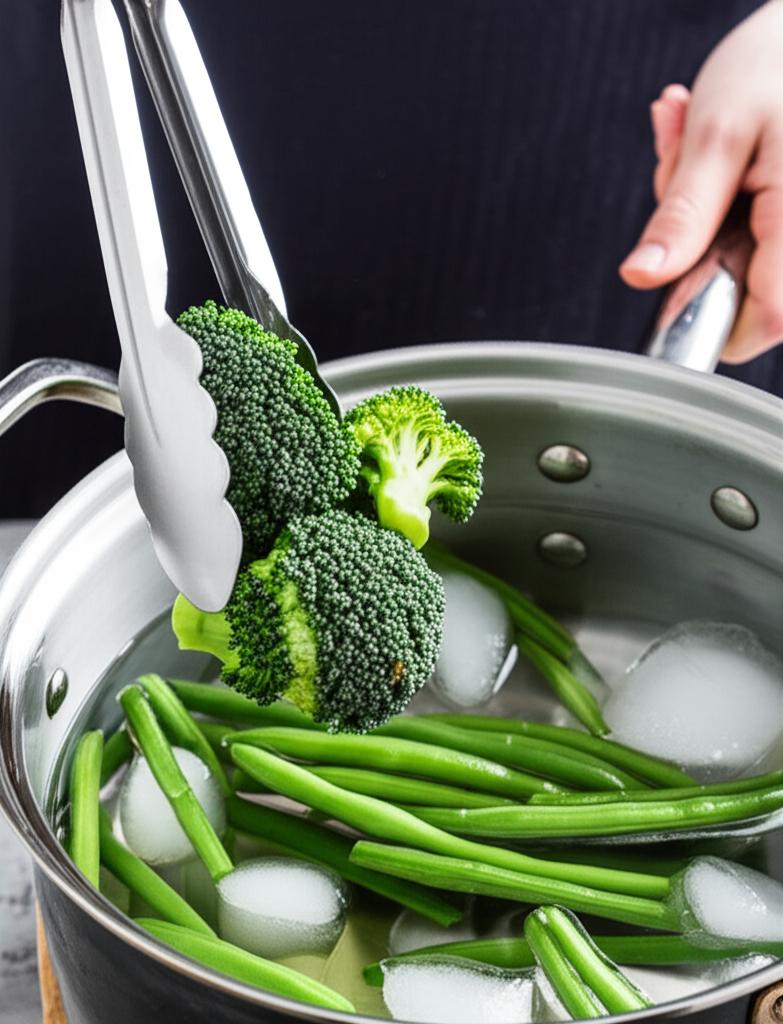
Step 3: Shock Immediately!
- Swift Transfer: As soon as the timer is up and your food is perfectly blanched, use your slotted spoon or spider to immediately scoop the food out of the boiling water and plunge it straight into the ice bath.
- Submerge Completely: Ensure all the food is fully submerged in the icy water. Swirl it around gently to ensure even cooling.
- Cool Completely: Let the food sit in the ice bath until it is completely chilled throughout (usually 2-5 minutes, depending on the size). Don’t pull it out too soon, or residual heat will continue cooking.
Step 4: Drain and Dry
- Drain Thoroughly: Once chilled, transfer the food to a colander to drain off all the excess water.
- Pat Dry (VERY Important!): Lay the blanched and shocked food out on clean kitchen towels or paper towels and pat it as dry as possible. This step is crucial, especially if you plan to freeze the food, as excess moisture leads to ice crystals and freezer burn. If using immediately, drying ensures better texture and prevents diluting your dish.
Pro Tips for Blanching & Shocking Success
- Salt Your Water Heavily: Just like pasta water, it seasons your food from the inside out.
- Don’t Skimp on the Ice: You need a lot of ice to ensure the water stays icy cold throughout the shocking process, especially if you’re doing multiple batches. Add more ice if it melts too quickly.
- Speed is Key: The quicker you get the food from boiling water to ice bath, the better the results will be.
- Always Dry Thoroughly: This cannot be stressed enough. Wet food, especially if freezing, will suffer in quality.
- Adjust Times: Blanching times are guidelines. Thicker, denser vegetables will need longer than delicate, leafy ones. Practice makes perfect!
- Reuse Water (with caution): You can often reuse the blanching water for several batches of the same vegetable, but it’s best to refresh the ice bath. If blanching different types of vegetables, it’s best to use fresh water to avoid flavor transfer.
Common Mistakes to Avoid
Even with simple techniques, there are pitfalls to watch out for:
- Skipping the Ice Bath: This is the biggest mistake! Your food will continue to cook, turning soft, dull, and losing its benefits.
- Overcrowding the Pot: Leads to a temperature drop and uneven, undercooked, or steamed vegetables.
- Over-Blanching: Cooking for too long. The goal is crisp-tender, not mushy. Your food will lose its vibrant color and pleasant texture.
- Not Enough Ice: If your ice bath isn’t cold enough, it won’t stop the cooking effectively.
- Not Drying the Food: Leads to soggy results if used immediately or freezer burn if storing.
Beyond Basics: Applications of Blanching & Shocking
Now that you’re a blanching pro, where can you apply these skills?
- Freezing Vegetables: The best way to preserve the color, texture, and nutrients of your harvest for months.
- Salads: Create stunning, vibrant salads with perfectly cooked green beans, asparagus, or broccoli florets.
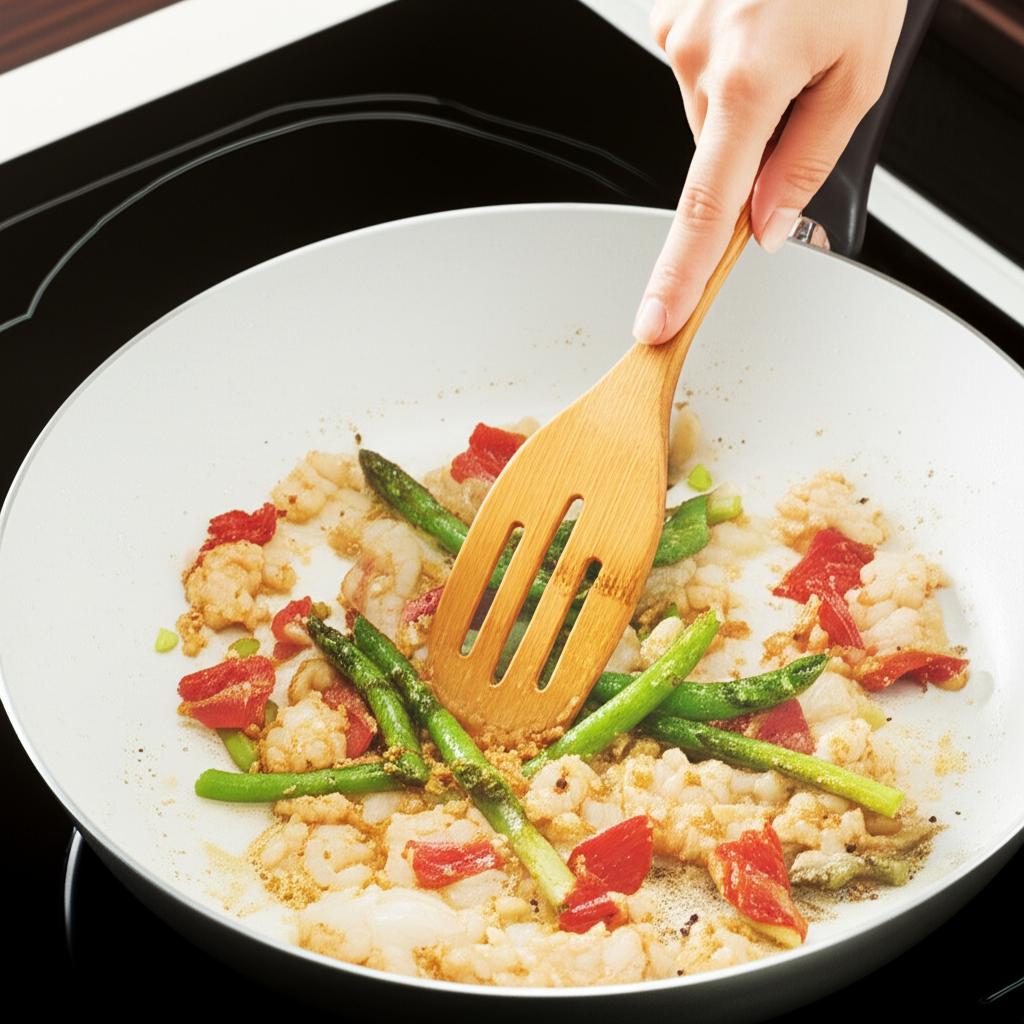
- Stir-Fries & Sautéed Dishes: Blanched vegetables cook much faster and more evenly in a stir-fry, ensuring everything is done at the same time without overcooking.
- Garnishes: Brightly blanched vegetables make any plate look more professional and appealing.
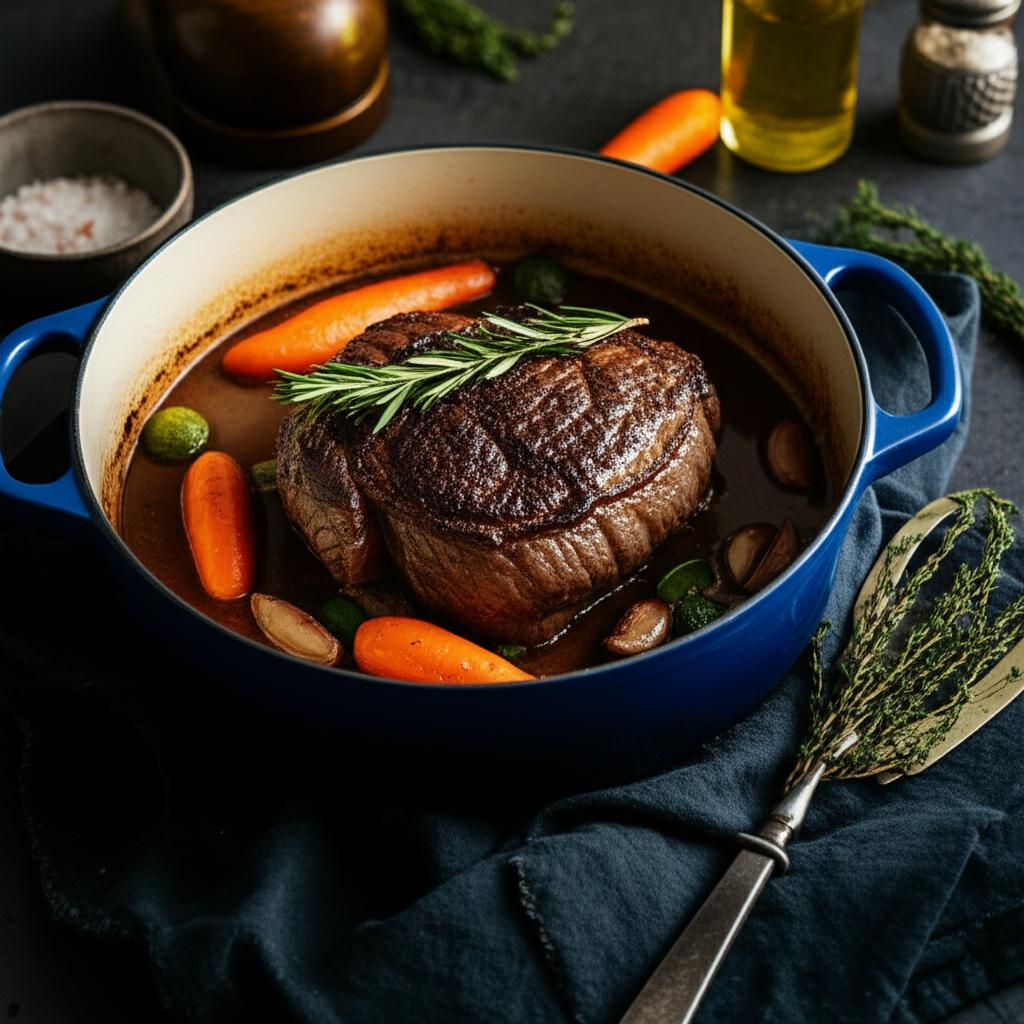
- Soups & Stews: Add blanched vegetables towards the end of cooking to maintain their integrity and color.
Conclusion
Mastering the art of blanching and shocking is a truly transformative skill for any home cook. It’s a simple technique that yields incredible results, from brightening colors and locking in nutrients to achieving perfect textures and extending the life of your produce. With a little practice, you’ll be blanching and shocking like a seasoned chef, making every meal more vibrant, delicious, and impressive.
So, gather your ingredients, fill your pots, and go forth and blanch! Your taste buds (and eyes!) will thank you.
- Gulex Colander Stainless Steel 3-Quart, Strainer for Kitchen Food, Dishwasher Safe
- EXCELSTEEL Heavy Duty Stainless Steel Colander 5 Qt | Easy Grip Handles | Self-Draining Base | Mirror Polished | Dishwasher Safe | Pack of 1
- Cluren Collapsible Colander 3-Pack Set Space-Saving Foldable Kitchen Strainer with Non-Slip Base Durable Thickened PP+TPE Collapsible Strainers for Pasta, Vegetables, Fruits (Gray-Green)
FAQ
Q. What exactly is blanching and shocking, and why are they paired together?
A. Blanching is a cooking technique that involves briefly submerging food, usually vegetables, in boiling water, then immediately transferring it to an ice bath, which is the shocking (or refreshing) step. They are paired together because blanching briefly cooks the food, brightens its color, and stops enzyme action, while shocking immediately halts the cooking process, preserving the vibrant color, crisp texture, and nutrients, preventing overcooking and dullness.
Q. What are the primary benefits of blanching vegetables before cooking or freezing?
A. Blanching offers several key benefits. It helps to set vibrant colors, tenderize food slightly, clean its surface, reduce bitterness, and, most importantly, deactivates enzymes that cause spoilage, color loss, and nutrient degradation during storage, particularly when freezing. This ensures better quality and longer shelf life for preserved vegetables.
Q. How do I determine the correct blanching time for different types of vegetables?
A. Blanching times vary significantly depending on the type and size of the vegetable. Leafy greens like spinach might only need 30-60 seconds, while denser vegetables like broccoli florets or carrots might require 2-4 minutes. Generally, a good rule of thumb is to blanch until the vegetable is vibrantly colored and just tender-crisp, but not fully cooked. Always refer to specific guidelines for optimal results for each vegetable.
Q. What’s the most effective way to create an ice bath for shocking, and how important is it to shock immediately?
A. An effective ice bath should contain at least a 50/50 ratio of ice to water, ensuring it’s extremely cold. Use a large bowl filled with plenty of ice and cold water. It is critically important to shock immediately after blanching. The residual heat in the vegetables will continue to cook them, leading to mushy textures and dull colors if not rapidly cooled. Immediate shocking ensures the cooking process stops completely.
Q. Can I blanch and not shock, and what are the consequences if I skip the shocking step?
A. While you can blanch without shocking, it largely defeats the purpose of the technique for most applications, especially when preserving or preparing for later use. Skipping the shocking step will result in the vegetables continuing to cook from their residual heat (carryover cooking), leading to overcooked, soft, and mushy textures, duller colors, and potential nutrient loss. The desired crispness and vibrant hue will be lost.
Q. Does blanching affect the nutritional value of vegetables, and if so, how?
A. Blanching can cause a slight loss of some water-soluble vitamins (like Vitamin C and B vitamins) as they leach into the blanching water. However, this loss is generally minimal due to the short cooking time. Furthermore, blanching deactivates enzymes that can degrade nutrients over time, especially during freezing, thus helping to preserve overall nutritional quality in the long run. In some cases, it can even make certain nutrients more bioavailable.
Q. Can the blanching water be reused for multiple batches of vegetables?
A. Yes, the blanching water can often be reused for several batches of the same type of vegetable, or vegetables with similar colors and flavors. However, it’s important to bring the water back to a rolling boil between batches and to ensure there’s enough water to completely submerge the vegetables. If the water becomes too cloudy, starchy, or loses its boiling vigor, it’s best to refresh it.