Mastering the Art of Carving Meat: Your Ultimate Guide to Perfect Slices Every Time
- Cutluxe Slicing Carving Knife – 12″ Brisket Knife, Meat Cutting and BBQ Knife – Razor Sharp German Steel, Sheath Included, Full Tang, Ergonomic Handle Design – Artisan Series
- MAIRICO Brisket Slicing Knife – Ultra Sharp Premium 11-inch Stainless Steel Carving Knife for Slicing Roasts, Meats, Fruits and Vegetables
- Cutluxe BBQ Carving Knife Set – Brisket Slicing and Boning Knife for Meat Cutting – Professional Knife with Razor Sharp German Steel, Full Tang, Ergonomic Handles – Artisan Series
There’s something truly satisfying about presenting a perfectly carved roast or turkey at the dinner table. It’s not just about aesthetics; proper meat carving ensures every slice is tender, juicy, and a delight to eat. While it might seem daunting at first, mastering the art of carving meat is a skill anyone can learn with the right techniques and a little practice.
Welcome, aspiring carving connoisseurs! This detailed guide will walk you through everything you need to know, from essential tools to universal techniques, specific meat tips, and common pitfalls to avoid. Get ready to impress your guests and elevate your culinary game!
Why Master Meat Carving? More Than Just Slices!
Beyond looking impressive, mastering meat carving offers several tangible benefits:
- Optimal Flavor & Texture: Slicing against the grain shortens muscle fibers, making each bite incredibly tender and maximizing the juiciness of the meat.
- Enhanced Presentation: Uniform, clean slices elevate the visual appeal of any dish, making your meal more inviting.
- Efficient Serving: Knowing how to carve properly allows you to get more servings from your roast and distribute portions evenly.
- Reduced Waste: Precise carving minimizes odd-shaped scraps, ensuring more delicious meat for everyone.
- Confidence in the Kitchen: There’s a real sense of accomplishment that comes with effortlessly carving a large roast.
Essential Tools for the Carving Artist (No Specific Brands Needed!)
You don’t need a professional kitchen setup, but having the right type of tools makes a world of difference.
-
The Right Knife:
- Carving Knife: This is your primary tool. Look for a knife with a long, thin blade (8-15 inches), often with a pointed or rounded tip. Its length allows for long, smooth strokes.
- Slicing Knife: Similar to a carving knife but often with a rounded or Granton (dimpled) edge, which helps prevent meat from sticking to the blade.
- Boning Knife (Optional but Useful for Poultry): A smaller, flexible blade excellent for separating meat from bones.
-
Sharpening Tools:
- Honing Steel: This isn’t for sharpening a dull blade, but rather for realigning the microscopic edge of an already sharp knife. Use it frequently while carving to maintain sharpness.
- Whetstone or Knife Sharpener: For truly dull knives, you’ll need a proper sharpener to restore the blade’s edge. A sharp knife is a safe knife!
-
Large, Stable Cutting Board:
- Choose a board with a juice groove around the edge to catch any delicious drippings. It should be large enough to comfortably hold your entire roast or bird without spilling over.
- Stabilize it: Place a damp paper towel or non-slip mat underneath your cutting board to prevent it from sliding during carving. This is a crucial safety step.
-
Carving Fork or Tongs:
- A long, sturdy carving fork with two sharp tines is excellent for holding the meat steady. Alternatively, sturdy kitchen tongs can also work well, especially for smaller pieces.
-
Clean Towels/Paper Towels:
- Keep these handy for wiping your knife blade clean between slices and for general cleanup.
The Golden Rules of Carving (Pre-Carving Prep is Key!)
Before your knife even touches the meat, these steps are non-negotiable for success:
1. Always Rest Your Meat! (The Most Important Rule)
This cannot be stressed enough. Once cooked, meat needs time to rest off the heat, loosely tented with foil.
* Why? Resting allows the muscle fibers to relax and, critically, for the juices to redistribute throughout the meat. If you cut too soon, all those delicious juices will run out onto your cutting board, leaving you with dry meat.
* How Long?
* Small cuts (steaks, chicken breasts): 5-10 minutes.
* Medium roasts (pork loin, small beef roast): 15-20 minutes.
* Large roasts (turkey, prime rib): 20-45 minutes (or even longer for very large birds).
* Don’t worry: Your meat will stay hot. The internal temperature will even rise a few degrees during this time.
2. Sharpen Your Knife:
A dull knife is not only inefficient but also dangerous. You’ll need to exert more pressure, increasing the risk of slipping.
* Use your honing steel to align the blade right before you start carving, and even periodically during the process if you’re carving a large piece.
3. Stabilize Your Cutting Board:
As mentioned above, a stable cutting surface is vital for safety. A wobbly board is an accident waiting to happen.
The Universal Carving Technique: Step-by-Step
While specific meats have their nuances, the core principles of carving remain the same:
-
Identify the Grain:
- The “grain” refers to the direction in which the muscle fibers run. Look closely at the surface of the cooked meat; you’ll see faint lines running in one direction.
- Your goal is to always cut across the grain, or against the grain. This shortens the muscle fibers, making the meat incredibly tender and easy to chew. Cutting with the grain results in long, chewy strands.
-
Position the Meat:
- Place the meat on your stable cutting board in a way that gives you the best access and leverage.
- Use your carving fork or tongs to firmly but gently hold the meat in place. Never use your free hand to stabilize the meat directly in the path of the blade.
-
Execute the Slice:
- Long, Smooth Strokes: Position your knife at the edge of the meat where you want to begin your slice. With a fluid, sawing-like motion (but light pressure – let the knife do the work!), glide the knife through the meat from heel to tip in one continuous motion. Avoid pressing down hard or “sawing” harshly, which can tear the meat.
- Consistent Thickness: Aim for uniform slices – typically between 1/4 to 1/2 inch thick, depending on the meat and preference.
- Angle for Presentation: For some cuts, like roasts, a slight angle (say, 30-45 degrees) can create wider, more appealing slices.
-
Transfer to Serving Platter:
- As you carve, gently transfer the slices to a pre-warmed serving platter. This helps keep the meat warm and ready to enjoy.
Carving Specific Meats: Tips for Different Cuts
A. Poultry (Turkey & Chicken)
Poultry carving often involves disassembling before slicing.
-
Remove the Legs and Thighs:
- Pull a leg away from the body. Using your knife, cut through the skin and meat that connects the leg/thigh to the breast.
- Locate the hip joint and cut through it. The leg should separate easily. Repeat for the other side.
- You can serve legs whole, or separate the thigh from the drumstick at the joint, then slice the thigh meat off the bone.
-
Remove the Wings:
- Similarly, locate the shoulder joint where the wing attaches to the breast. Cut through the joint to remove the wing.
-
Carve the Breast:
- Locate the breastbone running down the center of the bird.
- Starting at the top of the breast near the wishbone, make a long cut parallel to the breastbone, guiding your knife down along the rib cage.
- Continue slicing horizontally or slightly angled across the grain of the breast meat, creating uniform slices.
- Repeat for the other breast.
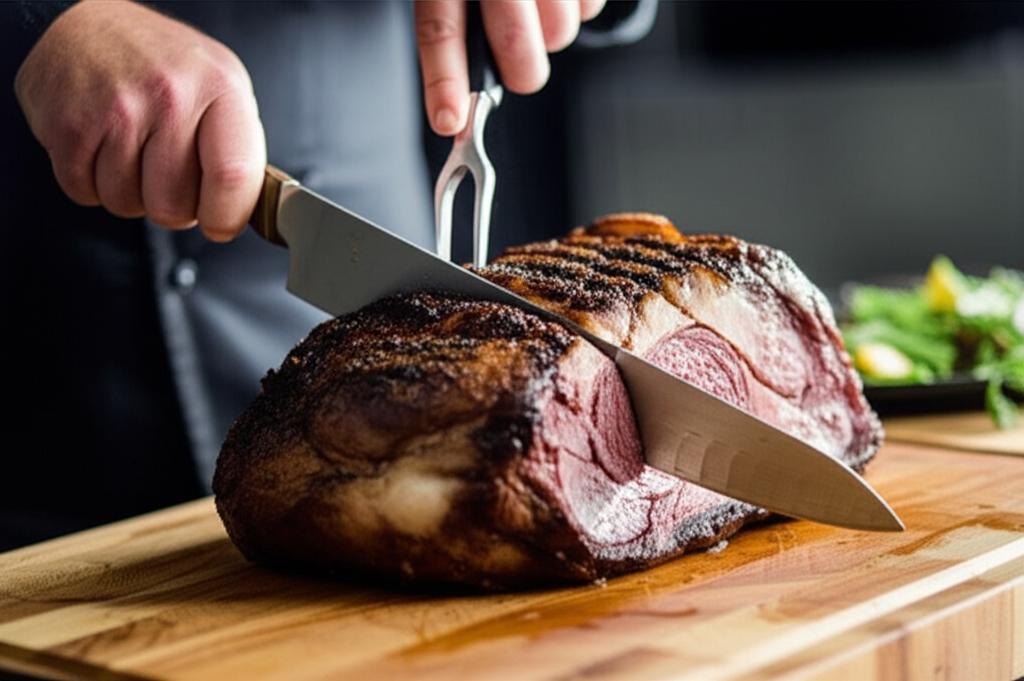
B. Roast Beef (Prime Rib, Beef Tenderloin, Sirloin, Brisket) & Pork Loin
These cuts are generally simpler, focusing purely on slicing across the grain.
- Positioning: Place the roast on your cutting board with the largest flat side down for stability.
- Identify the Grain: This is paramount for roasts. The muscle fibers are usually clearly visible.
- Slice Across the Grain: Use your long carving knife to make even, consistent slices from one end of the roast to the other. Adjust your angle if necessary to always cut across the grain.
- For prime rib with bones: You can either slice the meat off the bone first (cutting along the bone), or slice through the meat between the bones to create individual rib portions.
C. Ham (Bone-In & Boneless)
Ham carving depends on whether it’s bone-in or boneless.
- Boneless Ham: Simply place the flat side down and slice across the grain into desired thickness.
- Bone-In Ham:
- Stabilize: Place the ham on its side on the cutting board. You may need to trim a small section off the bottom to create a stable base.
- Make Initial Cuts: Make a straight cut down to the bone on one side, perpendicular to the bone.
- Slice Against the Grain: Starting from the cut you just made, slice down to the bone, across the grain, creating uniform slices.
- Release Slices: Once you have a few slices, run your knife horizontally along the bone to release the carved slices.
- Rotate: As you progress, you may need to rotate the ham to continue carving effectively.
Common Carving Mistakes to Avoid
- Not Resting the Meat: This is the most common and damaging mistake. You will lose all the juices!
- Using a Dull Knife: Leads to tearing, ragged slices, and increased risk of injury. Always sharpen first!
- Cutting With the Grain: Results in tough, stringy, and unpleasant-to-chew meat. Always cut against the grain!
- Rushing the Process: Carving requires patience and precision. Take your time for clean, beautiful slices.
- Sawing Vigorously: Let the sharpness of the blade and long, smooth strokes do the work. Pressing down hard and sawing tears the fibers.
- Ignoring Safety: A wobbly board, unstable meat, or a hand too close to the blade are recipes for disaster. Prioritize safety.
Tips for Carving Success & Presentation
- Practice Makes Perfect: The more you carve, the more comfortable and skilled you’ll become. Don’t be afraid to practice on smaller cuts of meat.
- Keep it Clean: Wipe your knife blade with a clean towel between a few slices to prevent buildup and ensure clean cuts.
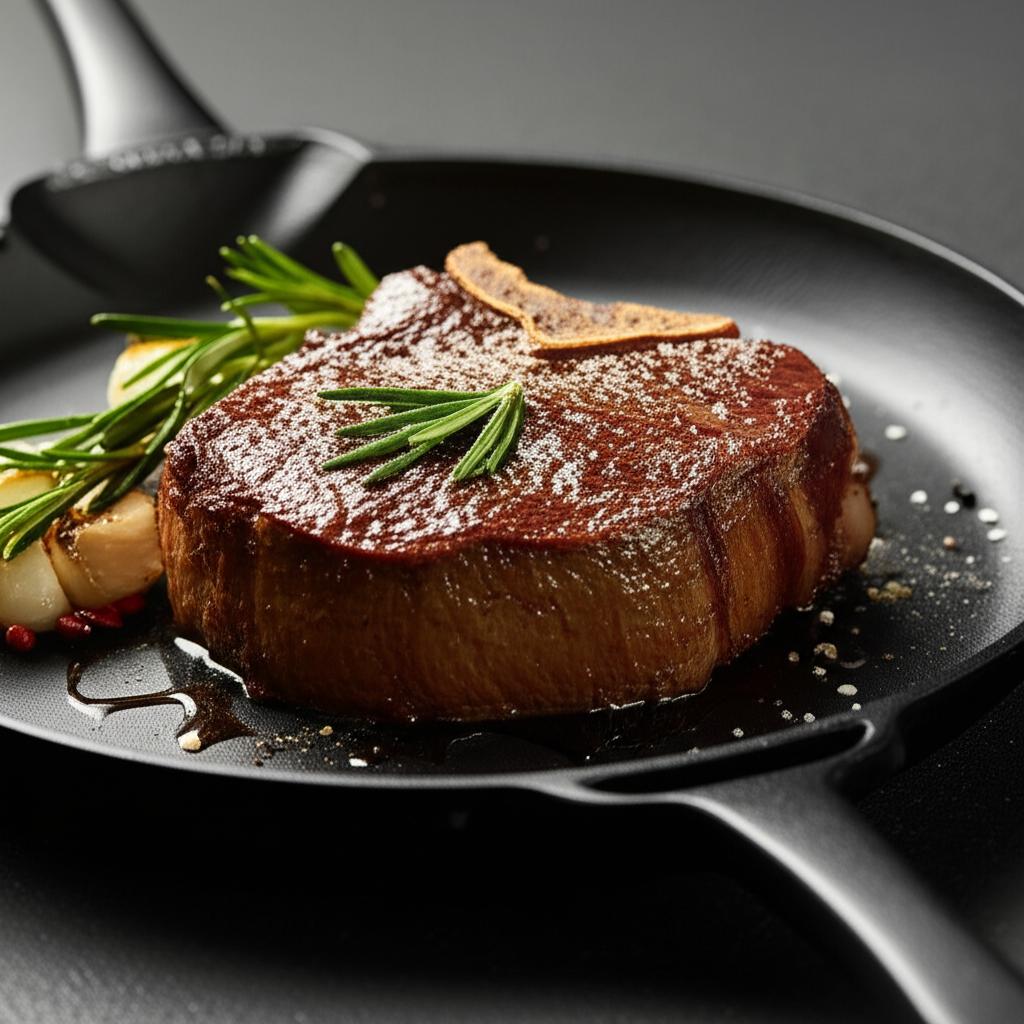
- Serve with Flair: Arrange your beautifully carved slices artfully on a warm platter. Garnish with fresh herbs (rosemary, parsley), or a drizzle of pan juices.
- Confidence is Key: Approach the carving station with a sense of purpose. Your guests will feel your confidence, and it will translate into smoother carving.
Mastering the art of carving meat is a rewarding skill that enhances any meal. By understanding the importance of resting, using a sharp knife, and always cutting against the grain, you’re well on your way to creating stunning, succulent centerpieces that will be remembered long after the meal is over. So, grab your carving knife, take a deep breath, and enjoy the satisfaction of perfect slices every time!
- Cutluxe Slicing Carving Knife – 12″ Brisket Knife, Meat Cutting and BBQ Knife – Razor Sharp German Steel, Sheath Included, Full Tang, Ergonomic Handle Design – Artisan Series
- MAIRICO Brisket Slicing Knife – Ultra Sharp Premium 11-inch Stainless Steel Carving Knife for Slicing Roasts, Meats, Fruits and Vegetables
- Cutluxe BBQ Carving Knife Set – Brisket Slicing and Boning Knife for Meat Cutting – Professional Knife with Razor Sharp German Steel, Full Tang, Ergonomic Handles – Artisan Series
FAQ
Q. Why is mastering the art of carving meat so important?
A. Mastering meat carving is crucial for several reasons: it ensures even cooking and perfect presentation, maximizes the yield from your roast, and most importantly, preserves the meat’s juiciness and tenderness by slicing against the grain. Proper carving makes the meat more enjoyable and easier to eat.
Q. What essential tools do I need to begin carving meat effectively?
A. The core tools for effective carving include a sharp carving knife (typically 8-10 inches), a sturdy carving fork to stabilize the meat, a large, stable cutting board (preferably with a juice groove), and a honing steel or sharpening stone to maintain your knife’s edge. Some also find carving gloves useful for grip and safety.
Q. How do I choose the right carving knife for different types of meat?
A. For poultry (chicken, turkey), a thinner, more flexible carving knife or even a boning knife works well for navigating bones. For larger roasts like beef or lamb, a longer, stiffer carving knife (or a slicer with a granton edge to prevent sticking) is ideal for long, clean slices. A serrated knife is best for crusty roasts or bread, though less common for general meat carving.
Q. What’s the best technique for carving a whole roasted chicken or turkey?
A. Start by removing the legs and thighs by cutting through the joint. Then separate the drumsticks from the thighs. Next, slice down along the breastbone to remove each breast half whole, then slice them crosswise against the grain. Finally, detach the wings at the joint. Always aim for clean cuts and work close to the bone.
Q. How should I approach carving a large roast like beef or lamb to ensure tender slices?
A. The most critical rule for large roasts is to always slice against the grain. Identify the direction of the muscle fibers and cut perpendicularly to them. Use long, even strokes with your sharp knife to create uniform, thin slices, usually about 1/4 to 1/2 inch thick, depending on the roast and preference. Stabilize the roast firmly with your carving fork.
Q. Why is it important to let meat rest before carving, and for how long?
A. Resting meat is vital because it allows the juices that have migrated to the center of the roast during cooking to redistribute back throughout the meat. If you carve immediately, these juices will run out, leaving the meat dry. The resting time varies, but generally, allow 10-15 minutes for smaller roasts (chicken, pork loin) and 20-30 minutes for larger roasts (turkey, beef prime rib). Tent it loosely with foil to retain heat.
Q. What is the difference between honing and sharpening a carving knife, and how often should I do them?
A. Honing realigns the microscopic edge of your knife’s blade, which gets bent over with use, making it feel dull. This should be done frequently, even before each use, with a honing steel. Sharpening, on the other hand, actually removes a tiny amount of metal from the blade to create a new, sharper edge. This is done with sharpening stones or a knife sharpener and is needed less frequently, perhaps every few months to a year depending on usage.