Baking Basics: From Cookies to Cakes, Demystified – Your Ultimate Beginner’s Guide
- NutriChef 3-Piece Nonstick Kitchen Oven Baking Pans – Premium & Stylish Non-Stick Steel, Commercial Grade Restaurant Quality Metal Bakeware with Red Silicone Handles – Easy to Clean, NCSBS3S
- Amazon Basics 6 Piece Nonstick, Carbon Steel Oven Safe Bakeware Set with Cake, Muffin, Cookie, and Loaf Pans, 6 Piece, 16.25 x 11.75 x 6.25 inches
- GoodCook Everyday Nonstick Carbon Steel Baking Sheet Set, 3 Pack – Small 13” x 9”, Medium 15” x 10”, Large 17” x 11” – Carbon Steel Cooking Pans, Cookie Sheet Bakeware Set
Does the thought of baking conjure images of perfect, golden-brown cookies or beautifully risen cakes, only to be followed by a wave of intimidation? You’re not alone! Many aspiring bakers feel overwhelmed by the precision often associated with the craft. But here’s a secret: baking is far more accessible and forgiving than you might think.
Think of this guide as your friendly baking mentor, here to demystify the process and transform you from a hesitant novice into a confident home baker. We’ll break down the essentials, offer simple steps, and equip you with the knowledge to create delicious treats, starting with easy cookies and working our way up to delightful cakes.
The Foundation of Flavor: Understanding Your Baking Building Blocks
Baking is often called a science, and that’s true to an extent. Each ingredient plays a crucial role, and understanding their functions is key to success. But it’s also an art, allowing for creativity and personal touch!
1. Essential Tools (Your Baking Arsenal)
You don’t need a professional kitchen to start baking. Here are the core tools that will make your life easier:
- Measuring Cups & Spoons: Accuracy is paramount! Use dry measuring cups for flour, sugar, and oats, and liquid measuring cups for milk, water, and oil.
- Mixing Bowls: A set of various sizes will come in handy.
- Whisk: For combining dry ingredients and aerating wet ones.
- Rubber Spatula: Perfect for scraping down bowls and folding ingredients gently.
- Baking Sheets: Sturdy, light-colored ones are best for even baking.
- Parchment Paper or Silicone Baking Mats: Non-negotiable for non-stick baking and easy cleanup!
- Cake Pans (if baking cakes): Standard round or square pans are a good start.
- Wire Cooling Rack: Crucial for proper cooling and preventing soggy bottoms.
- Oven Thermometer (Optional but Recommended): Ovens can be notoriously inaccurate, so this helps ensure your oven is truly at the temperature you set.
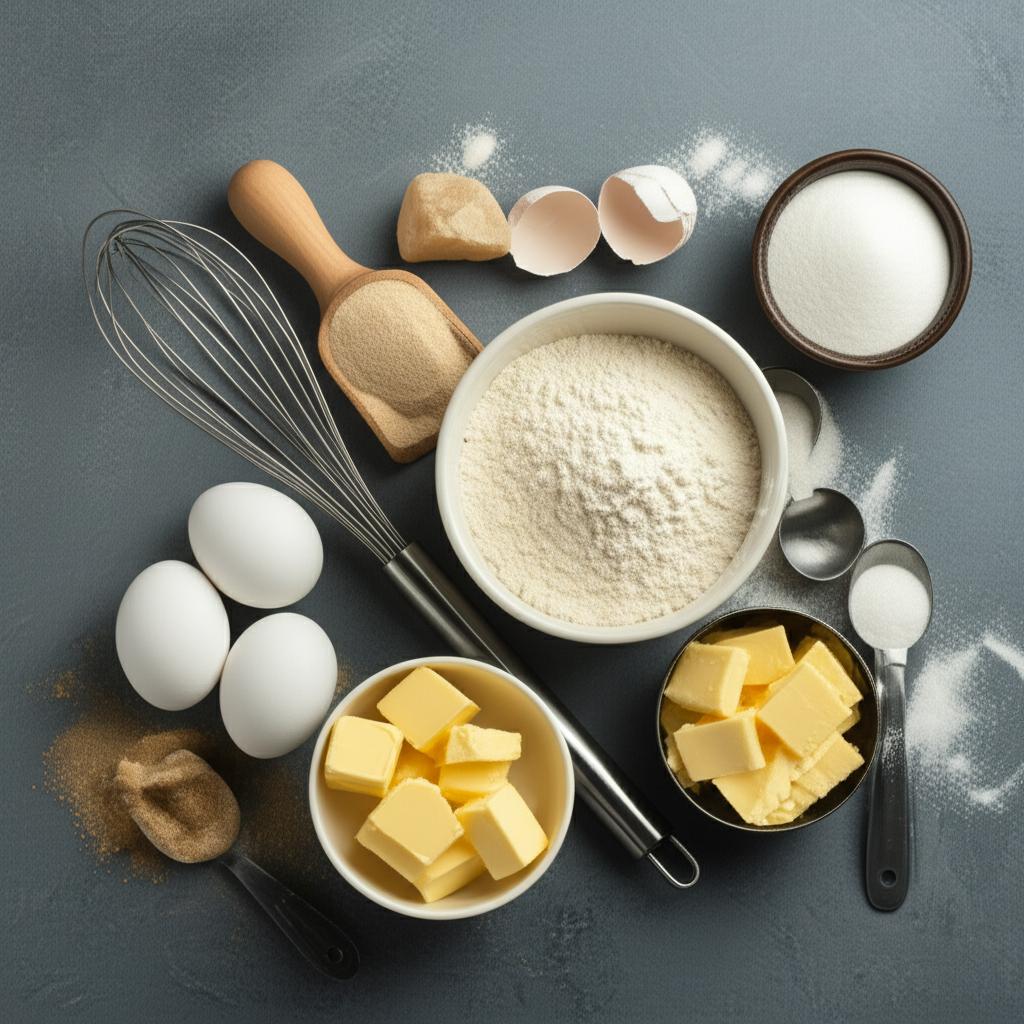
2. Key Ingredients & Their Roles
Understanding what each ingredient does will help you troubleshoot and even adapt recipes later on.
- Flour: The structure builder. Different types (all-purpose, bread, cake) have varying protein levels that affect the final texture.
- Sugar: Provides sweetness, tenderness, moisture, and aids in browning. Granulated, brown, and powdered sugars all behave differently.
- Fats (Butter, Oil, Shortening): Contribute richness, moisture, tenderness, and flavor. They help create a soft crumb and can extend shelf life. Room temperature butter is often key for creaming!
- Eggs: Act as a binder, leavener, and add moisture and richness. They also contribute to color and flavor. Always use large eggs unless specified.
- Leavening Agents (Baking Soda & Baking Powder): These are the “rise” agents.
- Baking Soda requires an acid (like buttermilk, brown sugar, or lemon juice) to activate.
- Baking Powder contains both an acid and a base and only needs liquid to activate (most common is “double-acting,” which activates again with heat).
- Liquids (Milk, Water, Buttermilk): Provide hydration, dissolve ingredients, and help create the right consistency.
- Salt: Enhances and balances flavors, preventing baked goods from tasting flat or overly sweet.
The Baking Journey: Step-by-Step Success
No matter what you’re baking, there’s a general flow that, once mastered, makes everything click.
1. The Golden Rule: Mise en Place (Everything in its Place)
Before you even turn on your oven, read the entire recipe from start to finish. Then, measure out all your ingredients (dry and wet) and have them ready on your counter. This prevents frantic searching mid-recipe and ensures you haven’t forgotten anything. It also allows ingredients like butter and eggs to come to room temperature if needed, which is often crucial for proper emulsification and texture.
2. Accurate Measuring: Your Secret Weapon
This is where the science really comes in.
- Dry Ingredients (Flour, Sugar, Cocoa Powder):
- Scoop and Level: For flour, lightly spoon it into your dry measuring cup until overflowing, then use the back of a knife or a flat edge to level it off. Do not pack it down, unless the recipe specifically says “packed brown sugar.”
- Wet Ingredients (Milk, Oil, Water):
- Eye Level: Pour liquid into a liquid measuring cup and stoop down to eye level to ensure the measurement is accurate on a flat surface.
- Fats (Butter): Most butter sticks have measurements marked on the wrapper for easy cutting.
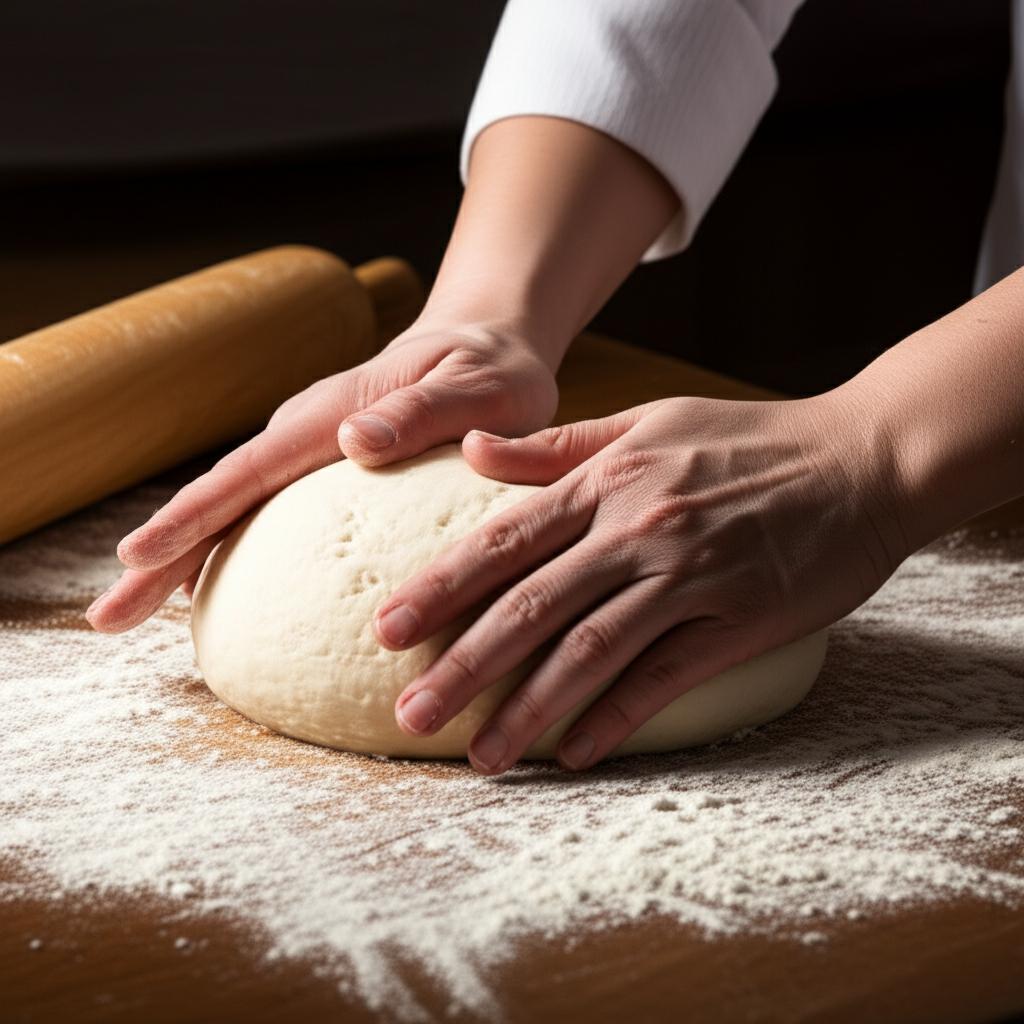
3. Mixing Methods (Briefly)
- Creaming: Often used for cookies and cakes. Beat softened butter and sugar together until light, fluffy, and pale. This incorporates air, which helps with leavening.
- Wet-to-Dry / Dry-to-Wet: Many recipes will instruct you to alternate adding dry and wet ingredients to your creamed mixture. This helps prevent overmixing.
- Folding: For delicate ingredients like whipped egg whites or chocolate chips. Use a rubber spatula to gently “fold” ingredients into the batter to maintain air and prevent overmixing.
4. Baking & Cooling
- Preheat Your Oven: Always preheat your oven for at least 15-20 minutes before putting anything in. This ensures the oven is at the correct, consistent temperature throughout.
- Use the Right Pan: Ensure your pan size matches the recipe.
- Check for Doneness: Recipes provide baking times, but these are guidelines. Learn the visual cues (golden brown edges, toothpick test, springiness).
- Cool Properly: Unless otherwise specified, let cookies cool on the baking sheet for a few minutes before transferring to a wire rack. Cakes usually cool in the pan for 10-15 minutes before inverting onto a wire rack. Cooling completely is vital before frosting or storing.
Mastering the Basics: Your First Cookie Batch (A Simple Start)
Cookies are fantastic for beginners because they’re relatively quick, forgiving, and incredibly satisfying. Let’s aim for classic Chocolate Chip Cookies or simple Sugar Cookies.
Step-by-Step (General Cookie Process):
- Read Your Recipe & Mise en Place: Gather all ingredients (butter softened, eggs at room temp) and tools.
- Preheat Oven & Prepare Pans: Preheat to the specified temperature (e.g., 350°F / 175°C). Line baking sheets with parchment paper.
- Cream Butter & Sugar: In a large bowl, beat softened butter and granulated sugar (and brown sugar, if using) with an electric mixer or whisk until light and fluffy. This step is crucial for texture!
- Add Eggs & Vanilla: Beat in eggs one at a time, mixing well after each addition. Stir in vanilla extract.
- Combine Dry Ingredients: In a separate medium bowl, whisk together flour, baking soda, baking powder (if using), and salt.
- Gradually Add Dry to Wet: Slowly add the dry ingredient mixture to the wet mixture, mixing on low speed just until combined.
- Fold in Mix-ins: Gently fold in chocolate chips, nuts, or sprinkles with a spatula. Do not overmix!
- Scoop Dough: Use a cookie scoop or two spoons to drop dough balls onto the prepared baking sheets, leaving space between them.
- Bake: Bake for the recommended time (usually 8-12 minutes), or until edges are golden brown and centers are set.
- Cool: Let cookies cool on the baking sheet for 2-5 minutes (they continue to cook slightly) before transferring to a wire rack to cool completely.
Tips for Perfect Cookies:
- Don’t overmix: Overmixing develops gluten, leading to tough cookies. Mix only until ingredients are just combined.
- Don’t overbake: It’s better to slightly underbake than overbake. Cookies continue to cook after they’re out of the oven.
- Chill the dough: For thicker, chewier cookies, chill the dough for at least 30 minutes (or longer!) before baking.
- Evenly sized cookies: Use a cookie scoop for uniform baking.
Stepping Up: Baking Your First Cake (Building on Skills)
Once you’re comfortable with cookies, cakes are the next logical step. They use similar principles but often require a bit more precision in mixing. Let’s aim for a simple Vanilla or Chocolate Sheet Cake or Cupcakes.
Step-by-Step (General Cake Process):
- Read Your Recipe & Mise en Place: Gather all ingredients (butter softened, eggs at room temp, buttermilk or milk at room temp).
- Preheat Oven & Prepare Pans: Preheat the oven. Prepare your cake pans: grease and flour them, or line the bottoms with parchment paper (and grease the sides). For cupcakes, line muffin tins with paper liners.
- Cream Butter & Sugar: In a large bowl, beat softened butter and sugar together until pale and fluffy (this is key for a light cake).
- Add Eggs & Vanilla: Add eggs one at a time, beating well after each, then stir in vanilla extract.
- Combine Dry Ingredients: In a separate bowl, whisk together flour, leavening agents (baking powder/soda), and salt.
- Alternate Dry and Wet: This is a common cake method:
- Add about a third of the dry ingredients to the butter mixture, mixing on low speed until just combined.
- Add about half of the liquid (milk/buttermilk), mixing until combined.
- Repeat with another third of the dry ingredients, then the remaining liquid, and finally the last third of the dry ingredients.
- Mix only until no dry streaks remain. Do not overmix!
- Pour Batter: Pour the batter evenly into the prepared cake pan(s).
- Bake: Bake for the recommended time. Resist the urge to open the oven door during the first two-thirds of baking, as this can cause the cake to sink.
- Check for Doneness: A toothpick inserted into the center should come out clean, or with moist crumbs attached. The cake should spring back when lightly touched.
- Cool: Let the cake cool in the pan on a wire rack for 10-15 minutes, then invert it onto the wire rack to cool completely before frosting. Cupcakes can usually be removed from the tin after 5 minutes.
Tips for a Beautiful Cake:
- Room Temperature Ingredients: Crucial for cakes! They combine better and create a smoother, more emulsified batter.
- Don’t open the oven door too soon: Fluctuations in temperature can cause cakes to fall.
- Prepare pans properly: A well-greased and floured pan (or parchment lining) ensures your cake comes out easily.
- Level cakes: If your cake domes, you can level it with a serrated knife once fully cooled for easier frosting.
Common Baking Mistakes (and How to Avoid Them!)
Even experienced bakers make mistakes! Learning from them is part of the fun.
- Not Reading the Recipe Completely: You might miss a crucial step like chilling dough or softening butter. Always read through first!
- Incorrect Measuring: Too much flour can make baked goods dry; too little leavening can lead to flat results. Invest in good measuring tools and use them correctly.
- Overmixing the Dough/Batter: This is the number one culprit for tough cookies and dry cakes. Mix only until ingredients are just combined, especially after adding flour.
- Wrong Oven Temperature: An oven that’s too hot can burn the outside while leaving the inside raw. One that’s too cool can result in dense, underbaked goods. Preheat fully and consider an oven thermometer.
- Opening the Oven Door Too Frequently: Especially with cakes, this causes temperature drops that can make them sink. Trust the process!
- Not Cooling Baked Goods Properly: Transferring too soon can cause them to break. Not cooling completely before frosting can melt your frosting. Patience is a virtue in baking.
- Substituting Ingredients Without Understanding: While fun for experienced bakers, for beginners, stick to the recipe as written.
- Using Cold Ingredients: Especially butter and eggs. Room temperature ingredients emulsify better, leading to smoother batters and a better texture in your final product.
Essential Baking Tips for Success
- Always use good quality, fresh ingredients.
- Preheat your oven fully. Don’t rush this step.
- Trust the process, but also trust your senses. Visual cues (golden brown, puffy, cracks) are often more reliable than a timer alone.
- Clean as you go! It makes the whole experience much more enjoyable.
- Start simple. Master a few basic recipes before attempting complex ones.
- Don’t be afraid to fail. Every failed batch is a learning opportunity. Adjust, try again, and celebrate your progress!
Ready to Bake?
Baking is a delightful journey of discovery, bringing joy to both the baker and those who get to enjoy the delicious creations. By understanding the basics, practicing patience, and learning from every experience, you’ll be whipping up incredible cookies, cakes, and other treats in no time.
So, what are you waiting for? Pick a simple recipe, gather your ingredients, and let the magic of baking begin!
- NutriChef 3-Piece Nonstick Kitchen Oven Baking Pans – Premium & Stylish Non-Stick Steel, Commercial Grade Restaurant Quality Metal Bakeware with Red Silicone Handles – Easy to Clean, NCSBS3S
- Amazon Basics 6 Piece Nonstick, Carbon Steel Oven Safe Bakeware Set with Cake, Muffin, Cookie, and Loaf Pans, 6 Piece, 16.25 x 11.75 x 6.25 inches
- GoodCook Everyday Nonstick Carbon Steel Baking Sheet Set, 3 Pack – Small 13” x 9”, Medium 15” x 10”, Large 17” x 11” – Carbon Steel Cooking Pans, Cookie Sheet Bakeware Set
FAQ
Q. Why is accurate ingredient measurement so crucial in baking, unlike cooking?
A. Baking is often likened to chemistry due to its precise nature. The specific ratios of ingredients like flour, sugar, fat, and leavening agents dictate the chemical reactions that determine the final texture, rise, and structure of your baked goods. Even a small deviation, especially with leavening agents, can significantly alter the outcome, leading to a flat cake, crumbly cookies, or a dense loaf. Cooking, on the other hand, allows for more improvisation and “to taste” adjustments.
Q. What’s the difference between baking soda and baking powder, and when should I use each?
A. Both are leavening agents that produce carbon dioxide gas to make baked goods rise, but they function differently. Baking soda (sodium bicarbonate) is a pure base and requires an acidic ingredient (like buttermilk, yogurt, lemon juice, or brown sugar) to react and create gas. Baking powder is baking soda pre-mixed with an acid and a starch (to absorb moisture). Most baking powders are “double-acting,” meaning they produce gas when wet and again when heated. Use baking soda when your recipe contains acidic ingredients, and baking powder when it doesn’t or needs an extra lift.
Q. My cookies often spread too much or are too hard. What am I doing wrong?
A. Several factors can cause cookies to spread excessively or become too hard. Over-creaming butter and sugar can incorporate too much air, causing the cookies to collapse and spread. Using butter that’s too soft or melted, insufficient flour, or an oven that’s not fully preheated to the correct temperature can also contribute to spreading. For hardness, over-baking is a common culprit; pull cookies out when the edges are set and golden, but the centers still look slightly soft. Chilling the dough before baking can also help prevent spreading and promote a chewier texture.
Q. Is it really necessary to preheat my oven, and how important is oven temperature accuracy?
A. Absolutely. Preheating is essential because most baked goods, especially cakes and quick breads, rely on an initial burst of heat to activate leavening agents and set their structure. Placing dough or batter into a cold oven means it heats up slowly, which can lead to a dense, tough, or unevenly risen product. Oven temperature accuracy is also paramount; an oven running too hot can burn the outside while leaving the inside raw, while one that’s too cool will prevent proper browning and rise, resulting in a pale, dense bake. Using an oven thermometer to verify your oven’s true temperature is highly recommended.
Q. What does “creaming butter and sugar” mean, and why is it important for cakes and cookies?
A. Creaming is a mixing technique where softened butter and granulated sugar are beaten together until the mixture is light, fluffy, and pale in color. This process isn’t just about combining ingredients; it’s about incorporating tiny air pockets into the fat. These air pockets expand during baking, contributing significantly to a light, tender, and airy texture in your cakes and cookies. If you don’t cream properly, your baked goods can end up dense and heavy.
Q. My cakes sometimes sink in the middle after baking. Why does this happen?
A. A sinking cake can be frustrating, and several factors might be at play. Common reasons include: opening the oven door too early, especially during the first two-thirds of baking, which allows cold air to enter and halt the rise; overmixing the batter, which develops too much gluten and can lead to a tough structure that collapses; using too much leavening agent or too much liquid; or an oven that’s too hot, causing the cake to rise too quickly before its structure is set, only to fall as it cools. Always ensure your cake is fully baked by using a toothpick test before removing it from the oven.
Q. Can I substitute different types of flour (e.g., all-purpose for bread flour) in a recipe?
A. While it’s sometimes possible, it’s generally not recommended for precise baking recipes without understanding the implications. Different flours have varying protein contents, which directly impacts gluten development and thus the texture of your baked goods. All-purpose flour is versatile with a moderate protein content. Bread flour has high protein, ideal for chewy, airy breads. Cake flour has low protein, perfect for tender cakes. Substituting a high-protein flour for a low-protein one can result in a tougher, chewier product, while the reverse can lead to a crumbly or less structured result. Always try to use the flour specified in the recipe for best results.