There’s something truly magical about enjoying a delicious meal outdoors, whether it’s a picturesque picnic in the park or a quick snack break during a long road trip. The gentle breeze, the change of scenery, and the simple pleasure of good food and cold drinks just hit differently when you’re away from the kitchen. But here’s the rub: how do you keep your sandwiches from getting soggy, your fruit from wilting, and your beverages from turning lukewarm in the heat? The answer, my friends, lies in the unsung hero of outdoor dining: the compact cooler bag for picnics and road trips.
This isn’t just any old bag; it’s a game-changer that transforms your outdoor culinary adventures from a logistical headache into a seamless, refreshing experience. Forget flimsy plastic bags or bulky, hard-sided coolers that take up half your trunk. We’re talking about smart, efficient, and surprisingly spacious bags designed to keep your provisions perfectly chilled, no matter where your wanderlust takes you.
In this comprehensive guide, we’re going to dive deep into everything you need to know about these fantastic portable coolers. We’ll explore why they’re indispensable, what features truly matter, how to pack them for maximum efficiency, and even some common pitfalls to avoid. So, buckle up, because by the end of this read, you’ll be a bona fide expert, ready to choose the perfect insulated lunch bag or cooler backpack for your next adventure.
Why a Compact Cooler Bag is Your Go-To Adventure Companion
You might wonder, “Is a dedicated cooler bag really necessary?” And to that, we say, “Absolutely!” Here’s why these handy travel coolers are a must-have for anyone who loves spending time outdoors:
- Unmatched Convenience & Portability: Unlike rigid coolers, soft-sided compact cooler bags are lightweight and often come with comfortable shoulder straps or handles, making them incredibly easy to carry, even when fully loaded. They’re designed to be less cumbersome, fitting neatly into smaller spaces in your car, on a train, or even strapped to a bike.
- Versatility for Every Occasion: While our focus is on picnics and road trips, these bags are true multi-taskers. Think beach days, hiking excursions, sporting events, concerts in the park, camping trips, or even just daily commutes to work with your chilled snacks. Their adaptability makes them a fantastic investment.
- Keeps Food Fresher, Longer: This is their primary job, and they do it well. Good insulation means your perishables stay at safe temperatures, preventing spoilage and keeping everything from crisp salads to creamy dips in prime condition. No more worrying about lukewarm drinks or questionable leftovers.
- Saves Money & Reduces Waste: Packing your own food and drinks is almost always cheaper than buying them on the go. Plus, you can avoid single-use plastics and packaging, contributing to a more sustainable lifestyle. It’s a win-win!
- Customizable & Healthier Choices: When you pack your own food, you have complete control over what you eat. This means you can stick to dietary preferences, avoid allergens, and make healthier choices that fuel your adventures better than fast food or convenience store snacks.
Key Features to Look for in Your Ideal Cooler Bag
Not all cooler bags are created equal. To ensure you’re getting the most bang for your buck and the best performance, pay close attention to these critical features:
1. Insulation: The Heart of the Cooler
This is arguably the most important feature. A cooler bag’s ability to keep items cold directly depends on its insulation quality.
- Types of Insulation: Most compact cooler bags use closed-cell foam insulation (like EPE foam) or multi-layer thermal linings. Some higher-end models might use thicker, more advanced insulations that offer superior thermal retention.
- Thickness Matters: Thicker insulation generally means better performance. Look for bags that feel substantial and don’t easily collapse, indicating a decent layer of insulating material.
- Thermal Barrier: The best bags create an effective thermal barrier that prevents heat from transferring from the outside in, and cold from escaping.
2. Capacity: How Much Can You Carry?
Size matters! Consider what you typically need to carry.
- Personal Use (4-6 cans/3-5 liters): Perfect for a solo lunch, a few drinks, or small snacks for a short outing.
- Couple/Small Family (10-20 cans/8-15 liters): Ideal for a picnic for two, a day trip, or holding drinks and snacks for a small family.
- Larger Groups/Longer Trips (20+ cans/15+ liters): If you’re packing for a family of four or more, or planning an all-day road trip adventure, you’ll need something more substantial.
- Practical Tip: Don’t just look at advertised can capacity. Think about the shape of the bag and whether it will comfortably hold your preferred food containers, bottles, or meal prep kits.
3. Durability & Materials: Built to Last
Your cooler bag needs to withstand the rigors of outdoor use.
- Outer Fabric: Look for rugged, tear-resistant materials like high-denier polyester, ripstop nylon, or even TPU (thermoplastic polyurethane) for premium bags. These materials are often water-resistant or even waterproof.
- Inner Lining: This is crucial for leak-proofing and hygiene. Common materials include PEVA (polyethylene vinyl acetate), which is food-grade, easy to clean, and often leak-proof thanks to heat-welded seams. TPU liners are even more robust and offer superior leak protection. Ensure the lining is FDA-approved for food contact.
- Zippers: Cheap zippers are a common failure point. Opt for heavy-duty, self-repairing zippers (like YKK) that operate smoothly. For maximum leak-proofing, look for water-resistant or even waterproof zippers.
- Stitching: Reinforced stitching at stress points (handles, straps) indicates better craftsmanship and longevity.
4. Portability & Comfort: Easy to Carry
How you’ll carry the bag is just as important as what it carries.
- Handles: Padded top handles make for comfortable lifting.
- Shoulder Straps: Adjustable, padded shoulder straps are essential for hands-free carrying, especially for heavier loads or longer distances.
- Backpack Style: A cooler backpack offers the best weight distribution and freedom of movement, perfect for hiking or biking.
5. Leak-Proofing: No Spills, No Mess
Nothing ruins a picnic faster than a leaky cooler bag.
- Welded Seams: Heat-welded or RF-welded seams in the interior lining are far superior to stitched seams, as they create a truly waterproof barrier.
- Waterproof Zippers: While standard zippers can be splash-resistant, fully waterproof zippers (often T-zip or similar designs) are best for preventing any liquid from escaping or entering.
- Roll-Top Closures: Some bags use a roll-top design with buckles, similar to dry bags, which creates a highly effective waterproof seal.
6. Storage & Pockets: Organization on the Go
Beyond the main compartment, external pockets can be incredibly useful.
- Front/Side Pockets: Great for utensils, napkins, bottle openers, keys, phone, or other non-chilled essentials.
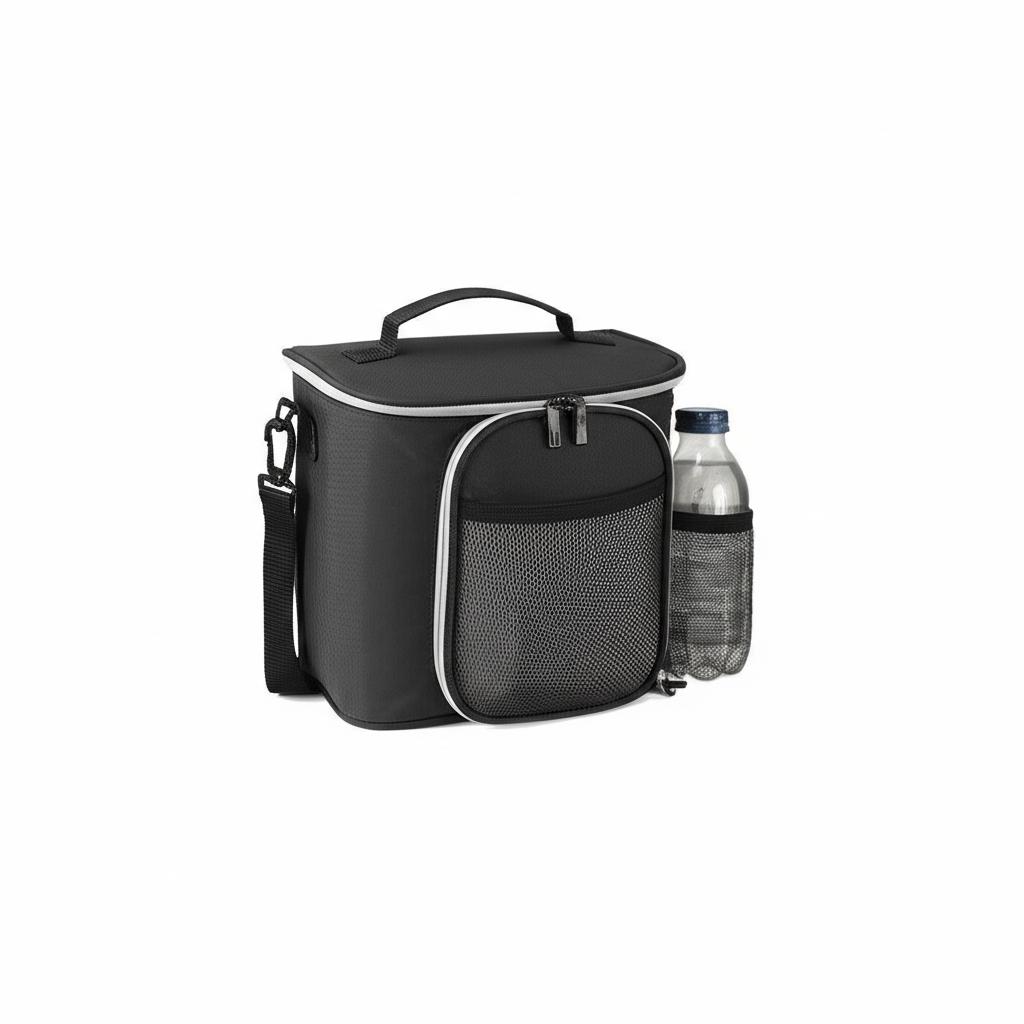
- Mesh Pockets: Ideal for water bottles or quick-access items.
- Internal Pockets: Some bags have internal mesh pockets for ice packs or smaller items you want to keep separate.
7. Ease of Cleaning: Hygienic Adventures
After a fun day out, cleaning shouldn’t be a chore.
- Wipeable Surfaces: The inner lining should be easy to wipe clean with a damp cloth.
- Antimicrobial Linings: Some bags feature linings treated to resist mold and mildew growth.
8. Design & Aesthetics: Look Good While Staying Cool
While not strictly performance-related, a bag that looks good adds to the enjoyment. Choose colors and styles that match your personal preference. Keep in mind that lighter colors might reflect more sunlight, potentially offering a tiny edge in heat resistance compared to darker ones, but proper insulation is far more critical.
Different Types of Compact Cooler Bags
Within the “compact cooler bag” category, you’ll find a few distinct styles, each with its own advantages:
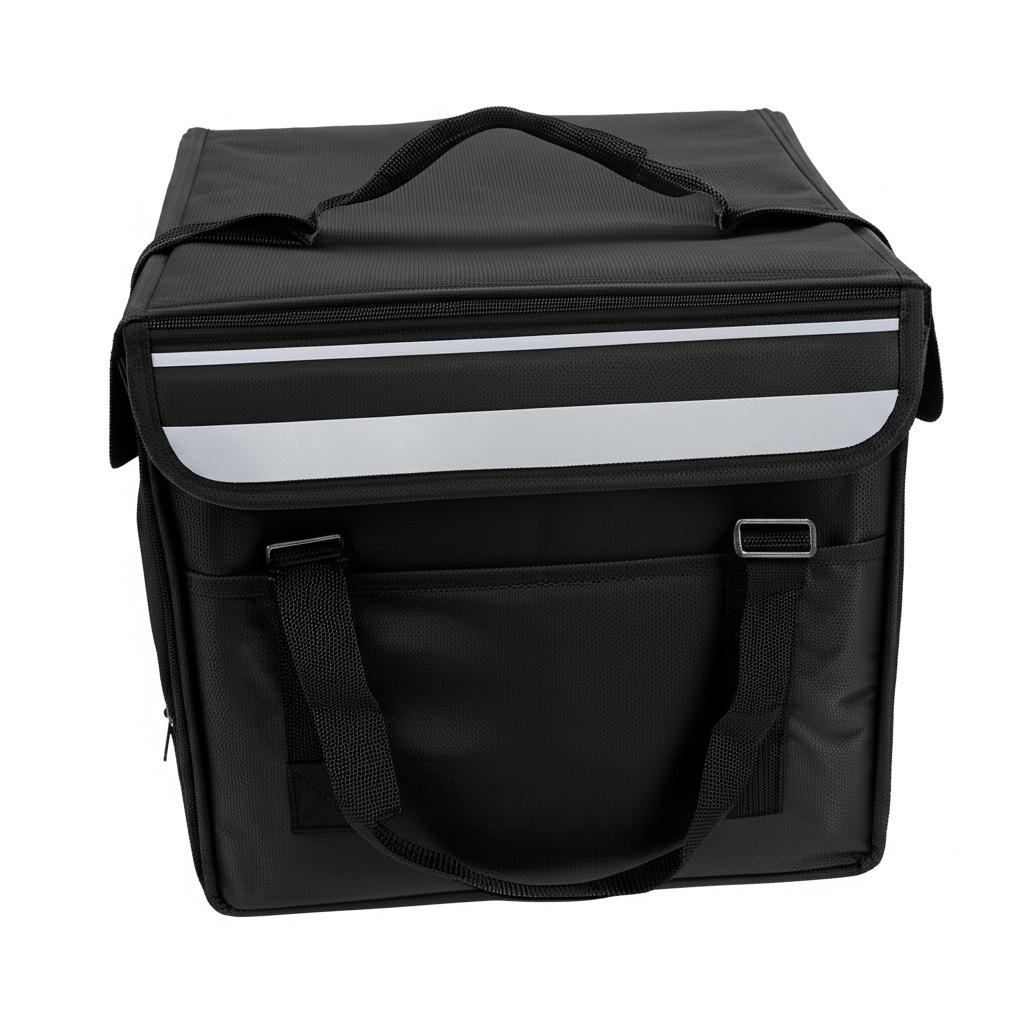
- Soft-Sided Cooler Bags: These are the most common and versatile. They’re typically made of durable fabric exteriors with an insulated, often leak-proof, interior. They can be tote-style, rectangular, or cube-shaped. Excellent for everyday use, picnics, and short road trips.
- Cooler Backpacks: As the name suggests, these are worn like a backpack. They’re fantastic for hands-free carrying, especially if you’re hiking, biking, or need to navigate crowds. They distribute weight evenly, making heavier loads more manageable.
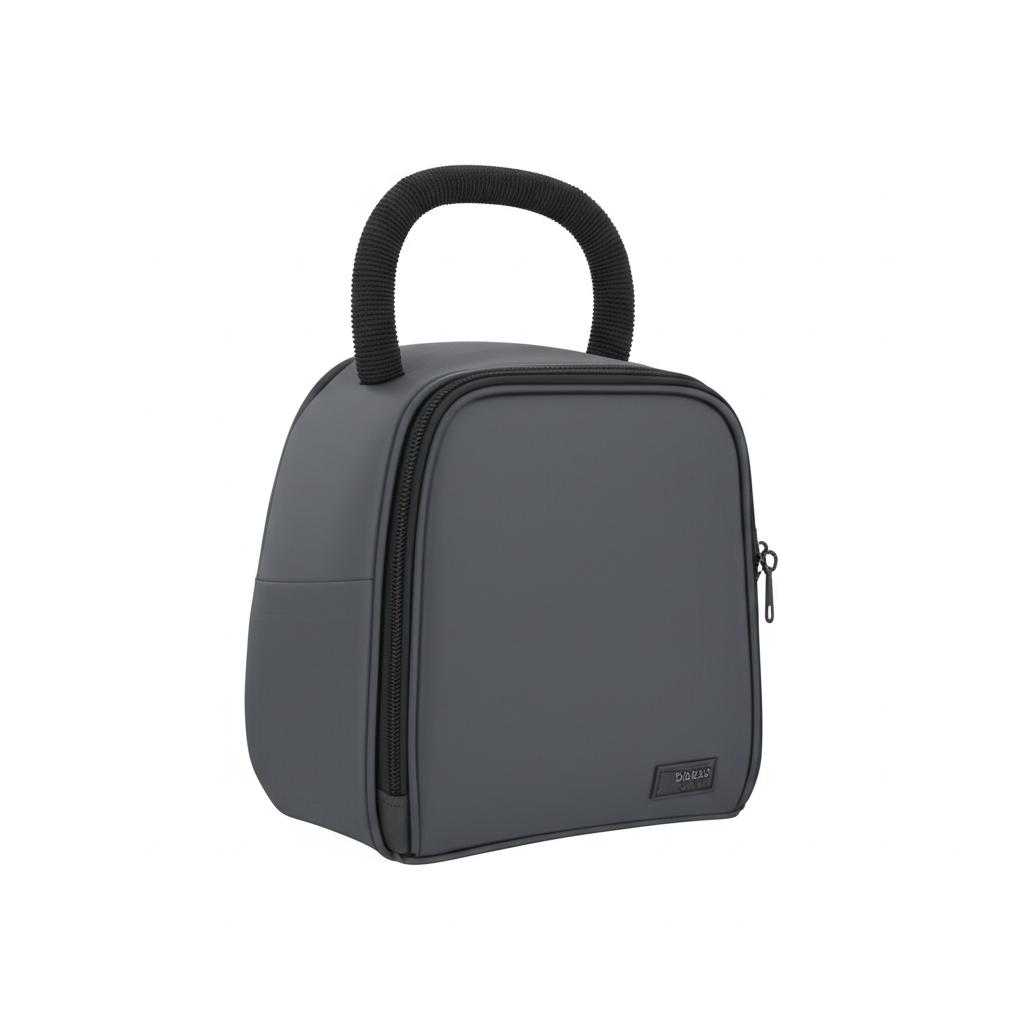
- Lunch Bag Coolers: Smaller, often more structured versions of soft-sided coolers, specifically designed for individual meals. Perfect for work, school, or very short outings.
- Tote Bag Coolers: Often larger than typical lunch bags, these resemble a stylish tote but come with insulation. They’re great for grocery runs, beach days, or when you need to carry a bit more in a fashionable way.
Packing Your Compact Cooler Bag Like a Pro
Having the right bag is only half the battle; knowing how to pack it efficiently is the other. Follow these steps to maximize your cooler’s performance and food safety:
- Pre-Chill Everything: This is perhaps the most crucial step. Don’t put warm items into a warm cooler. If possible, pre-chill your cooler bag in the fridge or freezer for 30 minutes to an hour before packing. More importantly, ensure all food and drinks going into the cooler are already thoroughly chilled.
- Ice Packs vs. Loose Ice:
- Ice Packs/Gel Packs: These are generally preferred for soft-sided coolers as they won’t leak as they melt, keeping your food dry. They are reusable and convenient. Place them strategically at the bottom and on top of your contents for optimal cooling.
- Loose Ice: If you must use loose ice, ensure your cooler bag is truly leak-proof (with welded seams and waterproof zippers). Place ice in heavy-duty Ziploc bags or dedicated leak-proof ice bags to prevent waterlogging your food. Blocks of ice melt slower than cubes.
- Layering Strategy:
- Start with a layer of ice packs or ice at the bottom.
- Place drinks and less fragile items (like pre-cooked meats or hard-boiled eggs in containers) next, as they benefit most from direct contact with the cold source.
- Add heavier, sturdier food items.
- Place delicate items (sandwiches, salads, soft fruits) on top to prevent crushing.
- Finish with another layer of ice packs on top, as cold air sinks.
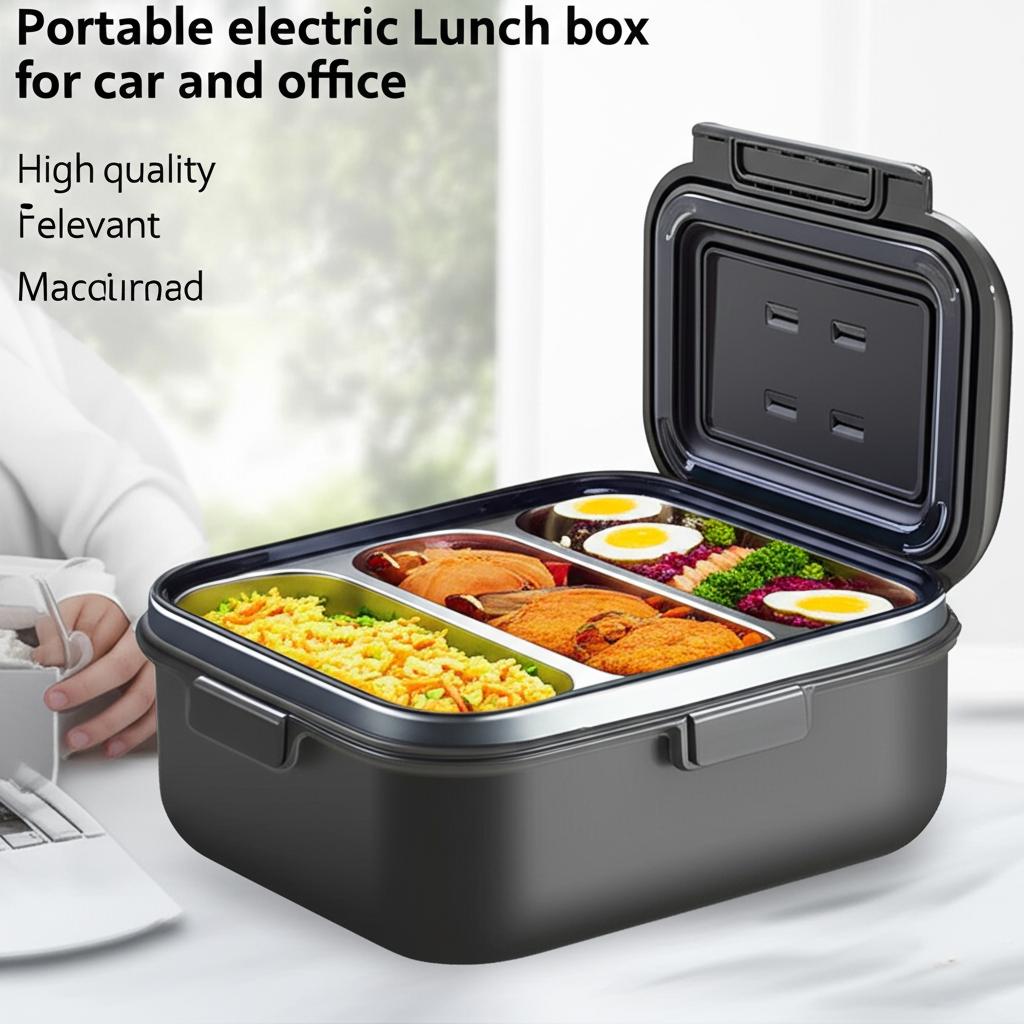
- Keep it Dry & Contained: Use airtight containers for all food items to prevent leaks and cross-contamination. Ziploc bags are your best friend for anything that might seep or drip.
- Pack it Full (But Not Overstuffed): A fuller cooler stays colder longer because there’s less air space for heat to penetrate. However, don’t overstuff it to the point where zippers are strained or insulation is compromised. Leave just enough room for the cold air to circulate.
- Strategic Food Choices: Opt for foods that travel well. Pre-cut veggies, durable fruits (apples, oranges), hard cheeses, pre-made sandwiches, wraps, and dips in sealed containers are excellent choices. Avoid highly perishable or overly messy items unless you’re extra prepared.
Tips and Best Practices for Maximizing Your Cooler Bag’s Performance
Beyond proper packing, these tips will help you get the most out of your compact cooler bag for picnics and road trips:
- Minimize Opening: Every time you open the cooler, warm air rushes in and cold air escapes. Try to plan your access points and retrieve multiple items at once.
- Keep it Out of Direct Sunlight: Place your cooler in the shade, under a towel, or even inside your car (if it’s air-conditioned) to shield it from direct sun rays, which can significantly reduce its cooling efficiency.
- Clean Immediately After Use: Don’t let food residues or melted ice sit in the bag. Empty, wipe down the interior with a damp cloth and mild soap, rinse, and air dry thoroughly before storing to prevent mold, mildew, and odors.
- Store Properly: Once clean and dry, store your cooler bag with the lid or zipper slightly ajar to allow for air circulation and prevent musty smells.
- Use Insulated Bottles/Thermoses: For hot drinks (if you’re using your cooler for both cold and hot on separate occasions) or for extending the cold life of some beverages, insulated bottles work wonders inside your cooler.
Common Mistakes to Avoid with Your Compact Cooler Bag
Even with the best intentions, some common slip-ups can compromise your cooler bag’s performance and your food’s safety.
- Not Pre-Chilling: As mentioned, this is a big one. Putting warm food into a warm cooler is like asking it to perform a miracle. It won’t work efficiently, and your food will warm up quickly.
- Using Regular Ice Without Containment: Unless your bag is designed to handle it (and most soft-sided ones aren’t truly meant for direct loose ice), melted ice will create a soggy, unsanitary mess. Stick to ice packs or bagged ice.
- Overpacking or Underpacking: Both extremes are detrimental. Overpacking strains the seams and zippers, while underpacking leaves too much empty space for warm air to circulate.
- Leaving it Open: Treat your cooler bag like a refrigerator. Close it as quickly as possible after retrieving items.
- Storing It Wet or Dirty: This is a recipe for mold, mildew, and foul odors. Always ensure it’s spotless and bone dry before stowing it away.
- Putting Warm Items In: Resist the urge to toss that freshly baked cookie or warm soda into the cooler with your cold items. It will raise the internal temperature and jeopardize everything else.
- Ignoring Proper Food Safety: The “danger zone” for food is between 40°F (4°C) and 140°F (60°C). Perishable foods should not be in this range for more than two hours (or one hour if the ambient temperature is above 90°F/32°C). Always keep raw meats separate from ready-to-eat foods to prevent cross-contamination.
Detailed Explanations: The Science Behind the Chill
Understanding a bit about how these thermal bags work can help you use them more effectively.
The Science of Insulation
Cooler bags work by minimizing heat transfer through three main mechanisms:
- Conduction: Heat transfer through direct contact. The insulating material (foam, multi-layer fabrics) inside your cooler is designed to be a poor conductor of heat, slowing down the transfer of warmth from the outside environment to the cold interior.
- Convection: Heat transfer through the movement of fluids (air or liquid). A well-sealed cooler bag traps the cold air inside, preventing it from mixing with warmer outside air. That’s why minimizing openings and keeping the bag full helps.
- Radiation: Heat transfer through electromagnetic waves (like sunlight). The outer material and color of your cooler can play a small role here. Lighter colors reflect more radiant heat, while reflective liners can bounce some heat waves back. However, the primary defense against radiation is simply keeping the cooler out of direct sunlight.
Material Deep Dive: Why Certain Fabrics Reign Supreme
- PEVA (Polyethylene Vinyl Acetate): A common, food-grade, PVC-free material for inner linings. It’s generally easy to clean and can be heat-welded to create leak-proof seams. It’s a great balance of cost and performance for most compact cooler bags.
- TPU (Thermoplastic Polyurethane): A more premium material often found in high-end soft coolers. TPU is incredibly durable, abrasion-resistant, and can be easily welded, making it ideal for truly waterproof and airtight designs. It’s also more resistant to punctures and tears than PEVA.
- Polyester & Nylon: These synthetic fabrics are popular for the outer shell due to their durability, water resistance (especially when coated), and resistance to fading and stretching. Denier (D) indicates fabric thickness; higher denier means a stronger, more robust fabric. Ripstop versions have a special weave that prevents small tears from spreading.
Food Safety on the Go
Keeping food safe is paramount. Here’s a quick refresher:
- The “Danger Zone”: As mentioned, perishable foods left between 40°F (4°C) and 140°F (60°C) for too long can rapidly grow harmful bacteria. Your cooler bag’s job is to keep food below 40°F.
- Cross-Contamination: Always pack raw meats, poultry, and fish in separate, sealed containers to prevent their juices from contaminating ready-to-eat foods like salads or sandwiches.
- Wash Hands: Before handling food (and after), ensure hands are clean, especially when picnicking. Carry hand sanitizer if water isn’t available.
By understanding these principles, you’ll not only choose a better cooler bag but also become a more effective packer and user, ensuring your outdoor culinary experiences are always enjoyable and safe.
Frequently Asked Questions About Compact Cooler Bags
Ready to hit the road or the park with your perfectly chilled provisions? Here are some common questions you might still have:
Q1: How long can a compact cooler bag keep food cold?
A1: The duration depends heavily on the quality of the bag’s insulation, the ambient temperature, whether it was pre-chilled, how often it’s opened, and the amount/type of ice packs used. A high-quality compact cooler bag for picnics and road trips can keep items cold for 8-24 hours, while more basic models might only manage 4-6 hours. Using enough pre-chilled ice packs and keeping the bag out of direct sun will significantly extend cooling time.
Q2: What’s better for a compact cooler bag: ice or ice packs?
A2: For most soft-sided compact cooler bags, ice packs (gel packs or reusable freezer blocks) are generally better. They don’t leak as they melt, keeping your food dry and your bag interior cleaner. If your bag is truly leak-proof with welded seams and waterproof zippers, bagged ice or block ice can be used, as they often last longer than ice cubes.
Q3: Can I put hot food in a cooler bag?
A3: While cooler bags are designed to insulate against temperature transfer, they are primarily built to keep cold things cold. You can put hot food in a cooler bag, and it will help keep it warm for a period, similar to a thermal bag. However, never put boiling hot items directly in, as it could damage the liner. Also, avoid mixing hot and cold items in the same bag unless they are very well-separated and individually insulated.
Q4: How do I clean my cooler bag effectively?
A4: After each use, empty the bag completely. Wipe the interior lining with a damp cloth and a mild soap solution (dish soap works well). For stubborn stains or odors, a mixture of water and a little baking soda can help. Rinse with a clean damp cloth, then leave the bag open to air dry completely, ideally upside down, before zipping it up and storing it. This prevents mold and mildew.
Q5: Are all compact cooler bags leak-proof?
A5: No, not all are truly leak-proof. Many cheaper models might have stitched seams on the interior liner, which can eventually seep water as ice melts. For true leak-proofing, look for bags that specify “heat-welded seams,” “RF-welded seams,” or have a thick, one-piece molded liner. Waterproof zippers also contribute significantly to a leak-proof design.
Q6: What’s the ideal size for a family picnic?
A6: For a family of four, a cooler bag with a capacity of 15-25 liters (around 20-30 cans) is usually ideal. This provides enough space for drinks, sandwiches, snacks, and perhaps a small dessert without being overly bulky. Consider the actual dimensions to ensure your preferred containers fit.
Q7: Can I use a cooler bag for things other than food?
A7: Absolutely! While primarily designed for food, compact cooler bags are great for keeping medications cool, transporting delicate plants from a nursery, or even keeping electronics dry and safe in damp environments (though be cautious with condensation). They’re essentially insulated, protective carrying cases.
Q8: How do I prevent condensation on the outside of my bag?
A8: Condensation typically forms when the cold surface of the cooler bag comes into contact with warm, humid air. While it’s hard to eliminate entirely in very humid conditions, high-quality insulation greatly reduces this. Ensure your bag is fully loaded, keep it out of direct sunlight, and use well-frozen ice packs (rather than melting ice) to maintain a consistent internal temperature, which can help minimize external condensation.
Q9: What should I look for if I need a highly durable bag?
A9: For maximum durability, seek out bags made with high-denier nylon or TPU for the exterior. The inner lining should be robust, preferably TPU, with welded seams. Look for heavy-duty, self-repairing zippers (like YKK) and reinforced stitching at all stress points (handles, strap attachments). These features indicate a bag built to last through many adventures.
Q10: Are backpack cooler bags comfortable for hiking?
A10: Yes, many backpack cooler bags are designed with ergonomics in mind, featuring padded shoulder straps, sternum straps, and sometimes even waist belts to distribute weight evenly. This makes them significantly more comfortable for carrying heavier loads over longer distances or on trails compared to traditional shoulder-strap cooler bags. Look for features that mimic regular hiking backpacks for the best comfort.
Conclusion
The simple truth is, a high-quality compact cooler bag for picnics and road trips isn’t just a luxury; it’s an essential piece of gear that elevates your outdoor experiences. From impromptu park visits to epic cross-country drives, knowing your food and drinks will remain perfectly chilled and fresh provides peace of mind and adds immeasurable joy to your adventures.
By understanding the key features, learning how to pack strategically, and avoiding common pitfalls, you’re now equipped to choose the perfect portable cooler that meets your needs and exceeds your expectations. So go ahead, plan that next picnic, hit the open road, and enjoy the refreshing taste of convenience, freedom, and perfectly preserved provisions, thanks to your trusty cooler bag!