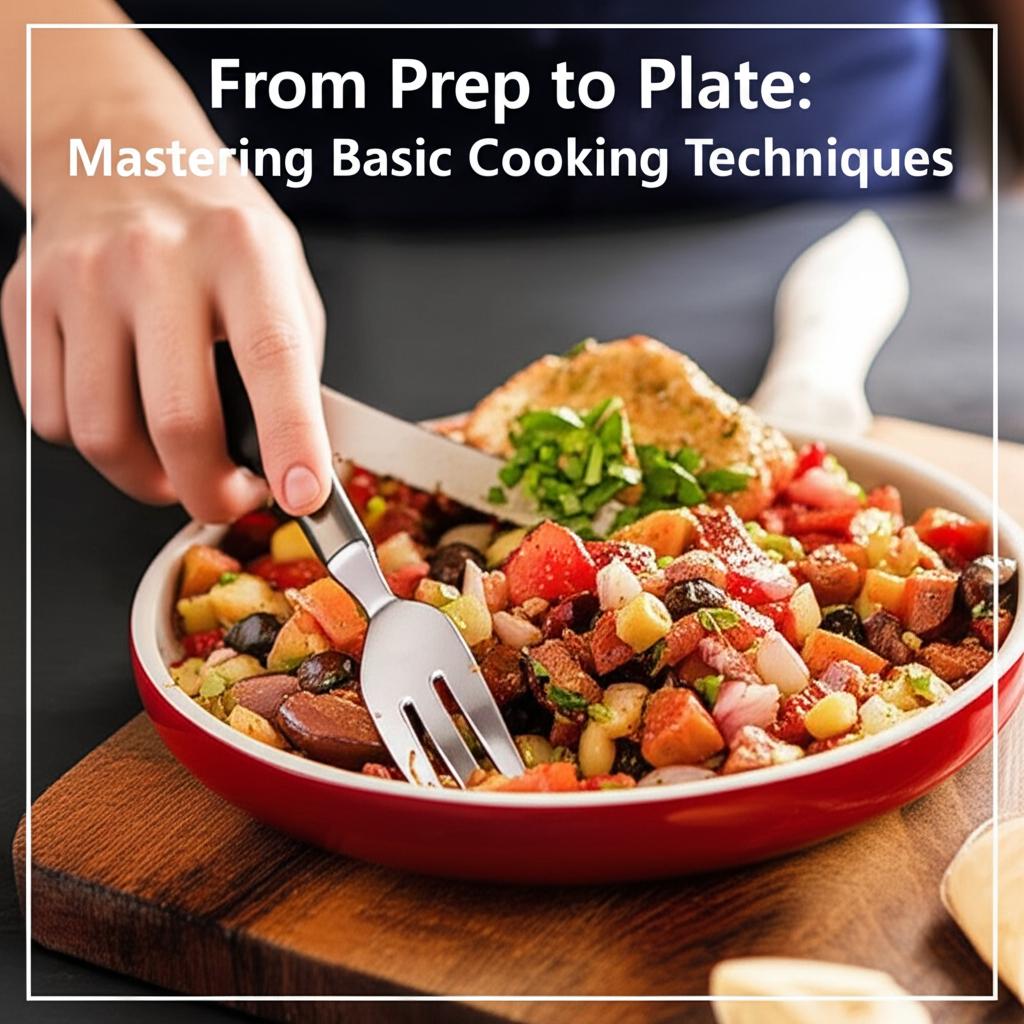
From Prep to Plate: Mastering Basic Cooking Techniques for Confident Home Cooks
The kitchen can feel like a daunting battlefield of complex recipes, exotic ingredients, and intimidating culinary terms. But what if I told you that mastering the culinary arts is not about following a chef’s every precise instruction, but about understanding a handful of fundamental techniques? These techniques are the bedrock upon which all great dishes are built, transforming raw ingredients into delicious, nourishing meals.
This article will guide you through the essential cooking techniques, from the crucial preparatory steps to the triumphant moment your dish hits the plate. By understanding and practicing these basics, you’ll not only gain confidence in the kitchen but also unlock a world of culinary creativity and healthier eating.
Phase 1: The Foundation – Mastering Your Mise en Place
Before a single flame is lit or a pan heats up, the true magic of efficient cooking begins with Mise en Place (pronounced “meez on plahs”). This French culinary term literally means “everything in its place,” and it’s the most critical prep step you can master.
What is Mise en Place?
It’s the disciplined practice of gathering and preparing all your ingredients and equipment before you start cooking. This means:
Reading the entire recipe: Understand the steps, timings, and ingredient list.
Gathering all ingredients: Take them out of the pantry or fridge.
Washing, peeling, chopping: All vegetables, fruits, and herbs are prepped as specified.
Measuring: All liquids, dry ingredients, and spices are measured out and ready.
Prepping equipment: Pans are out, knives are sharp, mixing bowls are ready.
Why is it crucial?
Efficiency: No frantic searching for ingredients or last-minute chopping while something burns.
Better Results: You can focus on the cooking process itself, adjusting heat and timing precisely.
Less Stress: Cooking becomes a calm, enjoyable activity rather than a race against the clock.
Safety: A clean, organized workspace reduces the chance of accidents.
Key Prep Skills to Hone:
Knife Skills: Learning how to hold a knife safely and execute basic cuts (chopping, dicing, mincing) will save you immense time and make your dishes cook more evenly. Invest in a good, sharp chef’s knife and learn how to use it.
Measuring Accuracy: Whether it’s a cup of flour or a teaspoon of salt, precise measurements are key, especially in baking.
Phase 2: Core Cooking Techniques – Transforming Ingredients
Once your mise en place is complete, you’re ready to apply heat and transform your ingredients. Here are the fundamental techniques every home cook should master:
1. Sautéing (The Quick Flavor Infusion)
What it is: Cooking food quickly in a small amount of fat (oil or butter) over relatively high heat, usually in a shallow pan. The goal is often to brown the food, developing rich, complex flavors.
How to do it right:
Preheat the pan: Add your fat to a hot pan. When the fat shimmers (oil) or foams (butter), it’s ready.
Don’t overcrowd: Cook in batches if necessary. Overcrowding lowers the pan temperature and steams food instead of browning it.
Heat control: Adjust heat as needed to prevent burning.
Movement: Keep the food moving with a spatula or by shaking the pan to ensure even cooking and browning.
Common uses: Onions, garlic, mushrooms, thin-cut vegetables, chicken pieces, shrimp.
2. Roasting (The Hands-Off Flavor Enhancer)
What it is: Cooking food in an oven using dry heat, often at a relatively high temperature. This technique promotes caramelization and browning, leading to incredibly flavorful results.
How to do it right:
Preheat the oven: Always preheat your oven thoroughly to the specified temperature.
Oil and season: Toss vegetables or protein with oil (olive, avocado) and generous seasoning (salt, pepper, herbs).
Single layer: Arrange food in a single layer on a baking sheet. Use multiple sheets if necessary to prevent steaming.
Adequate space: Don’t crowd the pan, allow air circulation for even browning.
Flip halfway: For vegetables, flipping them halfway through ensures browning on all sides.
Common uses: Root vegetables (potatoes, carrots, sweet potatoes), broccoli, cauliflower, chicken pieces, whole chickens, fish.
3. Boiling & Simmering (The Essential Foundation)
What they are:
Boiling: Cooking food in a liquid (usually water) that has reached its maximum temperature, producing large, rapidly breaking bubbles.
Simmering: Cooking food in a liquid just below the boiling point, with small, gentle bubbles appearing consistently.
How to do them right:
Boiling: Bring liquid to a rolling boil before adding food. For pasta and vegetables, salt the water generously.
Simmering: Reduce heat once the liquid boils, ensuring gentle bubble activity. Cover the pot for consistent temperature and to reduce evaporation, or leave uncovered for reduction.
Doneness: Cook until tender, but avoid overcooking (especially for vegetables) to preserve texture and nutrients.
Common uses:
Boiling: Pasta, potatoes, eggs, blanching vegetables.
Simmering: Soups, stews, sauces, braising meats, cooking grains like rice and quinoa.
4. Pan-Frying (For that Golden Crust)
What it is: Cooking food in a moderate amount of fat over medium-high heat until a golden-brown crust forms. It’s similar to sautéing but typically involves larger pieces of food and less movement.
How to do it right:
Properly hot pan: Heat oil until shimmering.
Dry food: Pat protein (chicken breasts, fish fillets) dry before placing in the pan to ensure a crisp crust. Excess moisture steams the food.
Don’t move too soon: Let the food develop a crust before attempting to flip it. It will release naturally when ready.
Monitor heat: Adjust to prevent burning the crust before the interior is cooked through.
Common uses: Chicken cutlets, fish fillets, pork chops, hamburgers, eggs.
5. Baking (The Precise Art of Dry Heat)
What it is: Cooking food with dry heat, typically in an oven, using enclosed heat distribution. Baking is generally a slower, more even cooking method than roasting and is often associated with more delicate items or items requiring precise temperature control.
How to do it right:
Precise measurements: Especially critical in baking as chemical reactions determine rise and texture.
Accurate oven temperature: Use an oven thermometer to verify your oven’s actual temperature.
Proper pan prep: Grease and flour, line with parchment paper, or use non-stick spray as directed.
Resist opening the oven: Especially for cakes and soufflés, temperature fluctuations can cause collapse.
Test for doneness: Use a toothpick, internal temperature, or visual cues as specified in the recipe.
Common uses: Breads, cakes, cookies, casseroles, baked custards, some savory dishes like lasagna.
Phase 3: The Art of Seasoning & Tasting
No matter how perfectly you execute a technique, a dish will fall flat without proper seasoning. This is where you bring the dish to life.
- Taste as you go: This is the golden rule. Season in layers. Add a little salt, taste, then add more if needed. It’s easy to add, impossible to remove.
- Salt is fundamental: It brings out and enhances other flavors.
- Acid brightens: A squeeze of lemon juice, a splash of vinegar can cut through richness and make flavors pop.
- Fat carries flavor: Oil, butter, or animal fats distribute flavor compounds.
- Herbs & Spices: Learn their flavor profiles. Add fresh herbs at the end for brightness, dried herbs earlier for deeper infusion.
- Balance: Aim for a harmonious blend of salty, sweet, sour, bitter, and umami.
Phase 4: Bringing it to the Plate – The Final Act
The journey isn’t complete until your masterpiece is presented. While elaborate plating is an advanced skill, basic attention to detail elevates the eating experience.
- Clean Plate: Always wipe any drips or smudges from the rim of the plate.
- Simple Garnish: A sprinkle of fresh herbs, a wedge of lemon, or a drizzle of good olive oil can make a dish look more appealing.
- Serve at the right temperature: Hot food should be hot, cold food should be cold.
- Enjoy! Take pride in what you’ve created.
Conclusion: The Journey Continues
Mastering basic cooking techniques is a journey, not a destination. It requires practice, patience, and a willingness to experiment. Don’t be afraid to make mistakes; they are invaluable learning opportunities. Each successful sauté, perfectly roasted vegetable, or delicately simmered sauce builds your confidence and expands your culinary repertoire.
By understanding these fundamental building blocks, you’ll no longer be a slave to recipes but an artist in your own right, able to improvise, adapt, and create delicious meals from scratch. So grab your knife, heat up that pan, and start your confident culinary adventure from prep to plate!
FAQ Section: Mastering Basic Cooking Techniques
1. What’s the single most important thing a beginner cook should focus on?
Hands down, it’s Mise en Place and basic knife skills. When you have everything prepped, measured, and organized before you start cooking, you reduce stress, improve efficiency, and make better decisions during the actual cooking process. Sharp knives and proper cutting techniques also ensure even cooking and safety.
2. How do I know if my pan is hot enough for sautéing or pan-frying?
For oil, it’s hot enough when it shimmers slightly and spreads easily across the pan. If you see wisps of smoke (unless cooking at very high heat for searing), it might be too hot. For butter, it’s ready when it has melted and the foam subsides. You can also do the “water test” – flick a tiny drop of water into the hot pan; if it immediately sizzles and evaporates, it’s ready.
3. Why does my food stick to the pan, even if it’s non-stick?
Common reasons include:
Pan not hot enough: Food won’t sear properly and will bond to the surface.
Not enough fat: Even non-stick pans often benefit from a thin layer of oil or butter.
Overcrowding the pan: This drops the pan’s temperature, causing food to steam and stick instead of brown. Cook in batches if necessary.
Trying to move food too soon: For searing, let the food develop a crust. It will release naturally from the pan when it’s ready.
4. How do I properly season my food? Do I just add salt at the end?
The best way to season is to taste as you go, and season in layers. Add a little salt early on (e.g., when sautéing vegetables), then taste the dish as it progresses, adjusting as needed. Remember that certain ingredients (like broth or cheese) add salt, so account for that. Beyond salt, consider other flavor components like acid (lemon juice, vinegar), fat (butter, olive oil), and herbs/spices to build complexity and balance.
5. Is it okay to make mistakes when cooking? What should I do if I mess up a dish?
Absolutely! Mistakes are an inevitable and crucial part of learning to cook. Every experienced cook has had their share of burnt, undercooked, or over-seasoned dishes. If you mess up, try to understand why it happened (too high heat, mismeasured ingredient, overcooked). Don’t get discouraged! Sometimes, a dish can be salvaged (e.g., adding a splash of broth to something too salty, or turning an overcooked vegetable into a purée). Most importantly, learn from it, and try again. Confidence comes with practice and resilience.