Homemade Nut Milks: Delicious & Dairy-Free – Your Easy Guide to Wholesome Plant-Based Goodness!
- XXL 14″x14″ Nut Milk Bag – 100% Organic Unbleached Cotton Easy To Clean Nut Milk Strainer/Cheesecloth Bags, Reusable for Straining Oat Milk, Almond Milk, Cheese making, Celery Juice
- Cotton Farm – Ultra Dense Cheesecloth Bag – Nut Milk Bag – XL 14×14 Inch, All Purpose Cheese Making, Straining, Storage, Sprouting, 100% Unbleached Cotton, Washable & Reusable
- Ellie’s Best Pro Quality Nut Milk Bag – Big 12″X12″ Commercial Grade – Reusable Almond Milk Bag & All Purpose Strainer – Fine Mesh Nylon Cheesecloth & Cold Brew Coffee Filter – Free Recipes & Videos
Are you looking for a delightful, healthy, and versatile alternative to traditional dairy milk? Have you ever wondered about the myriad of ingredients in store-bought cartons? Look no further! Making your own homemade nut milk is not only incredibly simple and rewarding, but it also puts you in complete control of what goes into your glass.
Say goodbye to added sugars, gums, and stabilizers, and hello to pure, creamy, and delicious plant-based goodness! This comprehensive guide will walk you through everything you need to know to become a nut milk master.
Why Make Your Own Nut Milk? The Benefits Are Abundant!
Before we dive into the how-to, let’s explore why countless people are falling in love with making their own dairy-free milk.
- Control Over Ingredients: This is perhaps the biggest draw. When you make nut milk at home, you know exactly what’s in it: nuts and water (and optional natural sweeteners/flavorings). No carrageenan, guar gum, or unnecessary oils. This is especially beneficial for those with allergies or sensitivities.
- Cost-Effectiveness: While initial ingredient costs might seem similar, a bag of nuts goes a long way. Homemade nut milk often ends up being significantly cheaper than buying premium organic, unsweetened varieties from the store, especially if you buy nuts in bulk.
- Superior Freshness & Taste: Store-bought milks can have a processed taste and a long shelf life, which often means they’re not as fresh. Homemade nut milk offers a richer, creamier, and more vibrant flavor that’s simply unparalleled. You’ll notice the difference immediately!
- Environmental Impact: By making your own, you reduce your reliance on single-use packaging, contributing to less waste and a healthier planet.
- Customization: Want it thicker? Thinner? Sweeter? Spicier? You’re the chef! You can tailor the consistency and flavor exactly to your liking, experimenting with different nuts and additions.
Essential Equipment for Homemade Nut Milk
Good news – you don’t need a lot of fancy gadgets to get started!
- High-Speed Blender: This is the most crucial piece of equipment. A powerful blender will ensure your nuts are thoroughly pulverized, leading to a smoother, creamier milk.
- Fine-Mesh Sieve or Nut Milk Bag: If you prefer a pulp-free, silky smooth texture, you’ll need one of these. A nut milk bag is highly recommended for its efficiency and ease of use.
- Large Bowl or Pitcher: To collect your strained milk.
- Airtight Container/Bottle: For storing your finished nut milk in the refrigerator. Glass jars or bottles are ideal.
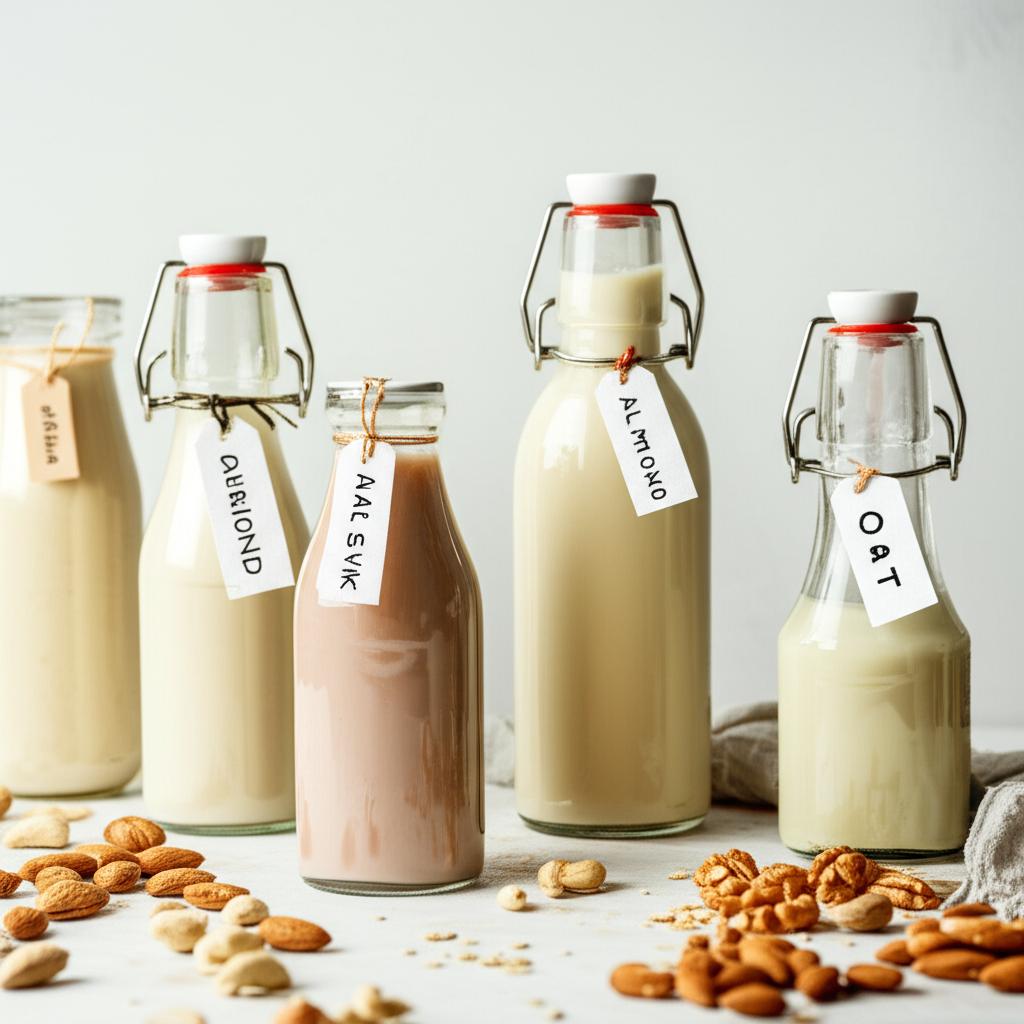
Choosing Your Nuts: A World of Delicious Possibilities
While almond milk is the most popular choice, don’t limit yourself! Each nut offers a unique flavor and texture.
- Almonds: The classic. Creates a creamy, slightly sweet milk perfect for coffee, smoothies, or cereal.
- Cashews: Produce an incredibly creamy, rich milk that often requires no straining (making them extra easy!). Great for sauces and baking.
- Walnuts: Offer an earthy, robust flavor. Excellent in baked goods or for those who enjoy a distinct nutty taste.
- Pecans: Yield a rich, buttery milk. Delicious in desserts or as a special treat.
- Hazelnuts: Create a distinctly sweet and nutty milk, reminiscent of “Nutella” when sweetened with cocoa.
- Macadamias: Known for their buttery richness, they make a very smooth and decadent milk.
The Basic Method: Step-by-Step Guide to Homemade Nut Milk
This method is the foundation for almost any nut milk you want to make.
Step 1: Soak Your Nuts (The Essential First Step!)
- Why soak? Soaking softens the nuts, making them easier to blend into a smooth consistency. It also helps improve digestibility and nutrient absorption.
- How to: Place your chosen nuts in a bowl and cover them with plenty of filtered water. Ensure the water level is at least an inch above the nuts.
- Soaking Time:
- Almonds, Walnuts, Pecans, Hazelnuts, Macadamias: Aim for 8-12 hours, or overnight. If you’re short on time, even 4 hours will make a difference.
- Cashews: Only 2-4 hours (or even 30 minutes in hot water). Cashews soften quickly, and over-soaking can make them slimy.
Step 2: Rinse and Drain
- After soaking, drain the nuts thoroughly and rinse them well under cold running water. This removes any enzyme inhibitors that may have leached out during soaking.
Step 3: Blend Your Nuts
- Ratio: A good starting point is 1 cup of soaked nuts to 3-4 cups of filtered water. For a thicker, creamier milk, use less water (e.g., 2-2.5 cups). For a thinner milk, use more.
- Process: Transfer the rinsed nuts to your high-speed blender along with the fresh filtered water.
- Blend on high for 1-2 minutes, or until the mixture is completely smooth and creamy. You shouldn’t see any large pieces of nuts. The mixture will look frothy.
Step 4: Strain (Optional, but Recommended for Most Nuts)
- For Almonds, Walnuts, Pecans, Hazelnuts, Macadamias:
- Place your nut milk bag over a large bowl or pitcher.
- Pour the blended nut mixture into the bag.
- Squeeze the bag firmly to extract all the liquid, leaving the pulp behind. Be thorough! You want to get every last drop of delicious milk.
- Alternatively, you can use a fine-mesh sieve lined with cheesecloth.
- For Cashew Milk: Straining is usually not necessary because cashews blend down incredibly smoothly. You can skip this step if you’re happy with the texture.
Step 5: Sweeten and Flavor (Optional)
Now for the fun part – customize your milk!
* Natural Sweeteners: Add 1-2 pitted Medjool dates (soaked if hard), 1-2 tablespoons of maple syrup, agave nectar, or a pinch of stevia. Blend again briefly to combine.
* Flavor Boosters:
* Vanilla: 1/2 teaspoon pure vanilla extract.
* Pinch of Salt: Enhances sweetness and flavor.
* Cinnamon/Nutmeg: For a warming spice touch.
* Cocoa Powder: For chocolate milk!
Step 6: Store Your Homemade Nut Milk
- Pour your finished nut milk into an airtight bottle or jar.
- Store in the refrigerator for 3-5 days.
- Important: Homemade nut milk will naturally separate in the fridge. This is completely normal! Simply give it a good shake before each use.
Quick & Easy Recipes: Your First Batches
Here are two popular choices to get you started:
1. Classic Homemade Almond Milk
- Ingredients:
- 1 cup raw almonds, soaked overnight (8-12 hours)
- 3-4 cups filtered water (for blending)
- Optional: 1-2 Medjool dates (pitted), 1/2 tsp vanilla extract, pinch of sea salt
- Instructions:
- Soak almonds, then rinse and drain.
- Combine almonds, 3-4 cups water, and optional sweeteners/flavorings in a high-speed blender.
- Blend on high for 1-2 minutes until creamy.
- Strain through a nut milk bag into an airtight container.
- Store in the fridge for up to 5 days. Shake well before each use.
2. Super Creamy Homemade Cashew Milk (No Strain Needed!)
- Ingredients:
- 1 cup raw cashews, soaked for 2-4 hours (or 30 mins in hot water)
- 3-4 cups filtered water (for blending)
- Optional: 1-2 Medjool dates (pitted), 1/2 tsp vanilla extract, pinch of sea salt
- Instructions:
- Soak cashews, then rinse and drain.
- Combine cashews, 3-4 cups water, and optional sweeteners/flavorings in a high-speed blender.
- Blend on high for 1-2 minutes until completely smooth and creamy.
- Since cashews blend so well, straining is usually not necessary. Pour directly into an airtight container.
- Store in the fridge for up to 5 days. Shake well before each use.
Tips for Nut Milk Success!
- Use Filtered Water: Since water is a main ingredient, using good quality filtered water will significantly impact the taste of your milk.
- Don’t Over-Soak (Especially Cashews): Over-soaking, especially cashews, can lead to a slimy texture or off-flavors. Stick to the recommended times.
- Experiment with Ratios: Want thicker milk for coffee lattes? Use 2.5-3 cups water. Prefer it lighter for cereal? Go for 4 cups. Don’t be afraid to adjust!
- Get Creative with Flavors: Beyond vanilla and dates, try adding a little cardamon, a slice of fresh ginger, or even a tablespoon of instant coffee for a coffee-flavored milk.
- Don’t Waste the Pulp! The leftover nut pulp is packed with fiber and nutrients. You can:
- Add it to smoothies.
- Dry it out in a low oven and use it as a flour substitute in baking.
- Make nut pulp crackers or energy bites.
- Add it to oatmeal or overnight oats.
- Shake Before Use: Separation is a natural process for homemade milks. A good shake will reintegrate the solids for a consistent texture.
- Clean Your Nut Milk Bag Promptly: Rinse your bag immediately after use to prevent residue from drying and becoming hard to clean.
Common Mistakes to Avoid When Making Nut Milk
Even though it’s simple, a few pitfalls can hinder your homemade nut milk journey.
- Not Soaking Enough: This is the most common mistake. Under-soaked nuts will result in a gritty or chalky texture, as they won’t blend down completely smooth.
- Not Straining Thoroughly: If you’re making a milk that requires straining (like almond), not squeezing out all the liquid from the pulp will leave you with less milk and a less desirable texture. Squeeze firmly!
- Using Too Little Water (or Too Much): Getting the ratio right for your personal preference is key. Too little water results in overly thick, almost paste-like milk. Too much water yields a thin, watery, and less flavorful result.
- Over-Flavoring: Start with small amounts of sweeteners and flavorings, then add more to taste. It’s easier to add than to take away!
- Not Storing Properly: Homemade nut milk is perishable. Always store it in an airtight container in the refrigerator and consume within 3-5 days to avoid spoilage.
- Ignoring the Pulp: Throwing away the pulp is a missed opportunity for extra nutrients and reducing waste. Find creative ways to use it!
Creative Ways to Use Your Homemade Nut Milk
Your delicious homemade creation is incredibly versatile!
- Coffee & Tea: A luscious addition to your morning brew.
- Smoothies: Adds creaminess and nutrition without dairy.
- Cereal & Oatmeal: A perfect base for your breakfast bowl.
- Baking & Cooking: Substitute for dairy milk in virtually any recipe, from pancakes and muffins to creamy soups and sauces.
- Hot Chocolate: Make the ultimate rich and indulgent dairy-free hot cocoa.
Embrace the Delicious Freedom!
Making your own homemade nut milk is a simple yet profound step towards a healthier, more sustainable, and delicious lifestyle. It’s empowering to know exactly what you’re consuming and to customize it to your heart’s content. So, gather your nuts, power up your blender, and get ready to enjoy the freshest, purest, and most satisfying dairy-free milk you’ve ever tasted! Happy blending!
- XXL 14″x14″ Nut Milk Bag – 100% Organic Unbleached Cotton Easy To Clean Nut Milk Strainer/Cheesecloth Bags, Reusable for Straining Oat Milk, Almond Milk, Cheese making, Celery Juice
- Cotton Farm – Ultra Dense Cheesecloth Bag – Nut Milk Bag – XL 14×14 Inch, All Purpose Cheese Making, Straining, Storage, Sprouting, 100% Unbleached Cotton, Washable & Reusable
- Ellie’s Best Pro Quality Nut Milk Bag – Big 12″X12″ Commercial Grade – Reusable Almond Milk Bag & All Purpose Strainer – Fine Mesh Nylon Cheesecloth & Cold Brew Coffee Filter – Free Recipes & Videos
FAQ
Q. Why make your own nut milk instead of buying store-bought?
A. Homemade nut milks often taste fresher, creamier, and are free from the added sugars, stabilizers, and thickeners commonly found in commercial varieties. Making your own also gives you complete control over the ingredients, ensuring a pure, clean, and often more cost-effective product.
Q. What are the best nuts to use for homemade nut milk, and do I need to soak them?
A. Almonds and cashews are very popular choices for their creamy texture and mild flavor, but hazelnuts, pecans, macadamias, and even walnuts can make delicious milks. Yes, soaking most nuts (especially almonds and hazelnuts) is highly recommended. Soaking softens the nuts, makes them easier to blend into a smoother milk, and can improve digestibility by reducing phytic acid. Cashews require less soaking time than harder nuts.
Q. How long does homemade nut milk last, and how should I store it?
A. Homemade nut milk typically lasts for 3-5 days when stored in an airtight container, such as a glass bottle or jar, in the refrigerator. Because it’s unpasteurized and lacks preservatives, it has a shorter shelf life than commercial milks. Always give it a good shake before serving, as natural separation is common.
Q. Do I need any special equipment to make nut milk?
A. A high-speed blender is highly recommended for achieving the smoothest and creamiest texture, though a standard blender can work if you blend for a longer duration. The most essential piece of equipment for straining is a nut milk bag or several layers of cheesecloth. This allows you to separate the smooth milk from the fibrous pulp effectively.
Q. What can I do with the leftover nut pulp?
A. Don’t throw it away! Leftover nut pulp is a versatile byproduct. You can dehydrate it to make nut flour for gluten-free baking (ideal for crackers, cookies, or pie crusts), add it to smoothies for extra fiber, incorporate it into energy balls, or even use it as a base for savory dishes like veggie burgers or dips.
Q. My homemade nut milk looks separated after sitting in the fridge. Is it still good?
A. Yes, natural separation is completely normal for homemade nut milks. Unlike store-bought versions that often contain emulsifiers to prevent this, your homemade milk will naturally separate into a watery layer and a creamy layer. Simply give it a good shake or stir before serving, and it will be perfectly fine to drink.