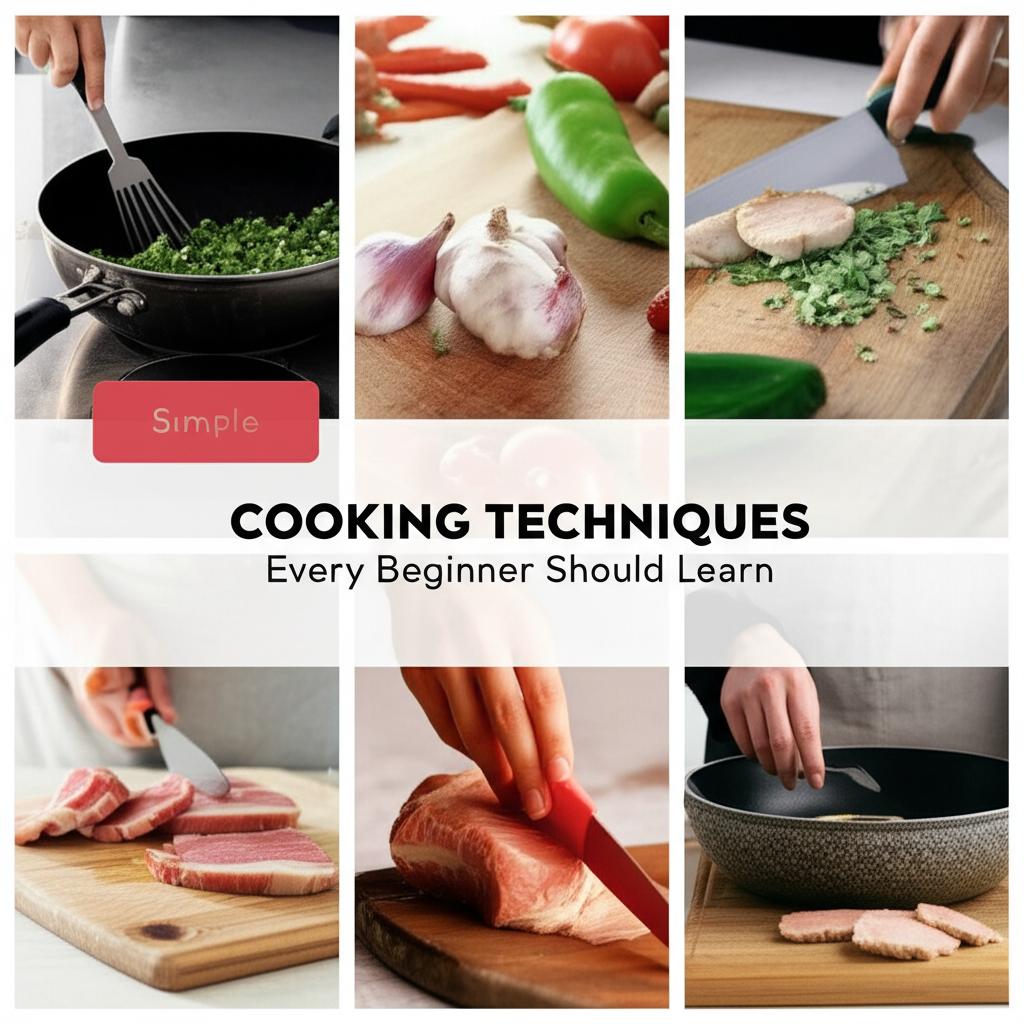
Mastering the Art of Sautéing: Your Guide to Quick, Flavorful Meals
- SENSARTE Nonstick Skillet, Deep Frying Pan 10/11/12-inch, Saute Pan with Lid, Stay-cool Handle, Healthy Stone Cookware Cooking Pan, Induction Compatible (10-Inch/3.5QT)
- SENSARTE Nonstick Frying Pan Skillet with Lid, 12 Inch Large Deep Frying Pan, 5 Qt Non Stick Saute Pan with Cover, Induction Pan, Healthy Non Toxic Cooking Pan with Helper Handle, PFOA PFOS Free
- HexClad Hybrid Nonstick 7-Quart Sauté Pan with Tempered Glass Lid, Chicken Fryer, Stay-Cool Handles, Dishwasher-Friendly, Oven-Safe Up to 900°F, Induction Ready, Compatible with All Cooktops
Are you looking for a cooking technique that delivers incredible flavor in minutes? Do you dream of perfectly browned vegetables, succulent proteins, and aromatic ingredients? Then it’s time to master the art of sautéing!
Sautéing isn’t just a cooking method; it’s a culinary superpower that allows you to transform simple ingredients into delicious, vibrant dishes. Derived from the French word “sauter,” meaning “to jump,” sautéing involves cooking food quickly over relatively high heat in a small amount of fat. The goal? To achieve that coveted golden-brown crust and concentrated flavor that makes your taste buds sing.
This comprehensive guide will walk you through everything you need to know, from preparing your ingredients to avoiding common pitfalls, so you can confidently sauté your way to culinary success.
What Exactly is Sautéing?
At its core, sautéing is about applying direct, high heat to small, uniformly cut pieces of food. This intense heat triggers the Maillard reaction (the scientific process behind browning) and caramelization, creating rich, complex flavors and appealing textures that simple boiling or steaming can’t replicate. It’s a fantastic technique for tender vegetables, thinly sliced meats, seafood, and aromatics like garlic and onions.
Why Sauté? The Benefits Are Delicious!
- Speed: It’s one of the fastest cooking methods, perfect for weeknight meals.
- Flavor Development: The high heat creates deep, rich flavors through browning.
- Texture: Foods develop a delightful crispness on the outside while remaining tender inside.
- Versatility: From appetizers to main courses, countless dishes rely on sautéing.
- Nutrient Retention: Quick cooking helps preserve vitamins and minerals.
The Essentials: What You Need Before You Start
Before you crank up the heat, gather your tools and ingredients. Having everything ready is key to successful sautéing.
-
The Right Pan:
- A heavy-bottomed skillet is crucial. It distributes heat evenly and retains it well, preventing hot spots and ensuring consistent browning.
- Stainless steel or cast iron are excellent choices because they promote excellent browning and are durable. Non-stick pans can work for some delicate items, but they don’t achieve the same level of browning.
-
The Right Fat:
- You need a cooking fat with a high smoke point. This means it can withstand high heat without burning and smoking excessively.
- Good choices: Grapeseed oil, canola oil, avocado oil, refined olive oil, ghee, or clarified butter.
- For added flavor, you can finish with a pat of butter, but avoid using butter alone for the initial sautéing as it burns easily.
-
Your Ingredients:
- Ensure your ingredients are fresh and prepped (washed, peeled, chopped).
- Crucially, make sure they are dry! Excess moisture will steam your food instead of browning it. Pat produce dry with a paper towel.
-
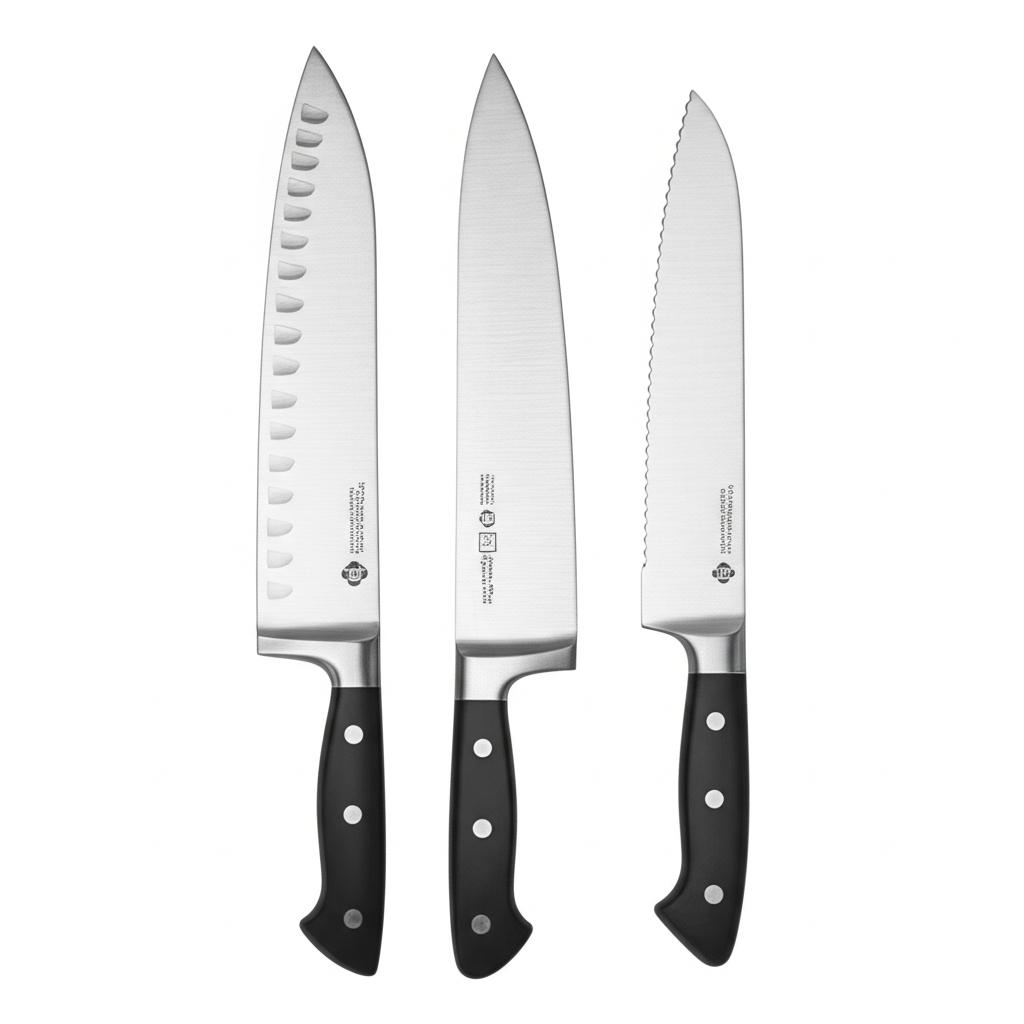
Essential Tools:
- Tongs or a thin-bladed spatula: For turning and stirring.
- Cutting board and sharp knife: For precise, uniform cuts.
- Colander or paper towels: For drying ingredients.
Step-by-Step: Mastering the Art of Sautéing
Follow these steps to achieve sautéing perfection every time:
Step 1: Prep Your Ingredients (Mise en Place)
This is perhaps the most important pre-cooking step for sautéing.
* Chop everything to a uniform size. Uneven pieces will cook at different rates, leading to some being burnt and others undercooked.
* Ensure your ingredients are as dry as possible. Excess water lowers the pan’s temperature and creates steam, preventing the desired browning. Pat washed vegetables thoroughly with paper towels.
Step 2: Heat Your Pan
- Place your empty skillet over medium-high to high heat. The exact temperature will depend on your stove and the food you’re cooking.
- How to tell it’s hot enough: A drop of water flicked into a hot stainless steel pan will bead up and skitter across the surface before evaporating. If it evaporates instantly, the pan might be too hot. If it just sits there and sizzles, it’s not hot enough.
Step 3: Add Your Fat
- Once the pan is hot, add your high smoke point oil.
- You’ll need just enough fat to lightly coat the bottom of the pan. Too little and food will stick and burn; too much and it will be greasy.
- How to tell the fat is ready: The oil will shimmer and move fluidly in the pan. If it starts smoking heavily, it’s too hot – remove from heat, let it cool slightly, then try again.
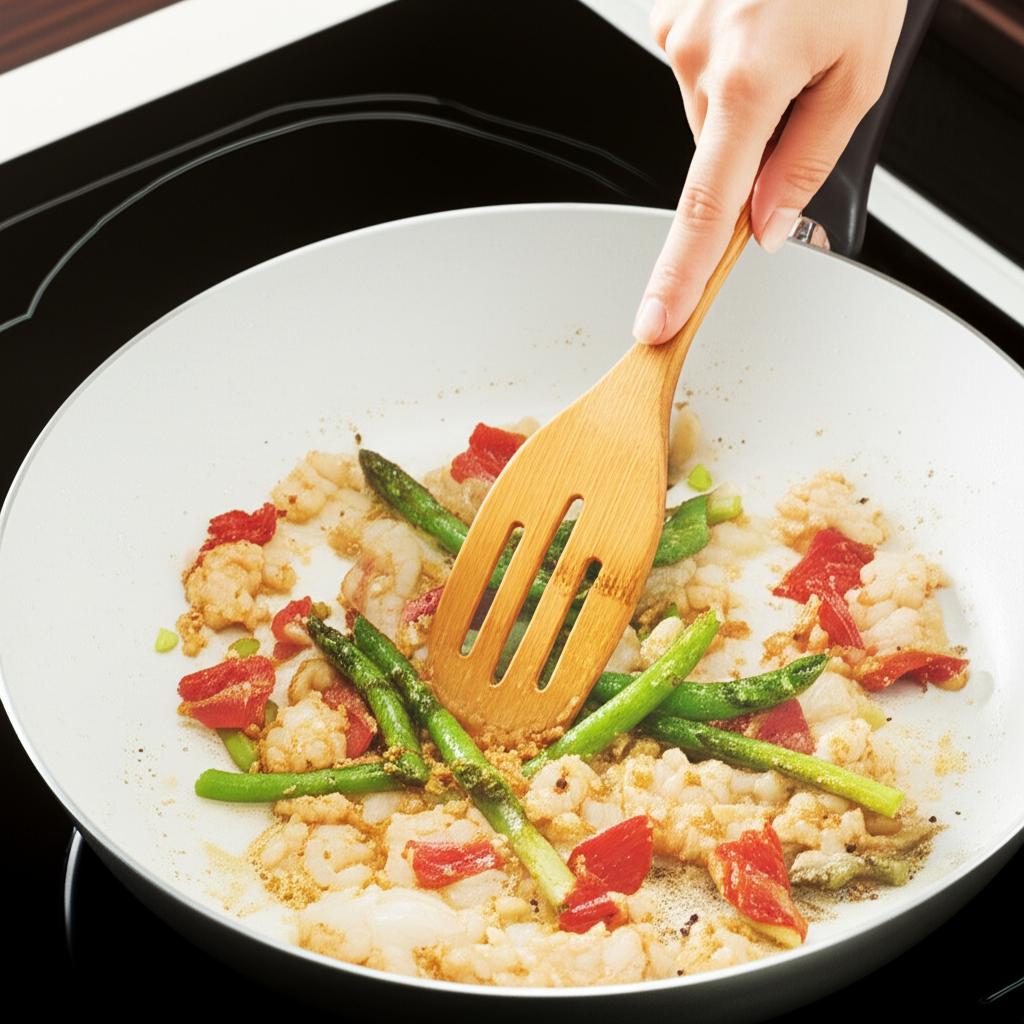
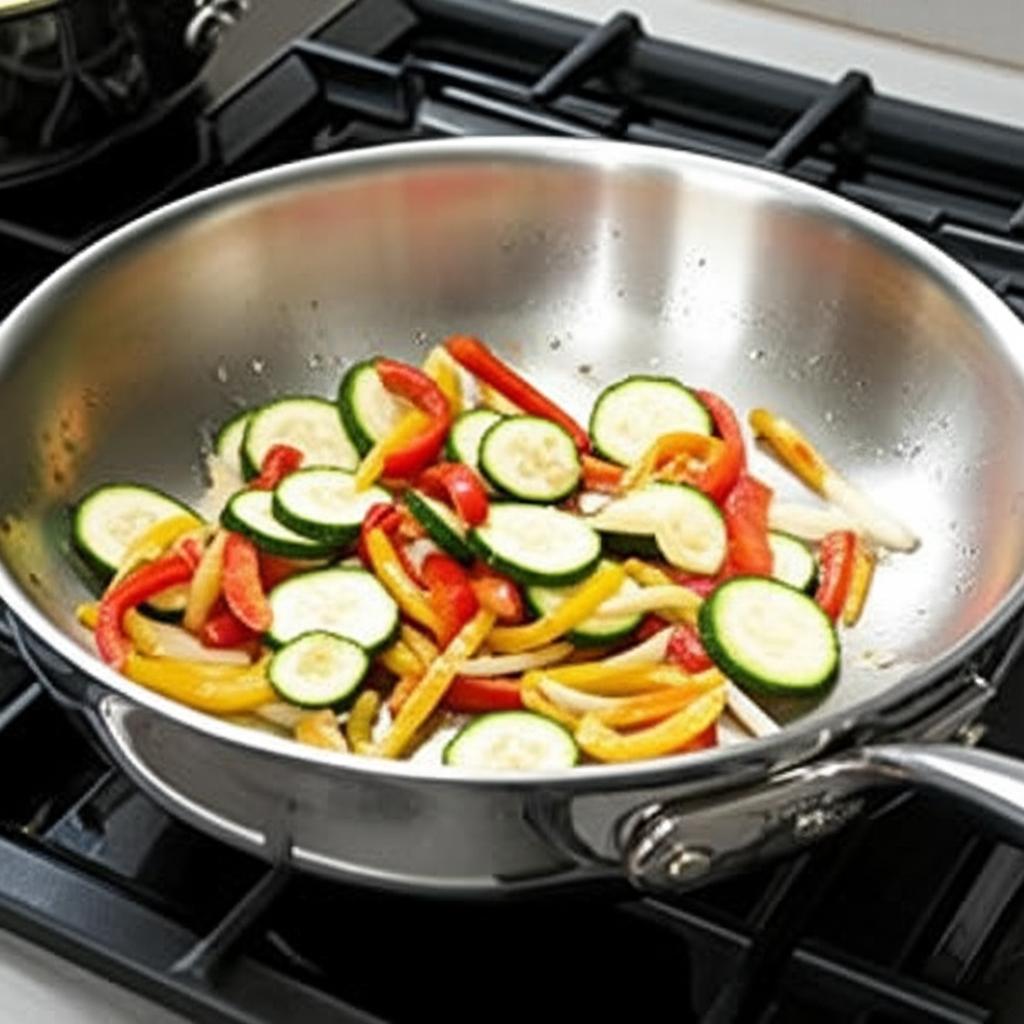
Step 4: Add Your Ingredients (Do Not Overcrowd!)
- This is another critical step. Add a single layer of your prepared ingredients to the hot pan.
- Resist the urge to overcrowd the pan. If you add too much food, the temperature of the pan will drop drastically, and the food will steam instead of brown. Work in batches if necessary. It’s always better to cook in two batches than one soggy one.
Step 5: Cook and Stir
- Initial Sear: For the best browning, let the food sit undisturbed for 1-2 minutes after adding it to the pan. This allows a crust to form.
- Stirring: After the initial sear, stir or toss your ingredients every 30 seconds to 1 minute, allowing each side to come into contact with the hot surface of the pan. The goal is even cooking and browning.
- Listen and Watch: You should hear a consistent sizzle. If it stops, your pan might be too cold or overcrowded. If it’s spitting violently, the heat might be too high or the food too wet.
Step 6: Monitor Doneness & Adjust Heat
- Continue cooking until your ingredients are tender-crisp and beautifully browned to your liking.
- Adjust the heat as needed. If things are browning too quickly, slightly lower the heat. If they’re not browning at all, slightly increase it.
Step 7: Season and Serve
- Season your food with salt and pepper towards the end of the cooking process, or right before serving. Adding salt too early can draw out moisture, hindering browning.
- Serve immediately to enjoy the best texture and flavor.
Tips for Sautéing Success
- Mise en Place is King! Having all your ingredients prepped and ready before you turn on the heat is paramount, especially for a fast technique like sautéing.
- Uniformity is Key: Whether it’s mushrooms, peppers, or chicken pieces, cut everything to roughly the same size and thickness for even cooking.
- Resist Overcrowding: We can’t stress this enough! Overcrowding is the #1 enemy of good sautéing. Your food will steam, not brown.
- Hot Pan, Hot Fat: The sequence matters. Heat the pan first, then add the fat, then add the food.
- Listen and Watch: Your senses are your best tools. Listen for the sizzle, watch for the color change, and smell the developing aromas.
- Seasoning Matters: Don’t forget to season your food generously with salt and pepper.
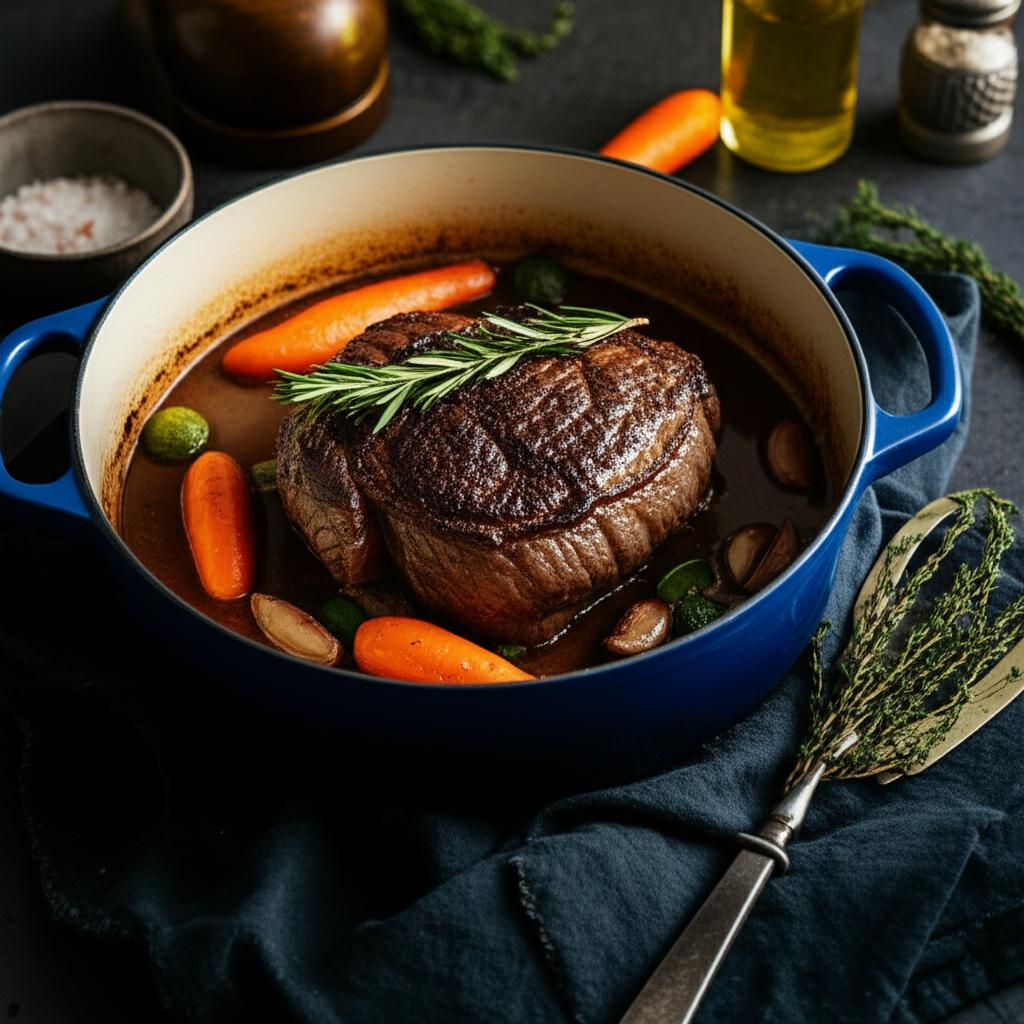
- Consider Deglazing: After sautéing, there are often browned bits stuck to the bottom of the pan (the “fond”). You can add a splash of liquid (broth, wine, or water) to the hot pan, scrape up these bits, and create a quick, flavorful sauce.
Common Sautéing Mistakes (and How to Avoid Them)
Even experienced cooks can stumble. Here are the most common sautéing errors and how to bypass them:
-
Starting with a Cold Pan:
- Mistake: Adding food to a cold pan.
- Result: Food sticks, cooks unevenly, and steams instead of browns.
- Fix: Always preheat your pan thoroughly before adding any fat or food.
-
Overcrowding the Pan:
- Mistake: Trying to cook too much food at once.
- Result: The pan’s temperature drops drastically, food releases moisture, and you end up with soggy, steamed ingredients.
- Fix: Cook in batches! It takes a little longer but yields vastly superior results.
-
Too Little or Too Much Fat:
- Mistake: Not enough fat causes sticking and burning; too much makes food greasy.
- Result: Burnt spots or oily food.
- Fix: Use just enough fat to lightly coat the bottom of the pan. Add more if needed during cooking, but sparingly.
-
Uneven Cuts:
- Mistake: Sautéing ingredients cut into different sizes.
- Result: Smaller pieces burn while larger ones remain undercooked.
- Fix: Chop all ingredients to a uniform size so they cook at the same rate.
-
Stirring Constantly:
- Mistake: Fidgeting with the food and stirring too frequently.
- Result: Prevents the Maillard reaction from occurring, meaning no browning and less flavor.
- Fix: Allow the food to sit undisturbed for a minute or two after adding it to the pan to develop a crust, then stir occasionally.
-
Not Drying Ingredients:
- Mistake: Adding wet vegetables or proteins to the pan.
- Result: The water creates steam, lowering the pan’s temperature and preventing browning.
- Fix: Pat all ingredients thoroughly dry with paper towels before adding them to the hot pan.
What Can You Sauté? The Possibilities Are Endless!
Once you’ve mastered the technique, you’ll discover that sautéing can be applied to a huge range of ingredients:
- Vegetables: Onions, garlic, mushrooms, bell peppers, zucchini, carrots (thinly sliced), green beans, spinach, broccoli florets, asparagus.
- Proteins: Thinly sliced chicken or beef, shrimp, scallops, fish fillets.
- Aromatics: Garlic, ginger, shallots, leeks (often the first thing to hit the pan).
Sautéing is a foundational cooking skill that will elevate your everyday meals. With a hot pan, the right fat, and a little patience, you’ll be creating quick, flavorful, and beautifully browned dishes in no time. So, go ahead, grab your skillet, and start jumping into the delicious world of sautéing! Happy cooking!
- SENSARTE Nonstick Skillet, Deep Frying Pan 10/11/12-inch, Saute Pan with Lid, Stay-cool Handle, Healthy Stone Cookware Cooking Pan, Induction Compatible (10-Inch/3.5QT)
- SENSARTE Nonstick Frying Pan Skillet with Lid, 12 Inch Large Deep Frying Pan, 5 Qt Non Stick Saute Pan with Cover, Induction Pan, Healthy Non Toxic Cooking Pan with Helper Handle, PFOA PFOS Free
- HexClad Hybrid Nonstick 7-Quart Sauté Pan with Tempered Glass Lid, Chicken Fryer, Stay-Cool Handles, Dishwasher-Friendly, Oven-Safe Up to 900°F, Induction Ready, Compatible with All Cooktops
FAQ
Q. What exactly is sautéing, and how does it differ from pan-frying or stir-frying?
A. Sautéing is a quick-cooking method that uses a small amount of fat in a hot pan over medium-high to high heat. The word “sauté” comes from the French word for “to jump,” referring to the tossing motion. It aims to achieve browning (Maillard reaction) and develop flavor quickly. Pan-frying typically uses more fat, often enough to come halfway up the food, and cooks for a longer duration. Stir-frying, while also using high heat and little fat, often employs a wok and continuous motion, and usually involves smaller, more uniformly cut ingredients cooked very rapidly.
Q. What type of pan is most suitable for mastering the art of sautéing?
A. The best pan for sautéing is a heavy-bottomed pan with a wide surface area and relatively low, sloped sides. Stainless steel or cast iron pans are excellent choices because they conduct and retain heat well, which is crucial for achieving an even brown crust. The wide surface allows ingredients to spread out in a single layer, preventing steaming, and the sloped sides make tossing food easier.
Q. How do I know I’ve reached the ideal temperature for sautéing my ingredients?
A. The ideal temperature is when the fat in the pan is hot but not smoking. If using oil, it should shimmer slightly. If using butter, it should be melted, foamy, and just starting to brown (or clarified butter can be used at higher temps). Adding a small test piece of food, like a sliver of onion, will reveal the temperature – it should sizzle immediately upon contact. Too low a temperature will cause food to steam and become soggy, while too high will cause it to burn quickly.
Q. My food often sticks to the pan when sautéing. What am I doing wrong and how can I prevent it?
A. Sticking is commonly caused by not preheating the pan sufficiently before adding oil, or by adding food too soon before the oil is hot enough. Ensure your pan is hot, then add your fat and let it heat up fully. Also, avoid overcrowding the pan; if there’s too much food, the temperature drops, and ingredients release moisture, leading to steaming and sticking rather than browning. Cook in batches if necessary, and ensure food is relatively dry on the surface before adding to the pan.
Q. What are the best fats or oils to use for effective sautéing?
A. For sautéing, choose fats with a high smoke point that can withstand the high temperatures required without breaking down and burning. Good options include refined olive oil, grapeseed oil, canola oil, avocado oil, and clarified butter (ghee). Regular butter has a lower smoke point due to milk solids and is best added towards the end for flavor or combined with a high smoke point oil.
Q. How can I tell when my sautéed vegetables or proteins are perfectly cooked and ready to serve?
A. For vegetables, look for a vibrant color, a slight tenderness while still retaining a crisp bite (al dente), and a desirable golden-brown crust from the Maillard reaction. For proteins like chicken pieces or shrimp, they should be evenly browned on the outside and cooked through, losing their raw appearance. With experience, you’ll learn to judge doneness by sight, smell, and the slight resistance when prodded with a spatula. Avoid overcooking, as sautéing is meant to be a quick method to preserve texture and flavor.
Q. Is it okay to put a lot of ingredients into the pan at once to save time when sautéing?
A. No, it is generally not okay to overcrowd the pan when sautéing. Overcrowding significantly lowers the temperature of the pan, causing ingredients to steam rather than sear. This results in pale, soft, and watery food instead of the desired golden-brown, flavorful crust. To achieve proper sautéing, ingredients should be placed in a single layer with enough space between them for air to circulate. If you have a large quantity of food, it’s always best to sauté in batches.