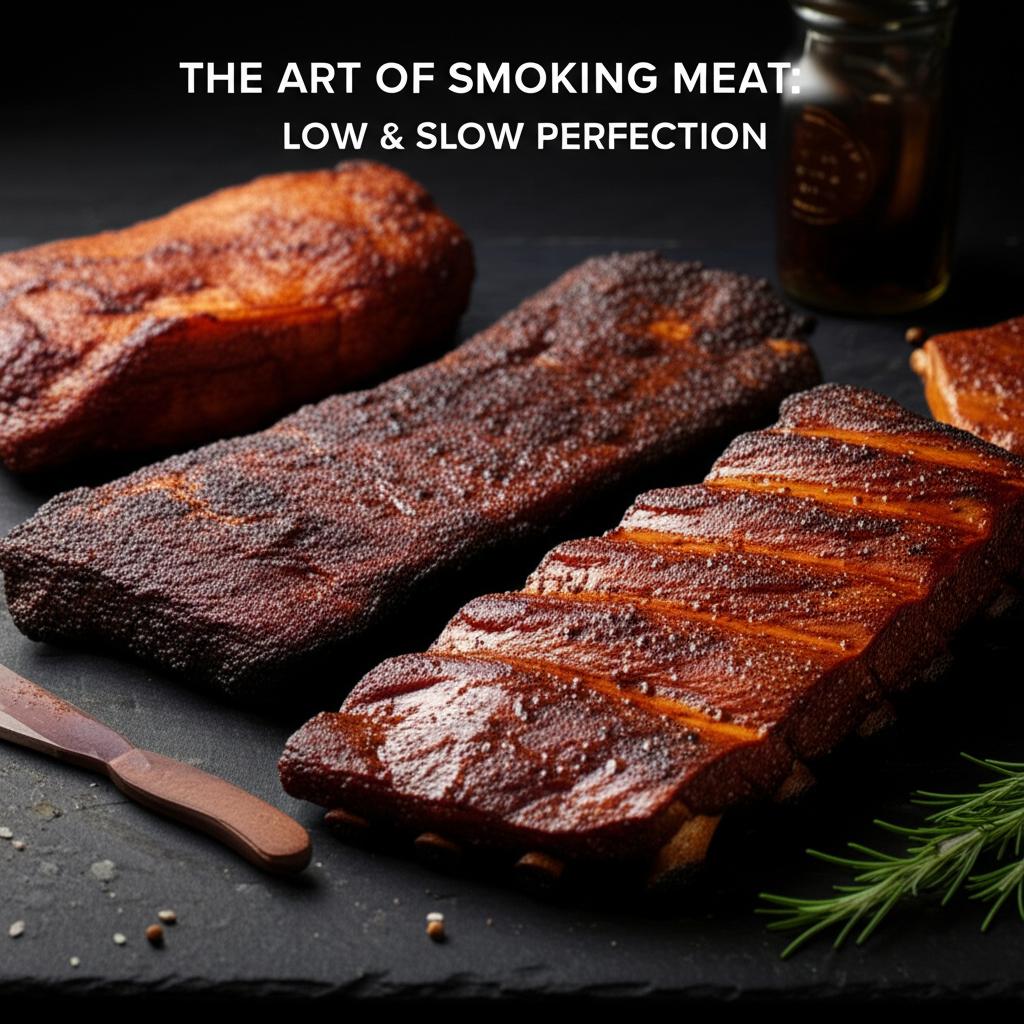
Mastering the Grill: Beyond Burgers – Unlock New Flavors and Techniques
The sizzle of food on a hot grill is an unmistakable sound of summer, backyard gatherings, and delicious meals. While burgers and hot dogs are classic, your grill is capable of so much more! Mastering the grill means venturing beyond the usual suspects and exploring a world of mouth-watering possibilities.
This comprehensive guide will equip you with the knowledge and techniques to grill everything from succulent chicken and delicate fish to vibrant vegetables and even fruits. Get ready to elevate your BBQ game and impress your friends and family with your newfound grilling prowess.
The Foundation: Grilling Essentials for Success
Before we dive into specific foods, let’s cover the universal truths of effective grilling. These foundational principles apply to nearly everything you’ll cook.
1. Heat Management: Direct vs. Indirect & Two-Zone Grilling
This is arguably the most crucial concept in mastering your grill.
- Direct Heat: This is where the food is placed directly over the heat source (coals or burners). It’s great for searing, creating grill marks, and quickly cooking thinner items. Think burgers, hot dogs, and quick-cooking veggies.
- Indirect Heat: Here, the food is placed away from the heat source. For charcoal grills, you push coals to one side. For gas grills, you turn off one or more burners. Indirect heat acts like an oven, cooking food slowly and evenly without burning. It’s perfect for larger cuts of meat like whole chickens, roasts, or anything that needs more time to cook through.
- Two-Zone Grilling: The ultimate setup! This involves creating both a direct and an indirect heat zone on your grill. It allows you to sear food over direct heat to get a beautiful crust, then move it to indirect heat to finish cooking through without charring. This technique is a game-changer for most proteins.
2. Temperature Control & The Power of a Thermometer
Guessing doneness is a recipe for disaster. An instant-read meat thermometer is your best friend. Every professional grill master relies on one.
- Preheat Your Grill: Always preheat your grill to the desired temperature before placing food on it. This ensures even cooking and prevents sticking. Aim for at least 10-15 minutes for gas grills and until coals are ash-covered for charcoal.
- Know Your Temps: Learn the target internal temperatures for different meats. For example, chicken should reach 165°F (74°C), and most fish is done around 145°F (63°C).
3. Prep Your Grill: Clean & Oiled Grates
This simple step prevents sticking and ensures beautiful grill marks.
- Clean Grates: Once your grill is preheated, use a stiff-bristled grill brush to scrape off any leftover food bits from previous cooks.
- Oil Grates: Lightly oil a folded paper towel with a high smoke point oil (like vegetable or canola) and, using tongs, carefully wipe down the hot grates. Never oil cold grates or use a spray near an open flame.
Beyond the Patty: Exciting Grilling Ideas
Now, let’s explore how to conquer different categories of food on your grill!
1. Perfectly Grilled Chicken
Chicken is incredibly versatile on the grill, from juicy breasts to flavorful bone-in pieces and even whole birds.
Tips for Success:
- Brine or Marinate: For boneless, skinless chicken breasts, brining (in a simple salt and sugar solution) for 30-60 minutes can prevent them from drying out. Marinades add flavor and moisture to all cuts.
- Pat Dry: Before grilling, always pat chicken pieces thoroughly dry with paper towels. Excess moisture steams the chicken instead of searing it, preventing that beautiful crust.
- Bone-in vs. Boneless: Bone-in cuts (thighs, drumsticks, whole chicken) benefit greatly from two-zone grilling, starting over direct heat for color and then moving to indirect to cook through. Boneless pieces cook faster, often staying on direct heat.
Step-by-Step: Grilled Bone-In Chicken Thighs
- Prepare Chicken: Pat chicken thighs dry. Season generously with your favorite rub or marinade for at least 30 minutes, or up to 4 hours in the fridge.
- Set Up Grill: Create a two-zone fire. Preheat your grill to medium-high (around 400-450°F or 200-230°C) over the direct heat zone.
- Sear Skin: Place chicken thighs skin-side down over direct heat. Cook for 5-7 minutes, until the skin is golden brown and crispy and releases easily from the grates.
- Flip & Move: Flip the thighs and move them to the indirect heat zone. Close the lid.
- Cook to Temp: Continue cooking, with the lid closed, for 15-25 minutes, or until the internal temperature reaches 165°F (74°C) when measured in the thickest part of the thigh, avoiding the bone.
- Rest: Remove chicken from the grill and let it rest for 5-10 minutes before serving. This allows the juices to redistribute, ensuring a more tender and flavorful result.
Common Mistakes to Avoid:
- Not Patting Dry: Leads to steaming, not searing.
- Overcooking: The number one culprit for dry chicken. Trust your thermometer!
- Flipping Too Soon: Let the skin crisp and release before trying to flip.
2. Flaky Fish & Delicate Seafood
Grilling fish might seem intimidating, but with the right approach, you can achieve wonderfully tender and flavorful results.
Tips for Success:
- Choose the Right Fish: Firmer, thicker fillets with skin on (like salmon, swordfish, tuna, halibut) are easier to grill. Whole fish also works beautifully.
- Skin On is Key: For fillets, grill with the skin on. The skin protects the delicate flesh from direct heat and helps prevent sticking. It also crisps up beautifully!
- Oil the Fish, Not Just the Grates: Lightly brush your fish fillets with oil before placing them on the grill.
- Don’t Over-Flip: The less you touch the fish, the better. Let it cook and release naturally.
- Grill Baskets or Plank Grilling: For more delicate fish or shrimp, a grill basket provides support. Cedar planks soaked in water impart a wonderful smoky flavor and prevent sticking entirely.
Step-by-Step: Grilled Salmon Fillet (Skin-On)
- Prepare Fish: Pat salmon fillets very dry. Lightly brush with olive oil and season generously with salt, pepper, and any desired herbs (e.g., dill).
- Set Up Grill: Preheat your grill to medium-high (around 400°F or 200°C) for direct heat. Ensure grates are clean and oiled.
- Skin-Side Down: Place salmon fillets skin-side down directly over the heat.
- Cook & Release: Close the lid (if using gas) and cook for 5-8 minutes, or until the skin is crispy and the fish easily releases from the grates. You’ll see the flesh turn opaque about two-thirds of the way up the fillet.
- Flip (Optional): If you want grill marks on the flesh side, gently flip the salmon. Cook for another 1-3 minutes until the internal temperature reaches 145°F (63°C) in the thickest part. Many people prefer to just cook skin-side down until done.
- Serve Immediately: Fish is best enjoyed fresh off the grill.
Common Mistakes to Avoid:
- Low Heat & No Oil: Causes sticking and tearing.
- Overcooking: Fish cooks quickly! It will become dry and rubbery. Look for opaque flesh that flakes easily with a fork.
- Flipping Too Many Times: Leads to breakage and loss of moisture.
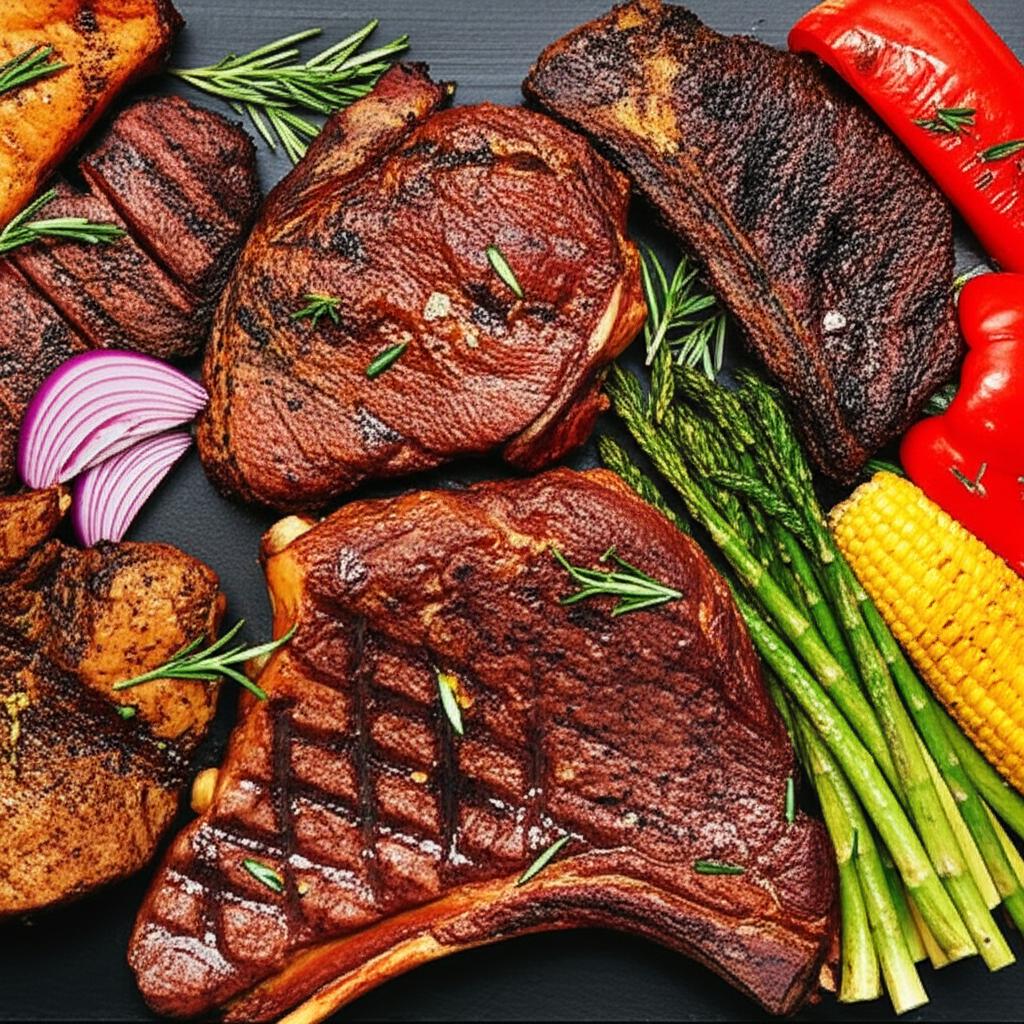
3. Vibrant Grilled Vegetables
Grilling vegetables brings out their natural sweetness and gives them a fantastic smoky char. Almost any vegetable can be grilled!
Tips for Success:
- Uniform Cuts: Cut vegetables into similar-sized pieces to ensure even cooking. Thinner slices (peppers, zucchini) will cook faster than thicker ones (onions, potatoes).
- Oil & Season: Toss vegetables lightly with olive oil and season with salt, pepper, and herbs before grilling.
- Don’t Overcrowd: Give vegetables space on the grill for even cooking and proper charring. Cook in batches if necessary.
- Direct Heat is Your Friend: Most vegetables do well over direct, medium-high heat, with frequent turning.
Step-by-Step: Grilled Vegetable Medley (Zucchini, Bell Peppers, Red Onion)
- Prepare Veggies: Wash and chop zucchini into 1/2-inch thick rounds, bell peppers into 1-inch strips, and red onion into 1/2-inch thick rings. Toss with olive oil, salt, pepper, and optionally, a dash of garlic powder or dried herbs.
- Set Up Grill: Preheat your grill to medium-high (around 400-450°F or 200-230°C) for direct heat. Ensure grates are clean and oiled.
- Place on Grill: Arrange vegetables in a single layer over the direct heat zone.
- Cook & Turn: Grill for 3-5 minutes per side, turning occasionally, until they are tender-crisp and have nice char marks. Thicker veggies like onions might take longer.
- Remove & Serve: Take off the grill and serve immediately as a side dish or mixed into salads.
Common Mistakes to Avoid:
- Cutting Unevenly: Leads to some pieces being burnt and others undercooked.
- Forgetting to Oil: Sticking is a major issue with vegetables.
- Overcooking: Results in mushy, unappetizing veggies. You want them tender-crisp, not limp.
Advanced Grill Master Tips
Ready to push your grilling skills even further?
- Flavor Boost with Wood Chips: Add pre-soaked wood chips (hickory, apple, cherry, mesquite) to your charcoal or in a smoker box on a gas grill for an incredible smoky aroma and flavor.
- Rest Your Meat: This cannot be emphasized enough for larger cuts of meat (chicken, steak, pork). After grilling, transfer meat to a cutting board and let it rest for 5-15 minutes (depending on size) before slicing. This allows the juices to redistribute, resulting in a juicier, more tender final product.
- Sauce at the End: If using a sugary BBQ sauce, apply it only during the last 10-15 minutes of cooking. Sugars burn easily, leading to a bitter, charred crust.
Common Grilling Mistakes to Avoid (General)
Even with all the tips, some pitfalls are common:
- Not Preheating the Grill: Leads to sticking and uneven cooking.
- Not Cleaning the Grates: Old food bits cause sticking and impart off-flavors.
- Not Using a Meat Thermometer: Guessing doneness is risky for both safety and taste.
- Overcrowding the Grill: Lowers grill temperature, leads to steaming instead of searing, and results in uneven cooking.
- Flipping Food Too Often: Resist the urge! Let food develop a crust and release naturally.
Safety First!
Always prioritize safety when grilling:
* Keep your grill away from flammable structures.
* Never leave a lit grill unattended.
* Have a fire extinguisher or a bucket of sand/water nearby.
* Use long-handled tongs and tools.
Your Grill Awaits!
Congratulations, you’re now equipped with the knowledge to master the grill beyond just burgers! From crispy-skinned chicken and delicate salmon to perfectly charred vegetables, a world of flavor awaits. Experiment with different marinades, rubs, and techniques. The more you practice, the more confident and creative you’ll become.
So, fire up that grill, grab your trusty thermometer, and get ready to unlock an incredible range of delicious possibilities. Happy grilling!
FAQ
Q. What types of foods does “Mastering the Grill: Beyond Burgers” primarily focus on, if not just traditional burgers?
A. “Mastering the Grill: Beyond Burgers” broadens your grilling horizons significantly. It delves into mastering techniques for perfect steaks and chops, whole roasted chickens, delicate fish and seafood, a wide array of vegetables (from crisp asparagus to hearty root vegetables), and even fruits for unique savory or dessert applications.
Q. How does precise temperature control differ when grilling diverse items like delicate fish versus a thick steak?
A. Temperature management is paramount and highly specific to the ingredient. Delicate items such as fish or thinly sliced vegetables often require higher direct heat for a shorter duration to achieve a beautiful sear without overcooking. Conversely, thicker cuts of meat like steaks benefit from an initial high heat sear, followed by cooking over indirect heat to ensure even cooking through to the desired internal temperature without burning the exterior. Understanding your grill’s hot and cool zones is key.
Q. Grilling delicate items like fish or vegetables sometimes leads to sticking. What are the most effective methods to prevent this?
A. To prevent delicate foods from sticking, ensure your grill grates are spotlessly clean and thoroughly preheated before you begin. Once hot, oil the grates well using a high smoke point oil. Additionally, lightly brush the food itself with oil. Resist the urge to move the food too soon; allow a slight crust to form, which naturally releases it from the grates.
Q. Are there specific principles for developing marinades or rubs tailored to different categories of food, such as seafood versus poultry or red meat?
A. Absolutely. Seafood generally thrives with lighter, acidic marinades (like citrus or wine-based) that tenderize gently and enhance flavor without overpowering it. Poultry, especially chicken, can handle more robust and flavorful marinades or dry rubs, often incorporating a wider range of herbs, spices, and sometimes a touch of sweetness for browning. Red meats, with their stronger flavors and denser textures, can typically withstand bolder, more savory rubs and longer marinating times.
Q. What is the secret to grilling vegetables so they are tender-crisp and flavorful, rather than just charred and limp?
A. The key to perfectly grilled vegetables lies in uniform cutting and heat control. Cut vegetables into similar sizes for even cooking. Toss them lightly with olive oil, salt, and pepper (and any desired herbs or spices) before grilling. Utilize medium-high direct heat for quick-cooking vegetables, turning them frequently. For denser vegetables like corn on the cob or potatoes, a combination of direct and indirect heat, or even par-boiling them first, ensures they cook through without charring excessively.
Q. Beyond basic tongs, what essential tools would you recommend for truly expanding one’s grilling prowess and versatility?
A. To elevate your grilling beyond the basics, several tools are indispensable. A high-quality instant-read thermometer is crucial for accurate doneness of meats and poultry. A grill basket or perforated pan is invaluable for grilling small, delicate vegetables or fish without them falling through the grates. Long-handled, sturdy spatulas are far better for flipping fish and larger cuts of meat than just tongs. Heat-resistant gloves and a robust grill brush with a scraper also make prep and cleanup safer and more efficient.
Q. Is it truly possible to grill desserts or fruits, and if so, what are some good starting points for beginners?
A. Grilling fruits for desserts or as a savory accompaniment is a delightful and achievable technique. The heat brings out their natural sweetness and adds a smoky caramelization. Excellent starting points include sliced peaches, pineapple rings, watermelon, or even bananas. Simply brush them lightly with oil or butter (and maybe a sprinkle of brown sugar or cinnamon), and grill over medium-direct heat for a few minutes per side until grill marks appear and they soften slightly. They are delicious on their own, with ice cream, or alongside grilled meats.