Are you tired of your perfectly prepped chicken mixing with your side of rice, or your crisp veggies turning soggy from touching your dressing? If you’re on a mission to eat healthier, save time, and streamline your weekly routine, then you’ve likely dipped your toes into the world of meal prepping. But anyone who’s been on this journey knows that the right tools make all the difference. And when it comes to keeping your meals neat, fresh, and perfectly portioned, nothing beats the best meal prep containers with dividers.
These ingenious containers are game-changers, transforming chaotic lunches into organized culinary delights. They’re not just about aesthetics; they’re about practicality, food safety, and ultimately, making your healthy eating goals much more achievable. So, let’s dive deep and explore everything you need to know about selecting the perfect divided meal prep containers to revolutionize your kitchen and your lifestyle.
Why Divided Meal Prep Containers Are an Absolute Game-Changer
Before we explore the nitty-gritty of choosing the best options, let’s understand why containers with built-in dividers are such a smart investment. It’s more than just a preference; it’s a functional upgrade that addresses several common meal prep woes.
- Portion Control Mastery: This is arguably the biggest benefit. Dividers naturally encourage you to portion out different food groups – your protein in one section, carbs in another, and veggies in a third. This visual separation helps you stick to your dietary goals, whether you’re counting macros, managing calories, or simply aiming for balanced meals. No more guessing if you’ve had too much pasta or not enough greens!
- Preventing Food Crossover & Sogginess: Ever packed a salad next to a warm protein, only to find the greens wilted and sad by lunchtime? Dividers create physical barriers, keeping different food items separate. This means your crispy components stay crispy, your wet ingredients don’t make your dry ones mushy, and flavors remain distinct. Think of it as a bento box for adults – everything in its rightful place.
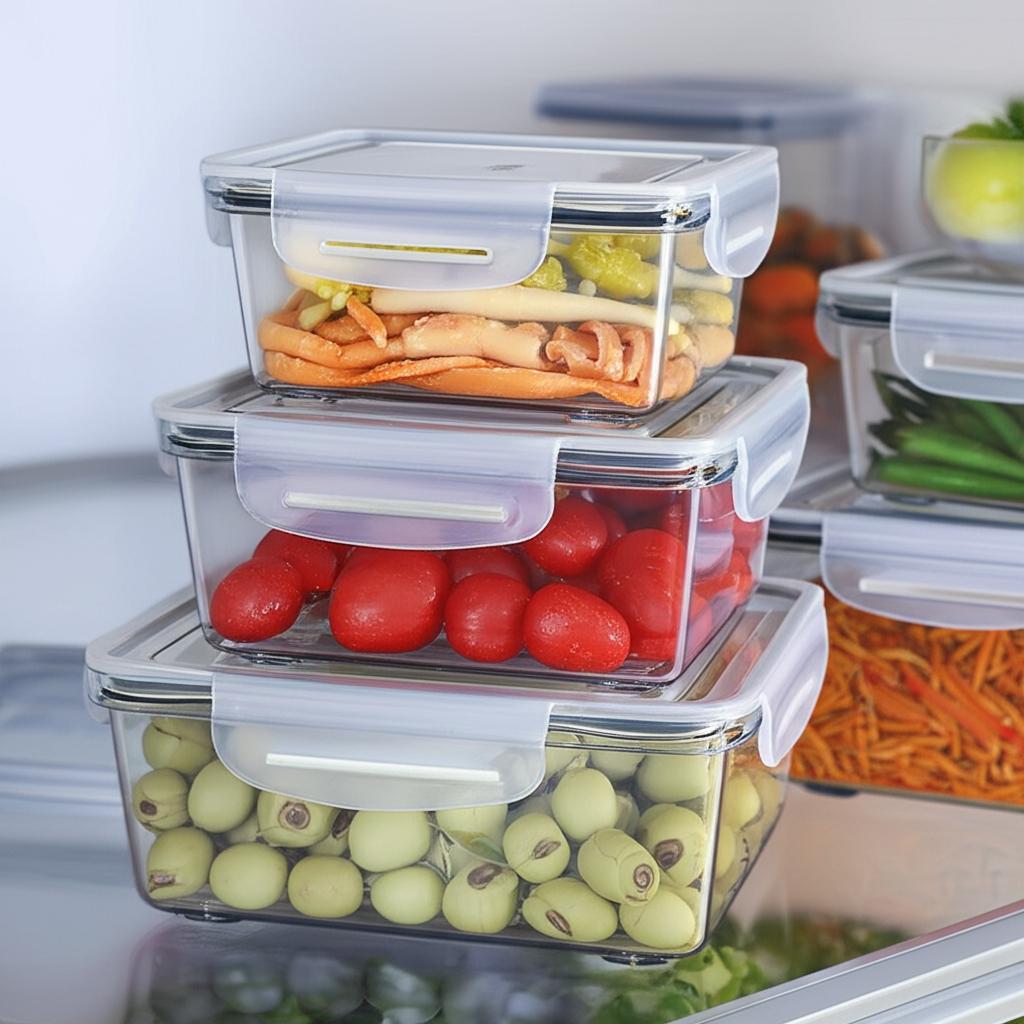
- Enhanced Freshness and Flavor: When foods don’t mix prematurely, they tend to stay fresher for longer. A well-sealed, divided container can help maintain the integrity of individual ingredients, ensuring that each bite tastes as good as it did when you packed it. No one wants a lunch that tastes like a jumbled mess of yesterday’s dinner.
- Appealing Presentation: Let’s be honest, food tastes better when it looks good. A neatly arranged meal in a divided container is far more appetizing than a haphazard pile. This visual appeal can make you more excited to eat your prepped meals, reinforcing your healthy habits.
- Convenience On-the-Go: Whether you’re heading to the office, the gym, or a picnic, a divided container simplifies transportation. You’ve got a complete, balanced meal ready to go, all in one compact vessel, eliminating the need for multiple smaller containers.
Decoding the Best Meal Prep Containers with Dividers: Key Considerations
Choosing the perfect container isn’t a one-size-fits-all scenario. Your ideal choice will depend on your lifestyle, meal prepping habits, and specific needs. Here’s a comprehensive breakdown of what to consider:
1. Material Matters: Glass, Plastic, Silicone, or Stainless Steel?
The material of your container dictates its durability, safety, and how you can use it.
- Glass Containers with Dividers:
- Pros: Extremely durable, non-porous (won’t stain or retain odors), microwave-safe (without lid), oven-safe, freezer-safe, dishwasher-safe, generally considered the safest for food storage (no chemical leaching). Offers a premium feel and clear visibility of contents. The dividers are typically molded directly into the glass.
- Cons: Heavier and more fragile than plastic. Can break if dropped. More expensive upfront.
- Best For: Those prioritizing safety, durability, and versatility (oven to table). Ideal for reheating in a microwave and for long-term use.
- Plastic Containers with Dividers:
- Pros: Lightweight, affordable, shatter-resistant. Great for on-the-go meals where weight is a concern. Many are designed to be stackable for easy storage. Look for BPA-free plastics.
- Cons: Can stain (especially with tomato-based sauces), absorb odors, and may degrade over time, becoming cloudy or scratched. Some plastics can warp in the microwave or dishwasher if not specifically designed for high heat. Quality varies significantly. Dividers can be fixed or removable.
- Best For: Budget-conscious preppers, those who need lightweight options for transport, or beginners wanting to try meal prepping without a big investment. Ensure they are explicitly labeled BPA-free, microwave-safe, and dishwasher-safe.
- Silicone Containers with Dividers:
- Pros: Extremely flexible, collapsible for easy storage when empty, lightweight, durable, heat-resistant, freezer-safe, microwave-safe, dishwasher-safe. Often feature soft, flexible dividers.
- Cons: Can sometimes absorb oil or odors over time. Not as rigid as glass or hard plastic, which might make eating out of them slightly less stable. Can be pricier than plastic.
- Best For: Space-saving individuals, campers, or anyone needing a super-portable, virtually indestructible option. Their flexibility also makes them great for freezing.
- Stainless Steel Containers with Dividers:
- Pros: Incredibly durable, non-toxic, non-staining, odor-resistant, excellent for keeping food cold (especially insulated versions). Eco-friendly and long-lasting. Dividers are usually removable and made of stainless steel.
- Cons: Not microwave-safe (a major drawback for many preppers). Can be expensive. Not transparent, so you can’t see contents at a glance.
- Best For: Packing cold lunches, snacks, or dry items. Ideal for kids’ lunchboxes or anyone who doesn’t need to reheat their meals in the container itself. Great for an eco-conscious choice.
2. Divider Configuration: How Many Sections Do You Need?
The number and depth of the compartments are crucial for effective portion control and food separation.
- Two Compartments: Ideal for main and side, or for keeping two main components separate.
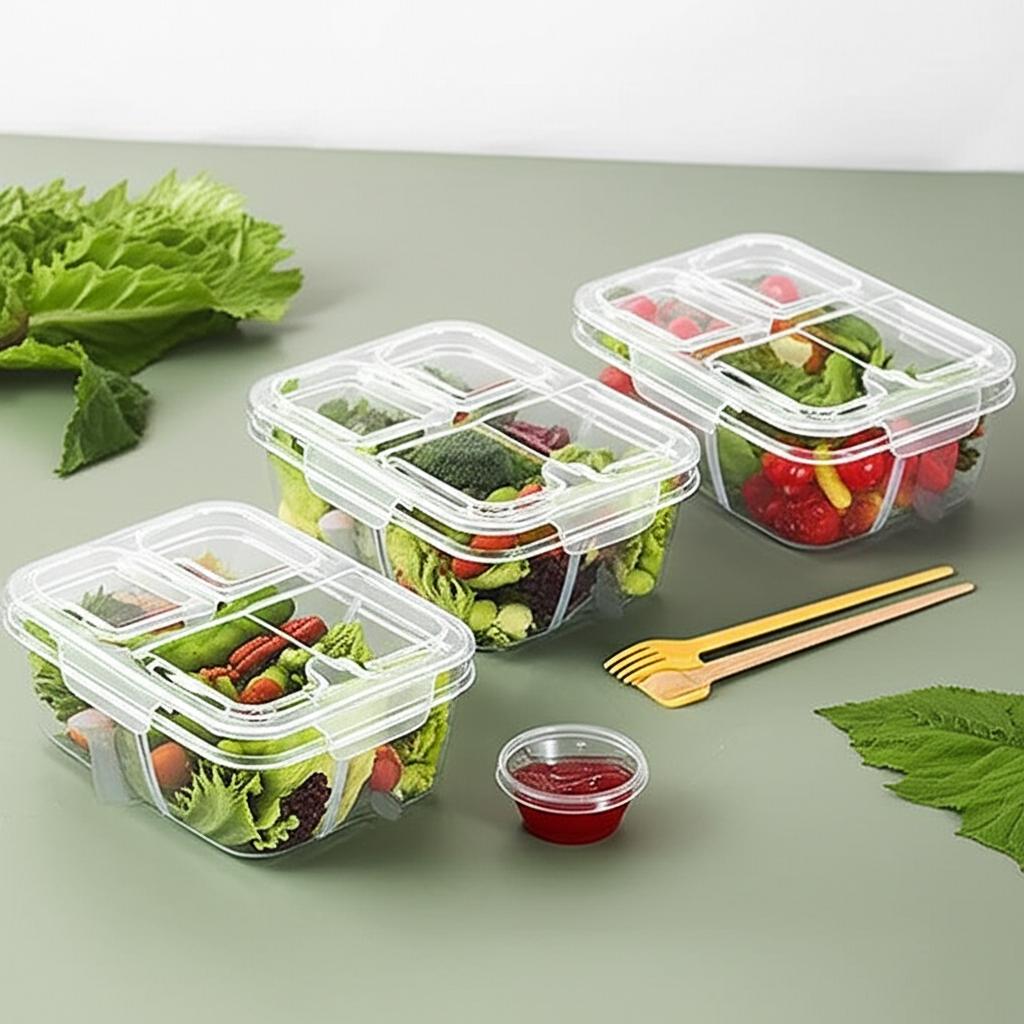
- Three Compartments: A popular choice for a balanced meal – one large section for a main protein/carb, and two smaller sections for sides like vegetables, fruit, or a dip.
- Four or More Compartments: Excellent for intricate bento-style meals, separating snacks, or for those who like to pack a variety of small items. Remember, more dividers mean smaller individual sections.
Consider if the dividers go all the way to the lid. True leak-proof dividers are rare unless each compartment has its own individual seal. More commonly, the lid provides an overall seal, and the dividers simply separate the food from moving horizontally. If you’re packing liquids (like dressings or sauces), you’ll still need separate small containers within the compartments or look for very specific designs.
3. Lid Design and Leak-Proofing
A reliable lid is paramount to prevent spills and maintain freshness.
- Snap-On Lids: These are common and generally offer a good seal, often with silicone gaskets for extra leak resistance. Look for multiple locking tabs (two on each side are better than just one).
- Vented Lids: Some lids come with small vents that can be opened for microwaving. This prevents pressure buildup and splatter, making reheating much safer and cleaner.
- Airtight Seal: This is key for freshness. A good silicone or rubber gasket around the lid, combined with secure locking mechanisms, will keep air out and prevent leaks, preserving your food’s quality.
- Inter-Compartment Leak-Proofing: Be aware that “leak-proof” usually refers to the container’s ability to prevent liquids from escaping the entire container, not necessarily from one compartment to another. If you truly need to prevent sauces from mingling between compartments, look for designs with individual, sealed lids for each section or those specifically advertised as 100% inter-compartment leak-proof (these are rarer and often bulkier).
4. Size and Capacity
How much food do you typically eat per meal? How many meals do you prep at once?
- Individual Meal Size: Containers typically range from 20-40 oz for single meals. A 30-35 oz container with 3 compartments is often a sweet spot for an adult-sized lunch.
- Stackability: For efficient storage in your fridge, freezer, or cabinets, choose containers that stack neatly. Some brands design their lids and bases to interlock, saving valuable space.
5. Durability and Longevity
Investing in quality pays off in the long run. Look for:
- Thick, sturdy materials: Whether it’s glass or plastic, a substantial feel usually indicates better durability.
- Reinforced edges: For glass containers, reinforced edges reduce the risk of chipping.
- Well-made lids: Lids are often the first component to fail. Check for robust locking tabs and resilient gasket materials.
6. Ease of Cleaning
Nobody wants a container that’s a nightmare to wash.
- Dishwasher Safe: This is a huge time-saver. Check if both the container and lid are top-rack dishwasher safe.
- Non-Porous Materials: Glass and stainless steel are the easiest to clean as they don’t absorb food odors or stains.
- Smooth Surfaces: Containers with fewer crevices or hard-to-reach corners are simpler to hand wash if needed.
7. Safety Certifications
Always look for:
- BPA-Free: Essential for plastic containers to avoid harmful chemicals.
- Food-Grade: Ensures the materials are safe for direct contact with food.
- FDA Approved: Another good indicator of safety standards.
Mastering Your Meal Prep: Tips & Best Practices with Divided Containers
Once you’ve chosen your best meal prep containers with dividers, here’s how to get the most out of them:
- Strategic Packing:
- Keep Wet from Dry: This is the golden rule. Put dressings, sauces, or high-moisture fruits/veg in their own sealed mini-containers or in a compartment specifically designed to prevent leakage, ideally separated from items that can get soggy (like bread, crackers, or crispy toppings).
- Main, Side, Side: For a 3-compartment container, use the largest section for your main protein and carb, and the smaller sections for veggies, a small salad, or a dip.
- Consider Reheating: Place items that need reheating (like proteins and cooked grains) in the largest section that can go into the microwave. Keep fresh items (like salads or fruit) in a separate compartment. If using glass, you can often microwave the entire container (without the lid).
- Smart Food Choices for Divided Containers:
- Chop and Separate: Pre-chop all your veggies, fruits, and proteins. Store them in their respective sections.
- Pre-Cook Components: Cook your proteins, grains, and roasted vegetables in bulk. This makes assembly quick and easy.
- Dressings on the Side: Always pack dressings, sauces, or salsas in tiny, separate containers to add just before eating. This keeps salads crisp and other foods from getting soggy.
- Layering for Success: If you have items that need to stay crisp (like croutons or nuts), pack them on top of other ingredients in their compartment, or in a tiny baggie within their section.
- Cleaning and Maintenance for Longevity:
- Wash Promptly: The sooner you wash your containers, the less likely they are to stain or retain odors.
- Pre-Soak: For stubborn food residue (especially on plastic), a quick soak in warm, soapy water can work wonders.
- Baking Soda Paste: For tough stains (like tomato sauce on plastic), make a paste with baking soda and a little water. Rub it onto the stain, let it sit for a few hours or overnight, then wash.
- Air Dry Lids: To prevent mildew or odors, allow lids to air dry completely before storing, especially the silicone gaskets.
- Avoid Abrasive Scrubbers: These can scratch plastic and glass, creating nooks for bacteria to hide.
Common Mistakes to Avoid When Using Divided Meal Prep Containers
Even with the best tools, a few missteps can derail your meal prep efforts. Steer clear of these common errors:
- Overfilling Compartments: While it’s tempting to cram as much food as possible, overfilling can prevent the lid from sealing properly, leading to leaks and food mixing. It also creates a mess when you try to open it. Leave a little headspace!
- Ignoring Material Instructions: Not all containers are microwave, freezer, or dishwasher safe. Zapping a non-microwave-safe plastic container can warp it and potentially leach chemicals. Always check the manufacturer’s guidelines.
- Not Investing in Quality: Going for the cheapest option often means flimsy plastic that breaks, stains, and warps quickly. A small upfront investment in high-quality best meal prep containers with dividers will save you money and frustration in the long run.
- Improper Sealing: Always ensure the lid is securely fastened on all sides. A loose lid is an open invitation for spills and spoilage. For snap-on lids, press down firmly on all locking tabs.
- Forgetting About Air Vents: If your container has a vent, remember to open it before microwaving to prevent pressure buildup and potential explosions (of food, not the container!). Close it afterward to maintain freshness.
- Mixing Hot and Cold Foods Immediately: If you’re packing hot food alongside cold, allow the hot food to cool down completely before sealing the container. Trapping steam with cold items can create condensation, leading to sogginess and a breeding ground for bacteria.
- Neglecting Cleaning and Odor Control: As mentioned, prompt and thorough cleaning is key. Don’t let food sit for too long, especially in plastic containers, as this can lead to permanent stains and odors.
- Not Considering Your Lifestyle: If you commute by bike, heavy glass containers might not be ideal. If you rely on the microwave at work, stainless steel won’t work. Choose containers that fit seamlessly into your daily routine.
Conclusion: Your Organized, Healthy Eating Journey Starts Here
Meal prepping is a powerful tool for healthy eating, budget management, and reclaiming your time. And the right equipment, specifically the best meal prep containers with dividers, can elevate your entire experience. They provide the structure, separation, and freshness needed to make every prepped meal a success story.
By understanding the different materials, divider configurations, lid designs, and maintenance tips, you’re now equipped to make an informed decision that perfectly suits your needs. Investing in quality, versatile, and user-friendly containers is an investment in your health, your convenience, and your peace of mind. So go ahead, choose wisely, and enjoy the delicious, organized world of meal prep!
Frequently Asked Questions (FAQ)
Q1: Why should I use meal prep containers with dividers instead of single-compartment ones?
A1: Dividers help with portion control, prevent food items from mixing (keeping crispy foods crisp and saucy foods separate), maintain distinct flavors, and improve overall presentation, making your prepped meals more appealing and effective for dietary goals.
Q2: Are glass or plastic divided containers better for meal prepping?
A2: It depends on your priorities. Glass is durable, non-porous, oven-safe, and won’t stain or retain odors, making it ideal for reheating. However, it’s heavier and more fragile. Plastic is lightweight, affordable, and shatter-resistant, great for portability, but can stain and absorb odors over time. Many people use a mix of both!
Q3: Do the dividers in these containers actually prevent liquids from mixing between compartments?
A3: Most standard divided containers are “leak-proof” in that they prevent liquids from escaping the entire container. However, the internal dividers typically do not create a watertight seal between compartments. For true inter-compartment leak-proofing, you need containers with individual, sealed lids for each section, or you should pack very wet items in separate mini-containers within a compartment.
Q4: Can I microwave food in divided containers?
A4: Yes, if they are explicitly labeled “microwave-safe.” Glass containers are generally safe (remove lid), and many plastic and silicone containers are too. Stainless steel containers should never be put in a microwave. Always check the manufacturer’s instructions and open any vents on the lid if present.
Q5: How many compartments do I need for my meal prep?
A5: A 3-compartment container (one large, two small) is the most popular and versatile for a balanced adult meal (e.g., protein/carb, veggie, fruit/snack). 2-compartment options are good for simpler meals, while 4+ compartments are excellent for bento-style lunches or separating many small items.
Q6: How do I prevent plastic divided containers from staining and absorbing odors?
A6: Wash them promptly after use, especially with tomato-based sauces or strong-smelling foods. For stains, try scrubbing with a baking soda paste. For odors, a lemon wedge or a crumpled piece of newspaper left inside the container for a day can help. Air drying thoroughly is also important.
Q7: Are these containers freezer-safe?
A7: Most glass, silicone, and high-quality plastic meal prep containers are freezer-safe. Always check the product specifications. When freezing, make sure to leave some headspace as food expands when frozen.
Q8: Are divided meal prep containers stackable for easy storage?
A8: Many are designed to be stackable, either with lids on for fridge/freezer storage or nested without lids in cabinets. Look for descriptions that specifically mention “stackable” or “nesting” features for optimal space-saving.
Q9: Can using divided containers help with weight loss or healthy eating?
A9: Absolutely! Dividers naturally encourage portion control, making it easier to manage calorie intake and ensure a balanced mix of proteins, carbs, and vegetables. By pre-portioning healthy meals, you reduce the temptation to overeat or make unhealthy choices when hunger strikes.
Q10: What’s the best way to clean the silicone gaskets on container lids?
A10: Remove the silicone gasket if possible and wash it separately with warm, soapy water. Periodically, soak gaskets in a mixture of vinegar and water to remove any lingering odors or mildew. Ensure they are completely dry before reattaching to prevent mold growth.