The Art of Making Homemade Cheese: Your Ultimate Guide to DIY Delights
- Cotton Farm Grade 100 XL Cheese Cloths – Straining & More; 36×36 Inch; 100% Unbleached Cotton Cheesecloth; Reusable with Hemmed 2 Edges; Ultra-Dense (the finest) Butter Muslin
- Organic Cheese Cloths, GOTS Certified, Grade 100, 36x36Inch, Reusable Cheese Cloth with Closed Edges Fabric Fine Mesh Cloth, Unbleached Cotton Muslin Cheesecloth for Straining,Cooking,Crafts – 9 Sq.Ft
- Cotton Farm Pre-Cut Cheese Cloths, 18 x 18 inch, Grade 100, Overlocked Edges, Ready to Use, Muslin Cheesecloth for Straining and Cooking, 100% Unbleached Cotton, Reusable
Imagine the rich aroma of fresh cheese, the satisfying texture, and the pride of knowing you created it with your own hands. Making cheese at home might seem like a mystical art reserved for master cheesemakers, but it’s an incredibly rewarding and surprisingly accessible craft! This detailed guide will demystify the process, helping you transform simple milk into delectable homemade cheese.
Why Embark on Your Homemade Cheese Journey?
Beyond the sheer joy of creation, there are many compelling reasons to make your own cheese:
- Pure Ingredients: You control exactly what goes into your cheese, ensuring it’s free from additives, preservatives, or artificial flavors.
- Unmatched Freshness: Experience cheese at its peak freshness, often mere hours after it’s made.
- Customization: Experiment with herbs, spices, and different milks to create unique flavor profiles tailored to your taste.
- Cost-Effective: Over time, making your own cheese can be more economical than purchasing artisanal varieties.
- A Rewarding Hobby: There’s immense satisfaction in producing something delicious and tangible from scratch.
The Essentials: What You’ll Need Before You Start
Before you dive in, gather your basic tools and ingredients. Remember, quality ingredients are paramount for delicious results!
Core Ingredients:
- Milk:
- Whole Milk: This is your foundation. Avoid Ultra-Pasteurized (UHT) milk as the intense heating process denatures the proteins, making it difficult for curds to form properly. Look for non-UHT pasteurized or, if available and safe, raw milk for the best results and flavor.
- Dairy Type: Cow, goat, or sheep milk can all be used, each imparting its unique flavor and texture.
- Starter Culture:
- These are beneficial bacteria that acidify the milk, developing flavor and texture. They come in different types:
- Mesophilic cultures thrive at moderate temperatures (e.g., for Chevre, Camembert, Feta).
- Thermophilic cultures prefer higher temperatures (e.g., for Mozzarella, Parmesan, Swiss).
- You’ll typically buy these as freeze-dried powders.
- These are beneficial bacteria that acidify the milk, developing flavor and texture. They come in different types:
- Rennet:
- Rennet is an enzyme that coagulates milk, causing it to separate into curds and whey.
- Types: Animal (traditional, from calf stomachs) or Vegetarian (microbial, fungal, or plant-based).
- It comes in liquid or tablet form. Always dilute rennet in a small amount of cool, non-chlorinated water before adding it to your milk.
- Non-Iodized Salt:
- Crucial for flavor, texture, and preservation. Do not use iodized table salt, as iodine can interfere with bacterial cultures and impart off-flavors. Fine sea salt or kosher salt are excellent choices.
Basic Equipment:
- Large Pot: A heavy-bottomed, non-reactive pot (stainless steel is ideal) large enough to hold your milk with extra room.
- Accurate Thermometer: A reliable dairy or candy thermometer is absolutely essential for precise temperature control. This is one of the most critical tools you’ll need.
- Slotted Spoon or Whisk: For stirring and cutting curds.
- Measuring Spoons: For cultures and rennet.
- Colander: For draining whey.
- Cheesecloth or Butter Muslin: A tightly woven, food-grade cloth for draining curds.
- Draining Mat or Rack: To allow whey to drain freely.
- Clean Containers/Molds: For shaping and aging your cheese.
The Journey Begins: Step-by-Step Cheesemaking (A General Overview)
While specific recipes vary, most cheesemaking follows a similar fundamental sequence. We’ll outline the general steps here:
Step 1: Sanitation is Non-Negotiable!
- Before you even touch your milk, ensure every piece of equipment that will come into contact with your milk or curds is impeccably clean and sanitized. This means washing with hot, soapy water, rinsing, and then sanitizing. You can boil smaller items or use a food-grade sanitizer. Bacteria are both your friend (cultures) and your enemy (contaminants) – you only want the friendly ones!
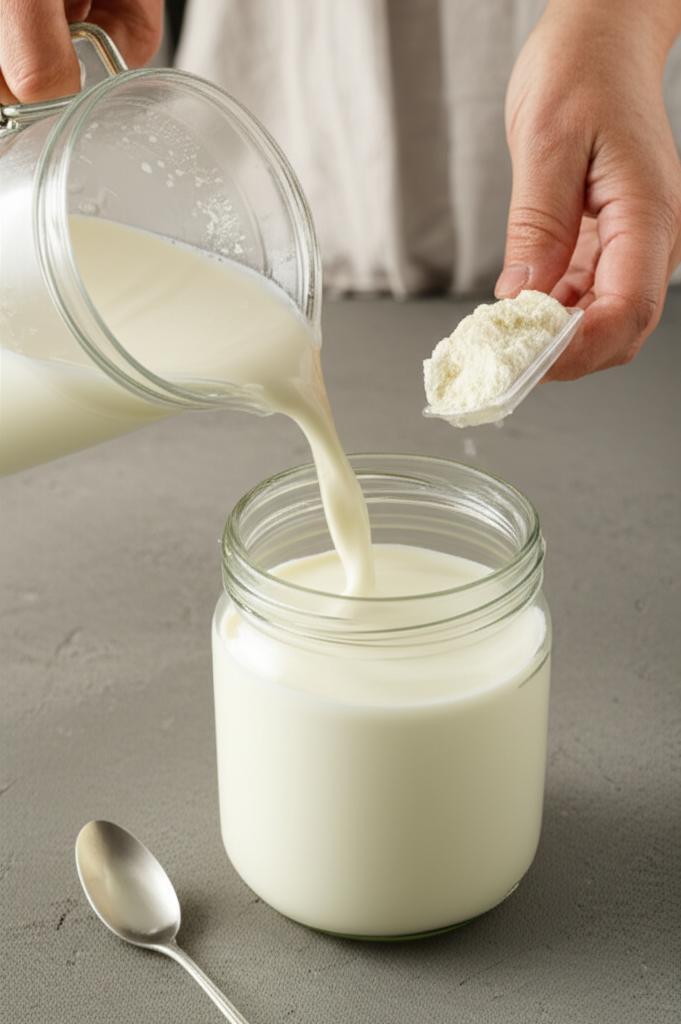
Step 2: Heat the Milk Gently
- Pour your chosen milk into your large, sanitized pot.
- Slowly heat the milk to the temperature specified in your recipe. This is usually between 86°F (30°C) and 95°F (35°C) for most soft cheeses. Use your accurate thermometer and stir gently to prevent scorching.
- Avoid rapid temperature changes.
Step 3: Add the Culture
- Once the milk reaches the target temperature, remove it from the heat.
- Sprinkle your starter culture evenly over the surface of the milk. Let it rehydrate for a few minutes (5-10) without stirring.
- Gently stir the culture into the milk using an up-and-down motion to distribute it thoroughly.
- Cover the pot and let the milk ripen (acidify) for the time specified in your recipe, usually 30-60 minutes. The culture begins to work, preparing the milk for coagulation.
Step 4: Add the Rennet (Coagulation)
- While the milk is ripening, dilute your rennet in a small amount (1/4 cup) of cool, non-chlorinated water. Do not use warm or hot water.
- After the ripening period, gently stir the rennet mixture into the milk using an up-and-down motion for about 30 seconds.
- Stop stirring immediately!
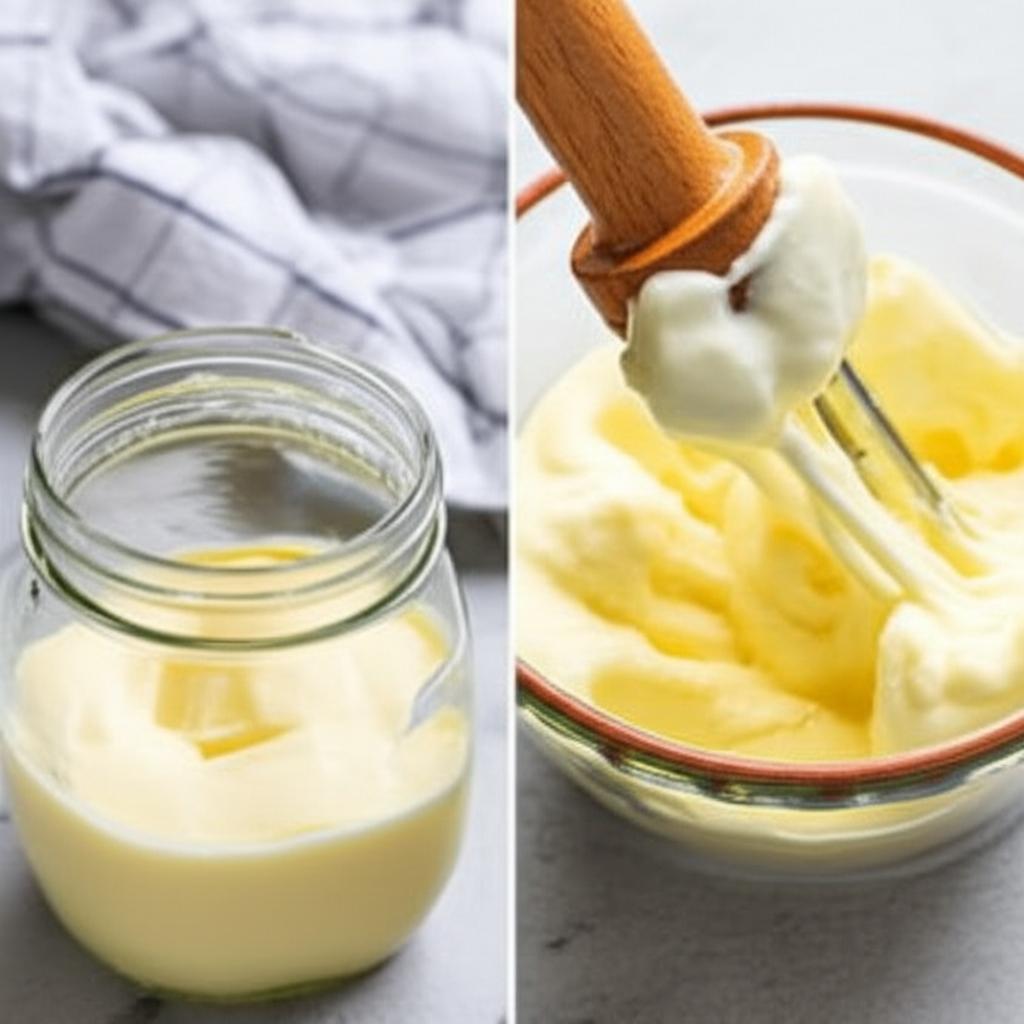
- Cover the pot and let the milk set undisturbed at the specified temperature. This is where the magic happens, and the milk transforms into a solid “curd mass” or “custard.”
- Patience is key here. This usually takes 45-90 minutes, depending on the cheese and milk.
Step 5: Check for a “Clean Break”
- After the setting time, test the curd for a “clean break.”
- Gently insert a knife or the back of a spoon into the curd at a slight angle. Lift it straight up.
- A “clean break” means the curd splits cleanly around the utensil, and clear whey fills the gap. If it’s still milky, let it set for another 15-30 minutes and retest.
Step 6: Cut the Curd
- Once you have a clean break, it’s time to cut the curd into smaller pieces. This increases the surface area, allowing more whey to expel.
- The size of the cut affects the final cheese texture: smaller cuts lead to drier, harder cheeses; larger cuts result in moister, softer cheeses.
- Use a long knife or a wire whisk to cut the curd into a uniform grid, then at an angle to create cubes.
Step 7: Cook the Curds (Optional, for firmer cheeses)
- For many firmer cheeses (like cheddar or Monterey Jack), you’ll gently heat and stir the curds after cutting. This “cooking” process continues to expel whey, further firming the curds.
- Slowly raise the temperature of the curds while stirring gently to prevent them from matting together. Follow your recipe’s temperature and time precisely.
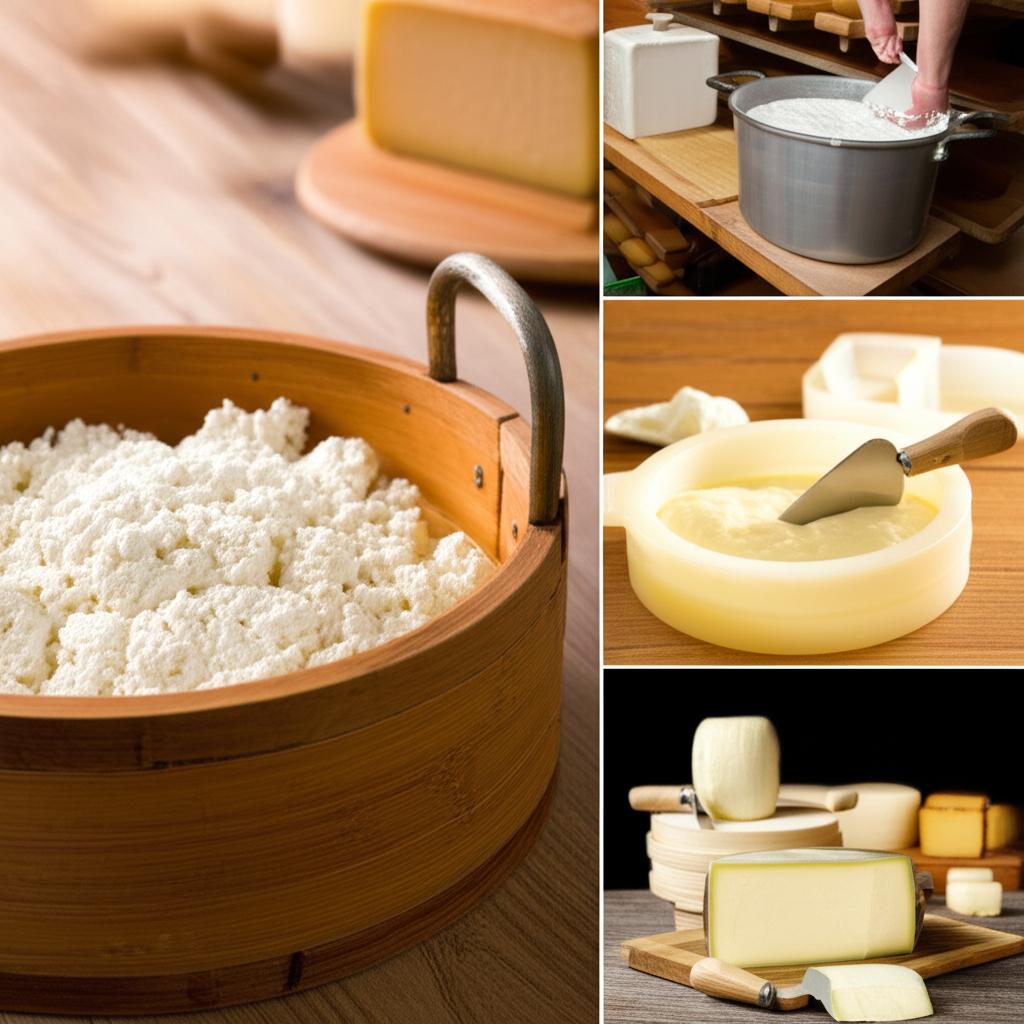
Step 8: Drain the Whey
- Line your colander with cheesecloth or butter muslin and place it over a larger pot or bowl to catch the whey.
- Gently scoop the curds into the lined colander. The whey will immediately begin to drain away.
- Save the whey! It’s nutritious and can be used for baking, soups, or even as a fertilizer for plants.
Step 9: Salt the Curds
- Once the curds have drained sufficiently (as per your recipe), it’s time to salt them.
- Salt is crucial for flavor, controlling bacterial growth, and regulating moisture.
- Use non-iodized salt. Sprinkle it over the curds and gently mix it in.
Step 10: Pressing and Shaping (For many cheeses)
- For firmer cheeses, the curds are often pressed to expel more whey and create a solid, cohesive wheel or block.
- Transfer the salted curds into a cheese mold lined with cheesecloth.
- Apply gentle pressure initially, gradually increasing it over time according to your recipe.
- Soft cheeses, like fresh Chevre or Ricotta, often simply drain in cheesecloth or a basket mold without pressing.
Step 11: Aging (For aged cheeses)
- For cheeses like Cheddar, Gouda, or Parmesan, a dedicated aging environment (a “cheese cave”) is necessary. This requires precise control over temperature and humidity.
- During aging, enzymes continue to break down proteins and fats, developing complex flavors and textures.
- Beginner cheesemakers often start with fresh cheeses that don’t require aging, such as Ricotta, fresh Mozzarella, or Chevre.
Beginner-Friendly Cheeses to Try First
Start with these less complex cheeses to build your confidence and skills:
- Ricotta: Not a true cheese, but a byproduct made from residual proteins in leftover whey. Super easy and delicious!
- Fresh Mozzarella: A stretched-curd cheese that’s incredibly satisfying to make and eat warm.
- Chevre (Goat Cheese): Simple to make, requiring minimal equipment beyond draining.
- Feta: A brined, crumbly cheese that can be ready relatively quickly.
Tips for Homemade Cheese Success
- Read Your Recipe Thoroughly: Understand each step before you begin.
- Sanitize, Sanitize, Sanitize: We cannot emphasize this enough. Cleanliness is next to cheesiness!
- Use Quality Ingredients: Good milk makes good cheese.
- Be Patient: Cheesemaking involves waiting periods. Don’t rush the process, especially ripening and setting times.
- Accurate Temperatures are Key: Invest in a good thermometer and follow temperature guidelines precisely.
- Keep a Log: Note down milk type, temperature, culture/rennet amounts, timings, and results. This helps you learn and refine your process.
- Don’t Fear Failure: Your first batch might not be perfect. Every “failure” is a learning opportunity.
Common Mistakes to Avoid
- Not Sanitizing Properly: Leads to undesirable molds or off-flavors.
- Using UHT Milk: The milk won’t coagulate properly, leading to frustrating results.
- Incorrect Temperatures: Too hot or too cold can kill cultures, prevent coagulation, or affect texture.
- Impatience with Coagulation: Cutting too soon will result in weak curds and excessive loss of solids into the whey.
- Over-Stirring or Under-Stirring: Affects curd development and whey expulsion.
- Using Iodized Salt: Can inhibit cultures and impart metallic flavors.
- Not Draining Enough Whey: Leads to a cheese that’s too soft, sour, or spoils quickly.
- Forgetting to Dilute Rennet: Can lead to uneven coagulation or a “false set.”
Troubleshooting Common Issues
- Curds Not Forming/Weak Set:
- Likely culprits: UHT milk, old/inactive rennet, wrong temperature, too much chlorine in water used to dilute rennet.
- Solution: Check milk type, try new rennet, ensure proper temps.
- Rubbery Cheese:
- Often due to over-cooking the curds or cutting them too small, expelling too much moisture.
- Solution: Adjust cooking time/temp, cut curds larger next time.
- Bland Cheese:
- Not enough salt, or culture wasn’t active enough to develop flavor.
- Solution: Ensure correct salt measurements, check culture viability, allow adequate ripening.
- Sour or Off-Flavors:
- Too much acidity (over-ripening, too much culture), or contamination.
- Solution: Reduce ripening time/culture, double-check sanitation.
Embrace Your Inner Cheesemaker!
Making homemade cheese is a journey of discovery. It connects you to ancient traditions and provides a delicious, wholesome food that you can truly call your own. Start with simple recipes, be meticulous with your steps, and don’t be afraid to experiment. With a little practice, you’ll soon be impressing friends and family with your own artisanal creations. Happy cheesemaking!
- Cotton Farm Grade 100 XL Cheese Cloths – Straining & More; 36×36 Inch; 100% Unbleached Cotton Cheesecloth; Reusable with Hemmed 2 Edges; Ultra-Dense (the finest) Butter Muslin
- Organic Cheese Cloths, GOTS Certified, Grade 100, 36x36Inch, Reusable Cheese Cloth with Closed Edges Fabric Fine Mesh Cloth, Unbleached Cotton Muslin Cheesecloth for Straining,Cooking,Crafts – 9 Sq.Ft
- Cotton Farm Pre-Cut Cheese Cloths, 18 x 18 inch, Grade 100, Overlocked Edges, Ready to Use, Muslin Cheesecloth for Straining and Cooking, 100% Unbleached Cotton, Reusable
FAQ
Q. What essential equipment do I need to start making cheese at home?
A. To begin, you’ll need a large pot (preferably stainless steel) for heating milk, a dairy thermometer for accurate temperature control, cheesecloth or butter muslin for draining curds, a long-handled spoon or whisk, and a cheese mold or colander for shaping. As you advance, a cheese press and ripening boxes might become useful.
Q. Is it necessary to use raw milk for homemade cheese, or can I use pasteurized milk?
A. You can successfully make cheese with both raw and pasteurized milk. Raw milk often yields cheeses with more complex flavors due to its natural bacteria, but pasteurized milk is perfectly fine. If using pasteurized milk, opt for whole, non-UHT (ultra-high temperature) pasteurized milk, as UHT milk’s proteins are too denatured for proper curd formation.
Q. My cheese isn’t curdling properly. What could be the problem?
A. Several factors can affect curdling. Common issues include incorrect milk temperature when adding rennet, inactive or expired rennet, using UHT milk, or insufficient acidification (if using a starter culture). Always ensure your rennet is fresh, stored correctly, and dissolved in cool, non-chlorinated water before adding it to the milk.
Q. How do I know when my homemade cheese is ready to eat, and how should I store it?
A. The readiness of your cheese depends on the type you’re making. Fresh cheeses like ricotta or chevre can be eaten immediately after draining. Aged cheeses require specific ripening times, which can range from weeks to months, often under controlled temperature and humidity. Store fresh cheeses tightly wrapped in the refrigerator for up to 1-2 weeks. Aged cheeses should be stored in a cool, humid environment (like a dedicated cheese fridge or a specialized container in your regular fridge) and allowed to breathe to continue developing flavor.
Q. Can I make different types of cheese at home, or am I limited to just a few basic ones?
A. The world of homemade cheese is vast! Beginners often start with fresh, easy-to-make cheeses like ricotta, paneer, or simple chevre. As you gain experience, you can progress to more complex aged cheeses such as cheddar, Gouda, Camembert, or even blue cheese. Many resources and recipes are available to guide you through making a wide variety of styles.
Q. What is the role of a starter culture in cheese making, and do I always need one?
A. A starter culture is a specific blend of beneficial bacteria that acidifies the milk by converting lactose into lactic acid. This acidification is crucial for curd formation, flavor development, and inhibiting spoilage organisms. While some cheeses (like paneer) don’t require a starter culture, most traditional cheeses, especially aged ones, rely heavily on them for their characteristic taste and texture.
Q. How can I add flavor to my homemade cheese?
A. There are numerous ways to infuse flavor into your homemade cheese! You can incorporate herbs (like chives or dill), spices (like paprika or black pepper), dried fruits, nuts, or even garlic into the curds before pressing. For aged cheeses, you can wash the rinds with brine, beer, or wine, or even inoculate them with specific molds for unique flavors and appearances.