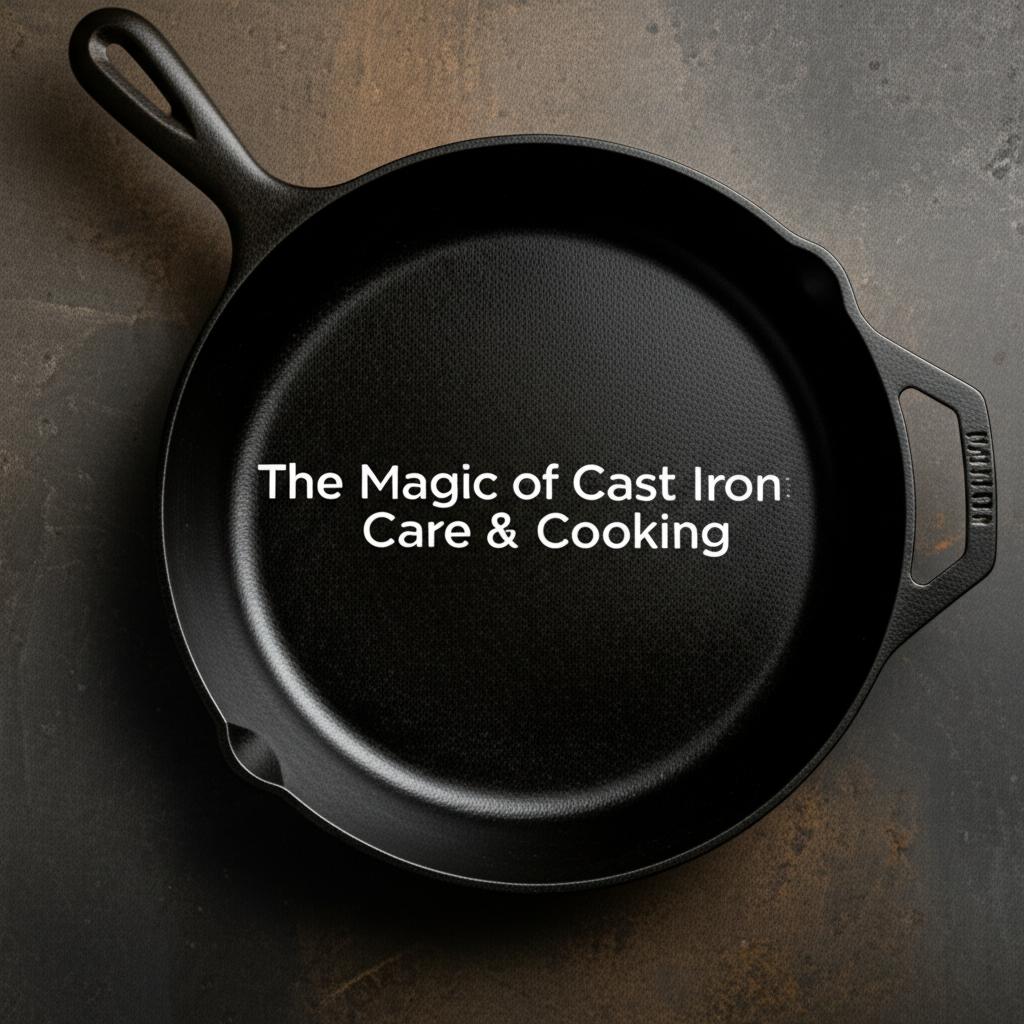
Unlock the Magic: Your Ultimate Guide to Cast Iron Care & Cooking
- Lodge 12 Inch Cast Iron Skillet with Red Silicone Hot Handle Holder – Pre-Seasoned Frying Pan for Stove, Oven, Grill & Campfire – Made in the USA – Durable, Nonstick Cast Iron Cookware – Black
- Lodge 8 Inch Cast Iron Pre-Seasoned Skillet – Signature Teardrop Handle – Use in the Oven, on the Stove, on the Grill, or Over a Campfire, Black
- Utopia Kitchen Cast Iron Frying Pan 12 Inch, Cast Iron Chefs Pan, Pre Seasoned Skillet, Safe Grill Cookware for Indoor & Outdoor Use, Black
There’s something truly special about cast iron cookware. It’s more than just a pan; it’s a legacy, a workhorse, and with proper care, it becomes an indispensable tool that improves with every use. While modern non-stick pans come and go, cast iron endures for generations, offering unparalleled heat retention, even cooking, and a naturally non-stick surface once properly seasoned.
If you’ve ever felt intimidated by your cast iron skillet, or perhaps yours has fallen into disrepair, fear not! This guide will demystify the “magic” of cast iron, turning you into a confident cast iron master. Let’s dive into the world where care meets cooking, creating culinary masterpieces.
Why Cast Iron? The Unsung Hero of Your Kitchen
Before we delve into the nitty-gritty of care, let’s appreciate why cast iron has stood the test of time:
- Exceptional Heat Retention: Once heated, cast iron holds heat incredibly well, distributing it evenly across the cooking surface. This makes it perfect for searing steaks, achieving crispy crusts, and baking even cornbread.
- Natural Non-Stick Surface: With proper seasoning, cast iron develops a slick, naturally non-stick cooking surface, free from synthetic coatings.
- Durability & Longevity: Cast iron is virtually indestructible. It can handle high heat, go from stovetop to oven, and if properly maintained, will last for decades, even centuries, becoming an heirloom.
- Versatility: From frying eggs and bacon to baking pies, roasting chickens, or even campfire cooking, a good cast iron skillet is incredibly versatile.
The Cornerstone: Seasoning Your Cast Iron
Seasoning is the foundation of cast iron’s magic. It’s not a coating, but rather a layer of polymerized oil that has bonded to the iron, creating a smooth, non-stick, and rust-resistant surface. Most new cast iron comes pre-seasoned, but understanding the process is key for maintenance and revival.
What is Seasoning, Exactly?
When oil is heated to its smoke point, it breaks down and bonds with the iron, creating a tough, slick layer. This layer builds up over time with regular use and proper care, making your pan increasingly non-stick.
Step-by-Step: Initial Seasoning (for new or stripped pans)
If your pan is brand new (even pre-seasoned, an extra layer helps!) or you’ve stripped an old, rusty pan, this is the process:
- Clean Thoroughly: Wash the pan with hot, soapy water and a stiff brush or sponge. Yes, soap is okay for initial cleaning! You want to remove any manufacturing residues or rust.
- Dry Completely: This is CRUCIAL. Place the pan over low heat on your stovetop for a few minutes until all moisture has evaporated. A towel dry isn’t enough.
- Apply a Thin Layer of Oil: Using a paper towel or lint-free cloth, apply a very thin, even coat of high smoke-point cooking oil (like flaxseed, grapeseed, vegetable, or canola oil) to all surfaces of the pan – inside, outside, handle.
- Wipe Off Excess: This is the most important step for preventing a sticky mess. Use a fresh, clean paper towel to wipe off as much oil as possible. It should look almost dry, like there’s no oil on it at all. If you leave too much, it will become gummy and sticky.
- Bake the Pan: Place the pan upside down in a cold oven. Heat the oven to 450-500°F (232-260°C). Once the oven reaches temperature, let the pan bake for one hour.
- Cool Down: Turn off the oven and let the pan cool completely inside the oven. This allows the oil to properly polymerize and bond.
- Repeat: For best results, repeat steps 3-6 at least 3-4 times. The more layers you build, the more robust and non-stick your seasoning will become.
Step-by-Step: Re-seasoning for Maintenance
For general maintenance, or if your pan is looking dull or food is starting to stick:
- Clean & Dry: Wash the pan with hot water (soap optional, as per below cleaning section) and dry completely on the stovetop.
- Apply Light Oil: While still warm, apply a micro-thin layer of cooking oil to the inside cooking surface only.
- Wipe Excess: Again, wipe off all visible excess oil.
- Heat on Stovetop: Place the pan over medium-low heat on your stovetop for 5-10 minutes, until it just starts to smoke. This helps bond the new oil.
- Cool: Let it cool naturally. Your pan is now refreshed!
Everyday Use & Cooking Tips
Proper seasoning is just one part of the equation; how you cook with cast iron also matters.
- Preheat, Preheat, Preheat! This is perhaps the most important cooking tip. Cast iron takes longer to heat up than other pans, but once hot, it stays hot. Place your pan over medium-low heat for 5-10 minutes before adding any food. This ensures even heating and prevents sticking.
- Use Enough Fat: Even with good seasoning, you still need a decent amount of butter or cooking oil when frying. It helps create a barrier and facilitates the non-stick properties.
- Don’t Fear the Heat, but Control It: Cast iron can handle high heat, but rarely needs it. Medium heat is often enough once preheated. High heat can burn food and potentially damage seasoning.
- Let Food Release Naturally: When cooking items like eggs or pancakes, don’t try to flip them too soon. Food will release from the pan naturally when it’s ready and a crust has formed. Trying to force it will lead to sticking.
- Acidic Foods in Moderation: Cooking highly acidic foods (like tomato sauce, wine reductions, or lemon juice) for long periods can strip your seasoning. It’s fine for quick simmers, but avoid long braises in cast iron if your seasoning isn’t robust.
- Scrape as You Go: If food residue builds up while cooking, use a metal spatula or scraper to push it around or remove it. This keeps your surface clean.
Cleaning & Maintenance: The “After” Care
This is where many people get nervous, but cleaning cast iron is surprisingly simple and quick.
- Clean Immediately (While Warm): The best time to clean your cast iron is right after cooking, while the pan is still warm (but not scalding hot!). This makes residue easier to remove.
- Hot Water & Scraper/Brush:
- Hold the pan under hot running water.
- Use a stiff nylon brush, a plastic pan scraper, or a chainmail scrubber to remove any stuck-on food.
- Is soap okay? Yes, usually! Modern dish soaps are not made with lye and will not strip properly polymerized seasoning. Use a small amount if needed for stubborn grease.
- For extremely stubborn bits, add a tablespoon of coarse salt and a little oil, then scrub with a paper towel. The salt acts as an abrasive.
- Rinse Thoroughly: Ensure all food particles and soap residue are rinsed away.
- The Most Critical Step: Drying!
- Immediately dry the pan thoroughly with a clean towel.
- Then, place the pan over low heat on your stovetop for a few minutes until all moisture has evaporated. You should see no steam. This prevents rust.
- Apply a Light Oil Coat: Once dry and still warm, apply a micro-thin layer of cooking oil to the entire inside surface of the pan using a paper towel. Wipe off any excess. This protects the seasoning and conditions the pan for its next use.
- Store Properly: Store your cast iron in a dry place. If stacking, place a paper towel or cloth between pans to protect the seasoning and allow airflow.
Common Mistakes to Avoid
Knowing what not to do is just as important as knowing what to do.
- NOT Drying Thoroughly: This is the number one cause of rust. Always dry completely on the stovetop.
- Using Too Much Oil When Seasoning: Leads to a gummy, sticky, uneven surface. A little goes a long way.
- Putting it in the Dishwasher: The dishwasher’s harsh detergents and long wash cycles will strip the seasoning and cause rust.
- Leaving Food in the Pan: Especially acidic foods, leaving food in the pan after cooking can damage seasoning and lead to rust.
- Using Abrasive Cleaners (like steel wool for general cleaning): Unless you intend to strip the pan completely for re-seasoning, avoid harsh steel wool or scouring pads that will remove your hard-earned seasoning. (Chainmail is okay for scrubbing food, as it’s less abrasive to the seasoning itself).
- Not Preheating Enough: Leads to food sticking and uneven cooking.
- Cooking on Max Heat: While durable, extremely high heat can sometimes make food stick more and is rarely necessary.
- Storing While Wet: Again, rust.
Troubleshooting Common Cast Iron Issues
Don’t despair if your pan isn’t perfect! Most issues are easily fixed.
- Rust Spots:
- Solution: Scrub the rusty area vigorously with steel wool or a stiff brush and warm water. You can add a little soap if needed. Once the rust is gone, dry thoroughly on the stovetop and immediately apply a new layer of seasoning (see “Re-seasoning for Maintenance”).
- Sticky/Gummy Pan:
- Cause: Too much oil applied during seasoning or maintenance, or the oil didn’t reach a high enough temperature to properly polymerize.
- Solution: If mild, cook with it often using plenty of fat. If severe, scrub the sticky areas with hot water and a stiff brush (or even a little steel wool) to remove the gummy residue, then re-season those spots (or the whole pan) with a much thinner layer of oil, ensuring it’s baked at a high enough temperature for long enough.
- Food Sticking:
- Cause: Insufficient seasoning, not enough preheating, or not enough cooking fat.
- Solution: Build more seasoning layers, ensure you’re preheating thoroughly on medium-low heat for 5-10 minutes before cooking, and use adequate oil/butter when cooking. Keep cooking with it – this is often the best way to improve seasoning.
- Dull/Dry Appearance:
- Cause: Seasoning is thinning or not regularly maintained.
- Solution: Your pan is asking for a little love! Give it a light re-seasoning cycle (as per “Re-seasoning for Maintenance”).
Embrace the Cast Iron Journey!
Learning to care for and cook with cast iron is a journey, not a destination. Each meal you prepare adds to its unique character and strengthens its non-stick surface. Your cast iron pan isn’t just cookware; it’s a tool that will tell the story of countless delicious meals, passed down through time.
So, go ahead, pull out that beloved skillet, follow these simple steps, and unlock the true magic of cast iron in your kitchen. Happy cooking!
- Lodge 12 Inch Cast Iron Skillet with Red Silicone Hot Handle Holder – Pre-Seasoned Frying Pan for Stove, Oven, Grill & Campfire – Made in the USA – Durable, Nonstick Cast Iron Cookware – Black
- Lodge 8 Inch Cast Iron Pre-Seasoned Skillet – Signature Teardrop Handle – Use in the Oven, on the Stove, on the Grill, or Over a Campfire, Black
- Utopia Kitchen Cast Iron Frying Pan 12 Inch, Cast Iron Chefs Pan, Pre Seasoned Skillet, Safe Grill Cookware for Indoor & Outdoor Use, Black
FAQ
Q. What exactly is ‘seasoning’ and why is it so important for cast iron?
A. Seasoning is a layer of polymerized oil baked onto the surface of cast iron. When oil is heated to its smoke point, it breaks down and bonds to the metal, creating a naturally non-stick, rust-resistant surface. It’s crucial because it protects the iron from corrosion, allows food to release easily, and improves the pan’s performance with each use. A well-seasoned pan will develop a smooth, dark, and slick surface over time.
Q. How do I properly clean my cast iron skillet without damaging the seasoning?
A. The best way to clean cast iron is immediately after use, while it’s still warm. Scrape any stuck-on food with a stiff brush, a plastic scraper, or even a chainmail scrubber. Rinse with hot water. For stubborn bits, you can use a small amount of mild soap, but generally, hot water and a good scrub are sufficient. Always dry your pan thoroughly on the stovetop over low heat for a few minutes to ensure all moisture is evaporated, then apply a very thin layer of cooking oil before storing.
Q. My cast iron is starting to rust! What caused this and how can I fix it?
A. Rust on cast iron is almost always caused by moisture. It happens if the pan isn’t thoroughly dried after washing, if it’s stored in a humid environment, or if food (especially acidic food) is left in it for too long. To fix it, scrub off all the rust using steel wool, a wire brush, or a mixture of coarse salt and a little oil. Wash the pan thoroughly, then dry it completely on the stove. Once dry, apply several thin layers of seasoning by baking it in the oven (or applying oil and heating on the stovetop) to restore its protective layer.
Q. Why is food sticking to my cast iron, even after I’ve seasoned it?
A. Food sticking can be due to several reasons, even with seasoning. Common culprits include not preheating the pan sufficiently, not using enough cooking oil or fat, or not building up enough layers of seasoning yet. Cast iron needs to be preheated slowly and thoroughly on medium heat for 5-10 minutes before adding food. Also, ensure you’re using a reasonable amount of cooking oil; don’t just rely on the seasoning for non-stick properties. Over time, with consistent cooking and proper care, your seasoning will strengthen and improve release.
Q. Can I cook acidic foods like tomatoes or wine in my cast iron skillet?
A. You can, but with caution, especially with newer or less seasoned pans. Highly acidic foods cooked for extended periods (e.g., simmering tomato sauce for hours) can strip away seasoning and potentially leach iron into the food, giving it a metallic taste. For well-seasoned pans, short cooking times with acidic ingredients are generally fine. If you’re unsure, or for long simmers, it might be better to use a different type of cookware until your cast iron has developed a very robust, thick layer of seasoning.
Q. How should I properly store my cast iron skillet to maintain its condition?
A. After cleaning and applying a thin layer of oil, store your cast iron in a dry place away from humidity. If stacking multiple pieces, place a paper towel or a thin trivet between them to absorb any residual moisture and prevent scratching the seasoning. Good air circulation is also beneficial. Avoid storing cast iron with lids on for long periods, as this can trap moisture and lead to rust.